A lot of people start in the same place. One main gaming monitor feels fine until you add Discord, a browser guide, OBS, chat, a music app, maybe a stat tracker, and suddenly half your session is tabbing in and out of windows. That’s when a 4-monitor setup starts looking less like overkill and more like the clean solution.
Sometimes it is. Sometimes it’s an expensive way to solve a smaller problem.
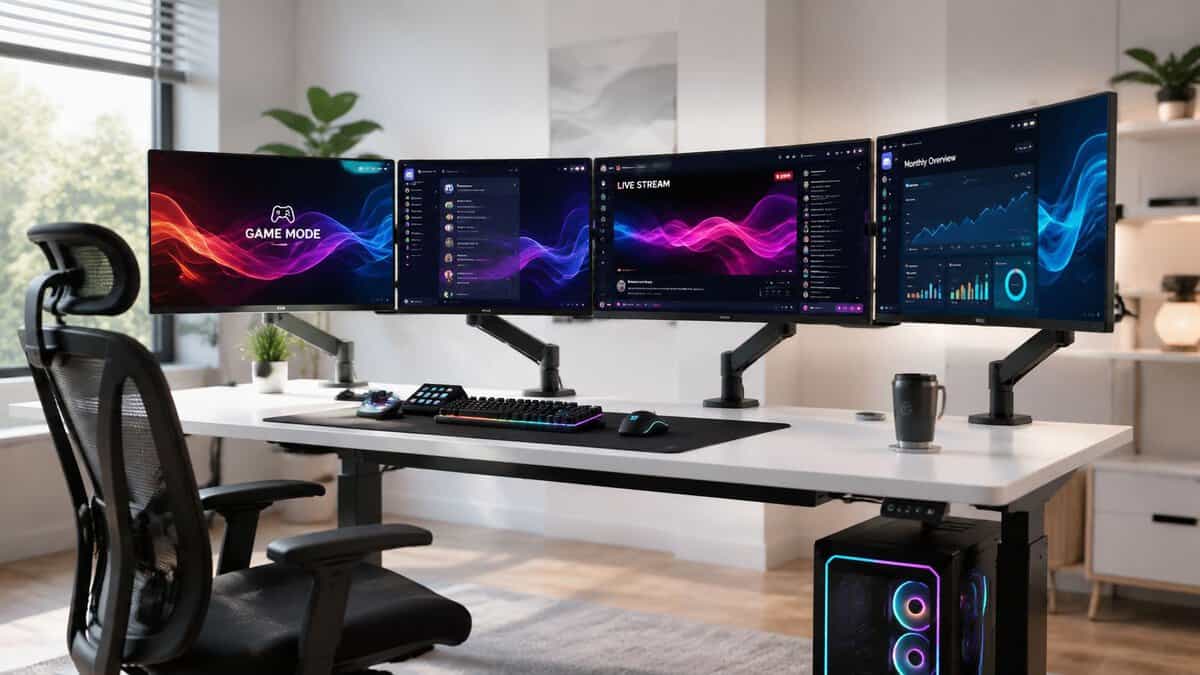
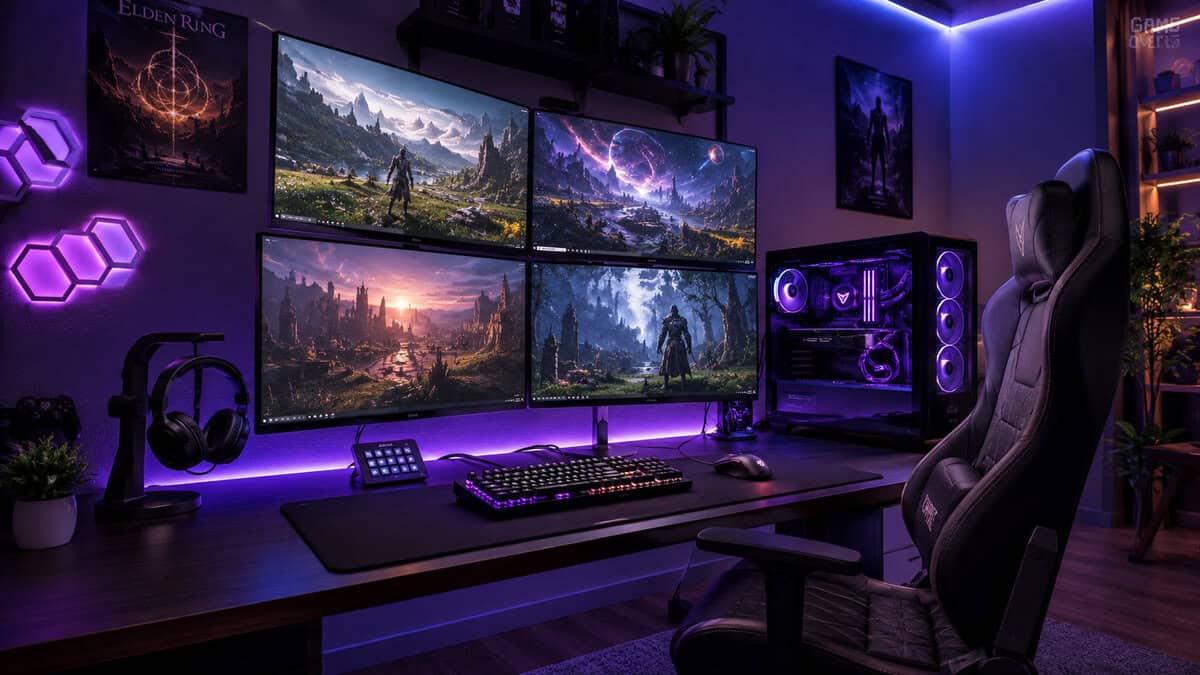
The hard part isn’t getting four screens to light up. The hard part is building a setup that fits your desk, your GPU, and the way you play. For budget-conscious gamers and streamers, that matters more than the visual flex. A value-focused 4 monitor setup should reduce friction, not create a second hobby made of adapters, sagging monitor arms, and cable clutter.
- Confirm your GPU’s real output count and port types before buying anything—most cards drive three or four displays, but only through the right mix of DisplayPort and HDMI.
- Spend your budget on the primary gaming panel; the secondary and support screens can be inexpensive 1080p IPS monitors without hurting the experience.
- Skip splitters—they mirror instead of extend. When you run out of native ports, a powered DisplayLink adapter is the reliable way to add a display.
- A single quad stand keeps cabling clean and the footprint small when your monitors match; individual arms are better if you’re mixing screen sizes.
- Finish in Windows display settings, then set each monitor’s refresh rate and scaling manually—wrong defaults are the most common cause of a sluggish-feeling 4-monitor setup.
Table of Contents
Do You Really Need a 4 Monitor Setup
A 4-monitor setup makes immediate sense for a few people. If you stream regularly, one screen can stay dedicated to the game, one to chat and stream controls, one to Discord or music, and one to browser tabs, guides, or system monitoring. If you play MMOs or manage a game plus a lot of side information, the extra room feels useful fast.
For pure gaming, though, four monitors often sound better than they work.
An FPS player usually gets the most value from one strong primary monitor. Maybe a second panel for voice chat, maps, or stream controls. The third and fourth displays help once you’re doing more than just playing, but they don’t automatically improve the game itself. In some setups, they become side screens you barely look at while still taking up desk space and budget.
Research summarized by Plugable reports multi-monitor productivity gains ranging from 9% to 50%, with one survey finding an average self-reported increase of 42% among multi-display users. The same research summary also notes 33% fewer errors in one dual-screen analysis and that 98% of users in one study preferred dual monitors over a single display, which supports the basic idea that fewer app swaps and less screen juggling can help real work and multitasking (Plugable’s multi-monitor productivity summary).
Where a 4-monitor setup makes sense
A quad setup earns its keep when you need several things visible at once.
- Streaming and recording: You keep the game clean on the main panel and leave your stream tools off the play screen.
- MMO and sim players: Extra panels are useful for guides, chat, maps, keybind references, telemetry, or background communities.
- Work and gaming on one desk: If the same setup handles coding, editing, support work, spreadsheets, and gaming later, four screens can be justified.
- Content-heavy workflows: Video timelines, file bins, preview windows, and communication tools all compete for screen space.
Practical rule: If you can name what each of the four screens will do before you buy them, you’re thinking clearly. If the plan is just “more space,” slow down.
When a simpler setup is the smarter buy
A lot of gamers would be happier with two monitors, or a main monitor plus a side panel. That covers most FPS, casual streaming, and everyday multitasking without the mounting and compatibility headaches that show up at four displays.
If you’re still deciding, this guide on setting up dual monitors is the better starting point for many desks and budgets. Two screens are easier to place, easier to power, and much easier to keep ergonomic.
The mistake is treating a 4-monitor setup like the default upgrade path. It isn’t. It’s a specialized layout for people who already know they’re running out of room on simpler setups.
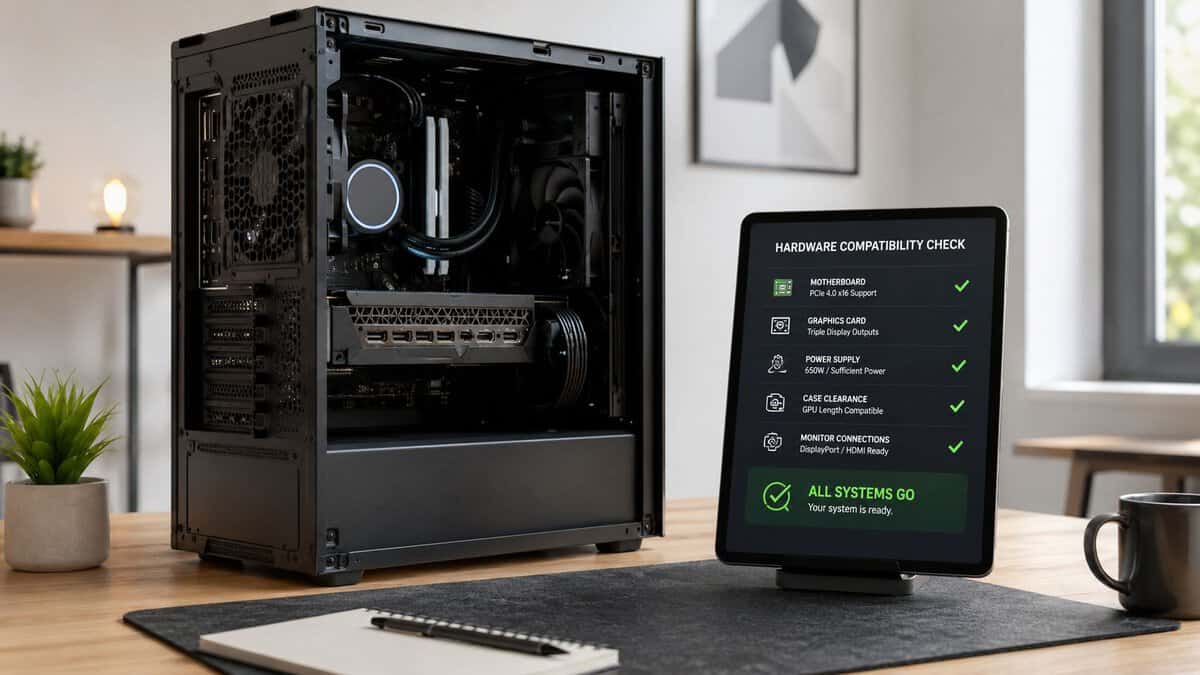
Your Hardware Compatibility Checklist
This is the part people skip. It’s also the part that decides whether your build works at all.
A 4-monitor setup sits at the upper end of mainstream multi-display workstations, where hardware support becomes the primary limiting factor. Modern guidance consistently says your system needs a graphics card with enough outputs to drive four independent displays, and quad-monitor use is often treated as the point where a setup becomes “ideal” for heavy multitasking, while still requiring a GPU that is capable of supporting all four outputs (Geekom’s quad-monitor setup guidance).
Check the GPU first
Start at the back of the PC. Count the video outputs on the graphics card itself, not the motherboard. Four physical outputs is the cleanest scenario. If your card has fewer, don’t assume adapters will save you.
What you want is simple:
- Four usable display outputs on the GPU
- Ports that match your monitors
- Driver support that recognizes all displays independently
If your motherboard also has display ports, those usually don’t help when a dedicated GPU handles graphics. In many systems, the motherboard ports are disabled or impractical once the graphics card is installed.
Match the ports before you buy anything
DisplayPort, HDMI, and USB-C can all work, but mixing them carelessly causes a lot of frustration. The best budget move is to buy monitors and cables that match what your GPU already offers.
A few practical habits save time here:
- Prefer native connections: A native GPU-to-monitor connection is more reliable than stacking adapters.
- Use the right cable type for the monitor’s actual job: Your main gaming screen deserves the cleanest path and the least compromise.
- Don’t assume every USB-C port carries display output: Some do, some don’t.
If you need a refresher on the practical differences, this breakdown of DisplayPort vs HDMI for gaming helps sort out which connection makes the most sense for a primary gaming panel versus side displays.
Be careful with splitters and cheap adapters
A splitter is one of the most common bad purchases in this category. Most splitters mirror one signal to multiple screens. That’s not what you want for a 4-monitor setup. You need extended displays, not clones. When your GPU genuinely runs out of native ports, a powered DisplayLink adapter such as the StarTech USB 3.0 to Dual HDMI adds displays far more reliably than a passive splitter.
Adapters can work, but they’re the first thing I suspect when a monitor flickers, fails to wake properly, or gets stuck at the wrong resolution. For a side screen that only shows chat, maybe that trade-off is fine. For a main gaming panel, it usually isn’t.
Buy adapters only when you already know the exact problem they solve. Don’t buy them as hope in plastic form.
Do a full system audit
Before you order displays or a stand, confirm these points:
| Check | What to confirm |
|---|---|
| GPU outputs | The card can physically connect four displays |
| Monitor inputs | Each screen accepts the signal type you plan to use |
| Desk power | You have enough outlets and surge protection for the full setup |
| Driver health | Your graphics drivers are current and stable |
| Cooling and noise | More displays can mean more GPU activity, so weak airflow becomes more obvious |
If you’re using an older system, basic maintenance helps more than people expect. These tips for business IT performance are written for office machines, but the same logic applies to multi-monitor PCs. Clean startup clutter, stable drivers, and healthy storage make a complicated display setup easier to live with.
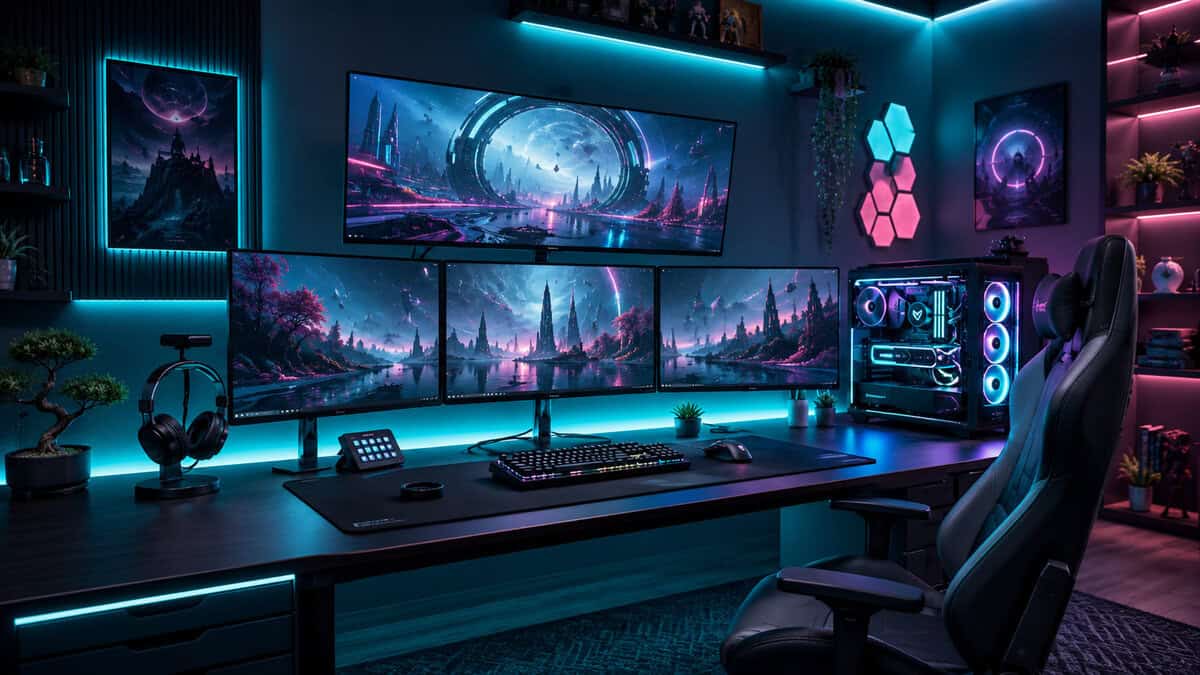
Selecting Value-Focused Monitors and Mounts
The fastest way to waste money on a 4-monitor setup is buying four identical gaming monitors because the setup will look cleaner in photos. Such uniformity is often superfluous. A better value build uses one strong primary display and treats the other panels as support tools.
That means your money should follow your actual priorities.
Spend on the main screen, simplify the rest
If you play FPS games, your primary monitor does the hard work. That’s where motion handling, refresh rate, and response behavior matter most. Your side displays don’t need to match that spec if they’re showing chat, browser tabs, stream controls, or music.
A practical value approach looks like this:
- Primary monitor: Your best panel. Here, gaming performance is of utmost importance.
- Secondary display: A decent all-rounder for Discord, OBS, or browser windows. A budget IPS panel like the ASUS TUF VG249QE5A covers this job without overspending.
- Third and fourth displays: Functional support screens with solid viewing angles and reliable build quality.
For MMO players and streamers, that mix usually makes more sense than four gaming-first panels. It also lowers the chance that you’ll overspend on features you’ll never use outside the center screen.
Build quality matters more than people expect
Cheap monitors often give themselves away in the stand, the plastics, the button layout, or weak port placement. On a single-screen desk, that’s annoying. On a four-screen rig, it compounds. Wobbly housings, poor VESA mounting threads, and flimsy bezels turn setup day into a long argument with your own hardware.
The same goes for monitor arms. This is not the place to buy the cheapest metal that happens to hold a screen in a product photo.
A weak arm creates three problems fast:
- Sag over time
- Poor alignment between displays
- Constant re-tightening after small desk bumps
If you want a starting point for sturdy options, this guide to the best monitor arm is worth checking before you commit to a mount style.
Buying rule: A durable arm is boring until the day a cheap one starts drifting. Then it becomes the only thing you think about.
One quad stand or separate arms
There isn’t a universal winner here. It depends on your desk and your tolerance for fiddling.
| Mount option | What it does well | What it does poorly |
|---|---|---|
| Single quad stand | Cleaner footprint, simpler cable routing, easier to keep centered | Less flexibility if monitors differ in size or thickness |
| Individual arms | Better adjustment, better for mixed monitors, easier to fine-tune angles | More expensive, more clamps, more setup time |
If all four monitors are similar, a quad stand like the WALI Quad Monitor Mount can be a sensible value play. If you’re mixing one main gaming screen with three simpler displays, individual arms are often easier to live with.
Get the angles right
Flat, parallel screens look neat from above, but they often read worse in real use. Guidance on multi-monitor cockpit layouts notes that flat, parallel screens leave the outer edges at increasingly oblique angles, and WSIM’s testing found ideal angles for curved multi-monitor arrangements can land in roughly 58–65° depending on viewing distance, not just a vague inward tilt (Atdec’s cockpit angle guidance).
That matters on a real desk. If your side screens feel hard to read, don’t only blame panel quality. The angle may be wrong.
A few placement habits help:
- Keep the center display directly in front of you
- Angle side monitors inward enough that text stays readable
- Avoid pushing outer panels too far away just to fit everything
- Keep top edges near eye level so your neck isn’t always climbing
If you’re replacing old panels during the process, dispose of them properly. These responsible e-waste options for IT managers are written for larger environments, but the disposal guidance is useful for anyone clearing out old monitors without dumping them irresponsibly.
The Build Phase Cabling and Desk Arrangement
The build usually feels organized for the first half hour. Then the power bricks hit the floor, cables cross over each other, one monitor sits a few millimeters too low, and the whole thing starts looking less like a workstation and more like a test bench.
That’s normal.
Pick a layout your desk can actually support
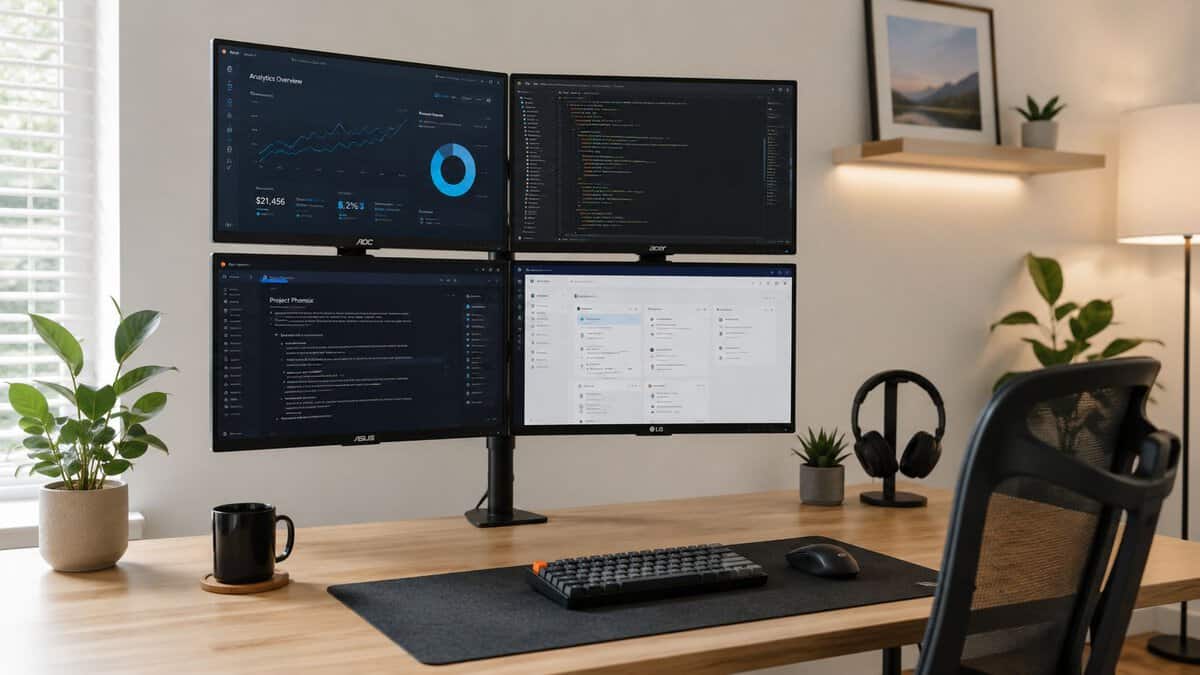
The two most common layouts chosen are a 2×2 grid or a long horizontal row. The grid is usually easier on desk width and keeps the outer screens closer. The horizontal layout works if you want everything on one visual plane, but it asks a lot more from your neck and your desk.
If the desk is shallow, a wide row can become tiring fast. A grid often feels less dramatic, but it’s usually easier to use for long sessions.
I’d also think about where your keyboard and mouse live before the monitors go up. People often center the mount, then realize their actual sitting position is off to one side because the mic arm, speakers, or PC case stole the good space.
Cable management starts before the cables go in
The cleanest setups usually follow a boring rule. Every cable has a destination and a route before it gets plugged in.
Use a simple process:
- Mount everything loosely first
- Measure the cable path, not just the straight-line distance
- Separate power from display cables where possible
- Bundle by destination, not by whatever happens to be nearby
A cable sleeve or under-desk tray does more than improve looks. It makes troubleshooting easier because you can trace one run without pulling apart the whole desk. If you want a cleaner method than random zip ties, this guide on PC cable management gives practical options that work for gaming desks.
A tidy setup isn’t just cosmetic. It’s the difference between a quick cable swap and an hour spent crawling under the desk.
What usually goes wrong
Three mistakes show up constantly.
- Cables are too short: The arm extends, the monitor moves, and the connector gets stressed.
- Cables are too long: Extra slack piles up under the desk and pulls on everything else.
- The layout ignores access: People build a neat wall of screens, then can’t reach monitor buttons or input ports.
If you need visual ideas for arranging the overall desk, these best gaming setup ideas are useful as inspiration. Just filter them through real desk dimensions and not just aesthetics. A setup that photographs well can still be awkward to use every day.
Software Setup in Windows NVIDIA and AMD
Once the hardware is connected, the primary task is teaching the PC how you want those screens to behave. A 4-monitor setup that’s physically assembled but poorly configured feels clumsy. Monitors open apps in the wrong places, games launch on the wrong panel, and the mouse jumps in ways that make no sense.
That’s fixable.
Research summarized by Plugable ties the value of multi-display setups to reduced task-switching friction, with reported productivity gains ranging from 9% to 50%, an average self-reported increase of 42% in one survey, and 33% fewer errors in one dual-screen analysis (Plugable’s productivity overview). In practice, the benefit only shows up if the software layout matches the desk layout.
Start in Windows
Windows should be your first stop even if you plan to use driver-level features later.
Open Display Settings and check these basics:
- Identify each monitor: Make sure the numbered screens match what’s on your desk.
- Set Extend mode: Don’t leave the system in duplicate mode unless you specifically want mirrored screens.
- Choose the primary display: Your game launcher, taskbar focus, and many apps will follow this.
- Drag the display boxes into the right arrangement: If the digital map doesn’t match the physical desk, mouse movement will feel wrong immediately.
This step matters more than people think. Even powerful systems feel sloppy when the monitor map is off by one position.
Set refresh rates and scaling carefully
Mixed monitors are common in budget builds, so don’t expect every panel to behave the same.
Check each display one by one:
| Setting | What to do |
|---|---|
| Resolution | Set each monitor to its native resolution |
| Refresh rate | Confirm the main gaming screen is running at its intended refresh |
| Scaling | Keep text readable on side screens without making app windows oversized |
| Orientation | If one monitor is vertical, set that here instead of forcing apps to adapt awkwardly |
A lot of “my monitor looks bad” complaints are just wrong refresh settings or Windows assigning odd scaling values after the first boot.
NVIDIA and AMD options
If you use a graphics card from either side, their control panels give you more control than Windows alone.
For standard gaming and streaming, I usually recommend keeping the main game on one display and treating the others as support screens. That’s simpler and more reliable. Full multi-screen gaming can work, but it adds compatibility quirks, stretched interfaces, and HUD placement issues that many games still handle poorly.
- NVIDIA users: Surround can combine displays for wider gameplay, but it’s best treated as a specialty mode, not your everyday default.
- AMD users: Eyefinity does the same kind of job and follows the same caution. Great for certain sim or immersion-focused uses. Less practical for most competitive gaming.
If you play FPS games seriously, keep the game on the best center monitor and leave the other three for supporting tasks. That setup usually feels better than forcing every title across multiple screens.
Fix behavior after the first week
Most software annoyances don’t show up on day one. They show up after sleep cycles, driver updates, and a few reboots.
Watch for these early and correct them fast:
- Apps reopening on the wrong monitor
- Taskbar clutter across all screens
- Games launching on a side panel
- Display order changing after reconnects
Once those are dialed in, the 4-monitor setup starts feeling intentional instead of improvised.
FAQ Troubleshooting Your 4 Monitor Setup
Problems on a quad-monitor rig usually come from one of three places. The PC can’t see all displays, the desk layout makes the setup annoying to use, or the whole thing cost more effort than it was worth. The questions below are the ones that matter most in practice.
Why isn’t one monitor being detected?
Start with the boring checks first. Make sure the cable is fully seated, the monitor is on the correct input, and the display is connected to the graphics card rather than the wrong port on the system.
If that still fails, swap only one variable at a time. Change the cable, then the port, then the monitor position in the chain. Don’t change everything at once or you won’t know what fixed it. Adapters are common failure points, especially on side screens that were added as an afterthought.
Why did gaming performance get worse?
Sometimes the hit is real, especially if extra displays are running high-resolution content, video playback, or capture and streaming software in the background. Sometimes the issue is simpler. The game may have launched on the wrong display, the main monitor may be at the wrong refresh rate, or a sync setting changed.
If gameplay feels unstable, check your sync settings and frame behavior before blaming the entire setup. This guide on what VSync is is a useful refresher if tearing, stutter, or mismatched display behavior starts showing up after you add more screens.
Can a laptop run a 4 monitor setup?
Some can. Many can’t do it cleanly without extra help. The exact limit depends on the laptop’s graphics support, output options, and whether it can extend to that many displays in a stable way.
Laptop users often burn money fastest. They buy monitors first, then discover the machine won’t drive the arrangement they wanted without a more specialized connection path. If you’re on a laptop, confirm display support before buying any panels or stands.
Should all four monitors match?
No. Matching is nice for visual consistency, but it isn’t mandatory for value.
The center gaming monitor can justify better performance and better motion handling. Side screens can prioritize readability, decent color consistency, VESA compatibility, and solid construction. Matching bezels and panel sizes make mounting easier, but perfect symmetry is a luxury, not a requirement.
What’s the best desk layout for comfort?
The best layout is the one that keeps your primary monitor centered and the side displays readable without constant neck rotation. If you’re twisting a lot, the arrangement is wrong even if the setup looks good.
A 2×2 grid often works better than a wide horizontal span on ordinary desks. It keeps more information within a usable field of view and usually makes cable routing easier too.
Is a 4-monitor setup actually the best value?
Often, no.
Guidance around quad-monitor buying increasingly points out that many users could get most of the benefit from an ultrawide-plus-secondary setup instead of four separate panels, especially once matching monitors, arms, and desk space become constraints. That makes a 4-monitor setup more of a niche choice for stream monitoring, trading, content work, or heavy multitasking than the default “best” option (Geekom’s value-focused take on quad-monitor setups).
That doesn’t mean four monitors are a bad idea. It means they need a job.
The right setup isn’t the one with the most screens. It’s the one that solves the most problems without creating new ones you have to pay for.
If your use case is competitive FPS gaming with occasional Discord and a browser window, two screens may be the sweet spot. If you stream, edit, multitask heavily, and use the same desk for work, a 4-monitor setup can absolutely be worth it. Just build it because you need the workflow, not because the photo looks serious.
If you’re building a gaming or streaming setup and want fewer wasted purchases, Budget Loadout focuses on the part that matters most for value-minded buyers: what’s worth paying for, what you can safely skip, and which upgrades improve daily use instead of just looking good on a spec list.
Related Articles