Most cable management advice gets the priority backward. People talk about the glass-panel look first, then treat airflow and maintenance like bonus points. For a budget gamer, that’s upside down.
If you play long FPS sessions, grind MMOs, or run a stream while gaming, pc cable management is first a function problem. A cleaner layout helps you keep air paths open, makes upgrades less annoying, and reduces the chance that one rushed hardware swap turns into a mess behind the motherboard tray. The neat look is nice. It just shouldn’t be the reason you care.
- PC cable management is mostly about function — better airflow, easier upgrades, and fewer snags — with looks as a secondary bonus.
- Spend on reusable tools first: hook-and-loop (Velcro) ties beat zip ties for anything you’ll ever need to adjust.
- Inside the case, route the thickest cables first and use the rear motherboard-tray space and tie-down points to flatten bundles.
- A braided or fabric sleeve is the cheapest way to clean up the visible runs between your keyboard, mouse, mic, and power on the desk.
- Don’t over-bundle or hide everything — tight wraps and zero accessibility create new problems when you add or swap a device.
Table of Contents
Why PC Cable Management Matters More Than Aesthetics
Messy cables don’t just look bad. They can get in the way of intake and exhaust paths, and that matters because poor routing can block cool-air intake and impede ventilation, which can force components to reduce performance to avoid overheating, as explained in this overview of airflow and thermal stability in cable management. If your system spends hours in shooters, raids, or a stream-plus-game workload, sustained heat matters more than a clean photo.
That’s why I push people to think about cable routing the same way they think about fan placement. You don’t need a showroom build. You need cables out of fan paths, away from hot zones, and secured well enough that they stay there after you move the case or swap parts.
What actually matters in daily use
A budget-conscious build usually has fewer luxuries. Maybe the case has limited rear clearance. Maybe the power supply isn’t fully modular. Maybe you reused an older SATA drive. That’s exactly why cable management matters more, not less. When space is tighter, clutter creates problems faster.
Good routing helps with a few practical things:
Stable airflow paths: Front intake fans and GPU coolers work better when cables aren’t hanging in front of them.
Faster troubleshooting: You can trace a loose fan lead or storage cable without digging through a knot.
Safer upgrades: GPU swaps, cooler changes, and storage installs are easier when each run already has a place.
Less strain on connectors: A cable that isn’t twisted hard against the side panel is less likely to fight the socket.
Practical rule: If a cable is visible from the main chamber but not serving a direct connection there, it’s probably in the wrong place.
Looks still matter, just not first
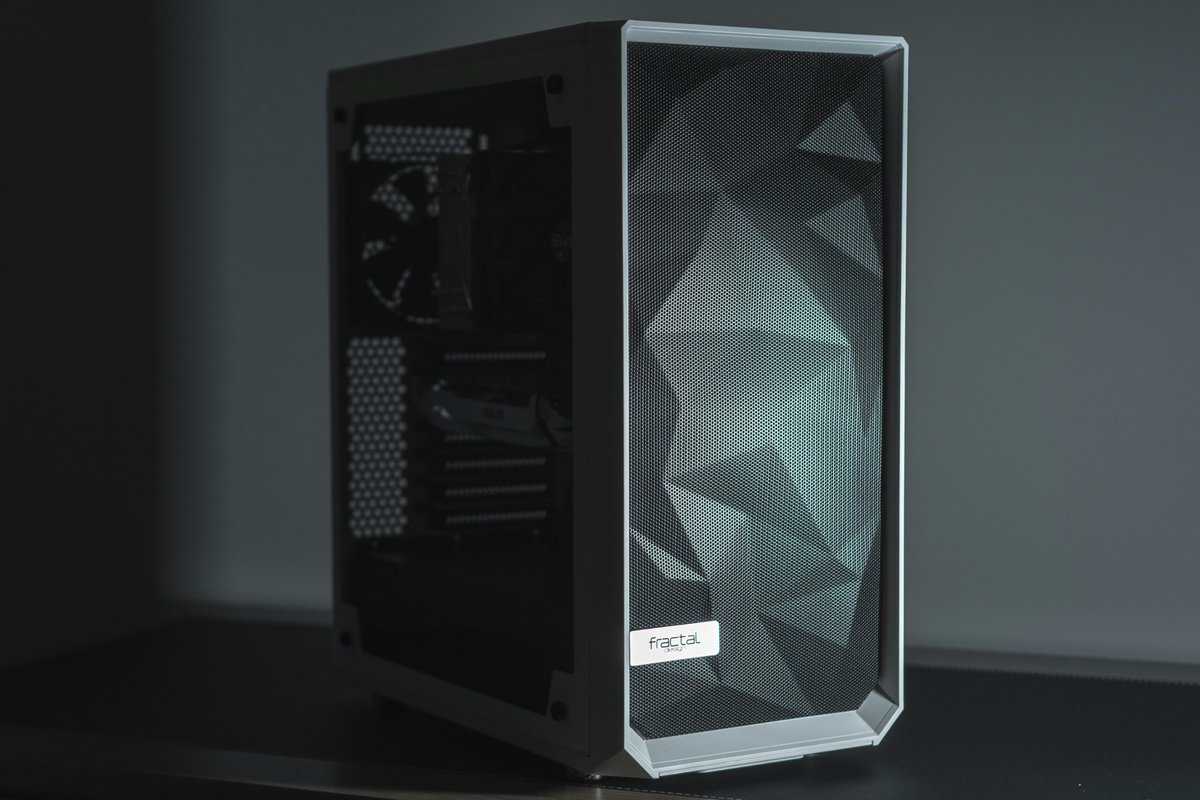
A clean build does look better, especially in a case with a window. But that’s the last layer. Start with layout, then function, then presentation. If you’re still choosing hardware, pick a chassis built to make that easier. A case with proper routing features will save more frustration than buying decorative cable accessories later, and this guide to choosing a gaming PC case is a good place to compare what helps.
The short version is simple. Tidy enough for airflow and service beats perfect for Instagram. Every time.
Your Essential Toolkit for Clean Cabling
You don’t need a drawer full of niche accessories. A short list of cheap, durable basics is sufficient for managing an entire setup. The trick is buying things you can reuse instead of one-time fixes that turn into trash after the next upgrade.
Spend on reusable tools first
If I had to cut the toolkit down to the essentials, I’d start with reusable hook-and-loop ties, a basic braided sleeve for bundling, adhesive clips for desk edges, and some form of under-desk channel or raceway. That covers both the inside of the case and the mess under the monitor.
Zip ties still have a place, but they’re not my first recommendation for a value build. They’re fine for a semi-permanent run you won’t touch often. For anything that may move, reusable ties are better. They’re easier on the cable jacket, faster to adjust, and they don’t turn every minor change into a snip-and-rebuild job.
Cable Management Tool Comparison
| Tool | Typical Cost | Reusability | Best Use Case |
|---|---|---|---|
| Velcro ties | Low | High | Rear-of-case bundles, monitor cables, desk accessories |
| Zip ties | Low | Low | Long-term fixed runs you don’t expect to reopen often |
| Braided or fabric cable sleeve | Low to moderate | Moderate | Grouping keyboard, mouse, mic, or power runs |
| Adhesive cable clips | Low | Moderate | Guiding headset, charging, or webcam cables along desk edges |
| Under-desk raceway or J-channel | Moderate | High | Hiding power strips and excess slack under a desk |
| Cable labels | Low | High | Identifying peripherals that get unplugged often |
What’s worth buying and what’s mostly for show
Some accessories solve a real problem. Others mostly improve presentation.
Velcro ties are worth it: They’re reusable, forgiving, and durable enough for repeated hardware changes.
A cable sleeve is worth it for mixed-use desks: It turns several thin wires into one manageable run.
Adhesive clips are worth it if placement is smart: Use them where the cable naturally wants to sit. Cheap clips fail when they’re forced to hold tension.
Decorative combs and color-matched extras are optional: They can look clean in a windowed build, but they won’t fix bad routing.
Buy tools that make future changes easier. Skip tools that only make the final photo cleaner.
One overlooked category is audio gear. A streaming or voice-chat setup gets messy fast once you add a mic cable, headphone cable, and maybe a boom arm. If your desk doubles as a gaming and chat station, it helps to understand how placement affects cable runs before you mount anything. This guide to a microphone boom arm is useful for seeing how arm positioning changes what you need to route and hide.
Durability matters more than polish
Cheap cable accessories usually fail in two ways. The adhesive gives up, or the plastic gets brittle. For a budget setup, durability matters because replacing low-quality organizers over and over is worse value than buying a small pack of decent ones once.
The best toolkit is boring. It holds cables where you put them, survives heat behind a case or daily movement under a desk, and doesn’t make upgrades harder.
Taming the Wires Inside Your PC Case

Internal pc cable management starts before the first cable is plugged in. A major shift in PC building came with modular power supplies, which cut down unused internal cabling by letting builders connect only the leads they need, and modern build guidance also recommends cases with motherboard-tray cutouts because they reduce slack and simplify routing, as covered in this look at the rise of modular PSUs and cable-aware case design. That’s not history for history’s sake. It changes what a smart budget build looks like today.
If you can afford one upgrade that makes cable management easier from day one, make it the right case or the right power supply. If you can afford both, even better. If not, choose the case first if your current one has poor routing space, and choose the PSU first if you’re fighting a pile of unused leads.
Start with the thickest cables
There’s a simple workflow that prevents most internal clutter. Route the biggest, stiffest cables first, then fill in the smaller stuff around them.
Use this order:
24-pin motherboard power
CPU power near the top of the board
GPU power leads
SATA power and SATA data
Front-panel connectors, fan leads, and USB headers
That order works because the thick cables determine the shape of everything else. If you leave them for last, they end up crossing over cleaner runs and creating bulk where the side panel needs to close.
Where each cable should go
The 24-pin cable is usually the most obvious mess-maker. Run it through the nearest cutout to the board, pull through only what you need, and hide the rest behind the tray. Don’t leave a big loop in the main chamber just because it’s easier.
CPU power is awkward because it often has to travel to the top-left corner of the motherboard. Route it early, before the cooler and top fans get in your way. This is one of those cables that can turn a clean build into an annoying rebuild if you ignore it at the start.
GPU power deserves extra care in a gaming build. If you play modern FPS titles or stream while gaming, your graphics card is doing real work. Keep PCIe leads controlled and out of the fans, but don’t force a dramatic bend right at the connector. Clean and gentle is better than sharp and pretty.
Leave enough slack to unplug a component without cutting every tie around it.
Handling non-modular and semi-modular power supplies
A lot of budget gamers still use non-modular or semi-modular units. That doesn’t ruin the build. It just means you need a hiding plan.
The usual good spots are:
Unused drive bays
A PSU shroud cavity
Rear-tray dead space near tie-down points
Bundle unused leads by type, secure them loosely, and tuck them where they won’t interfere with side-panel closure or airflow openings. Don’t jam them into a fan cavity and call it done.
Keep power and data organized
A practical routing workflow starts with case selection and PSU choice, then moves into routing thick cables first, keeping power and data runs separate where possible, and securing bundles behind the tray with Velcro or zip ties, according to this internal cable-routing workflow guide. In practice, that means SATA data cables shouldn’t be woven randomly into a thick power bundle if you can avoid it, and front-panel cables should follow edges instead of cutting across open space.
A few habits help a lot:
Use the case’s tie points: They exist for a reason. They flatten bundles and keep the rear panel from bulging.
Pull only the needed length into the main chamber: Extra slack belongs behind the tray.
Group by destination: GPU leads together, front-panel leads together, storage leads together.
Test side-panel fit early: Don’t finish the whole build and then find out one cable lump is too thick.
If you’re building your first system, it helps to see the overall order of assembly, so cable planning happens at the right stage. This walkthrough on how to build a gaming PC pairs well with the routing approach above.
What clean actually looks like
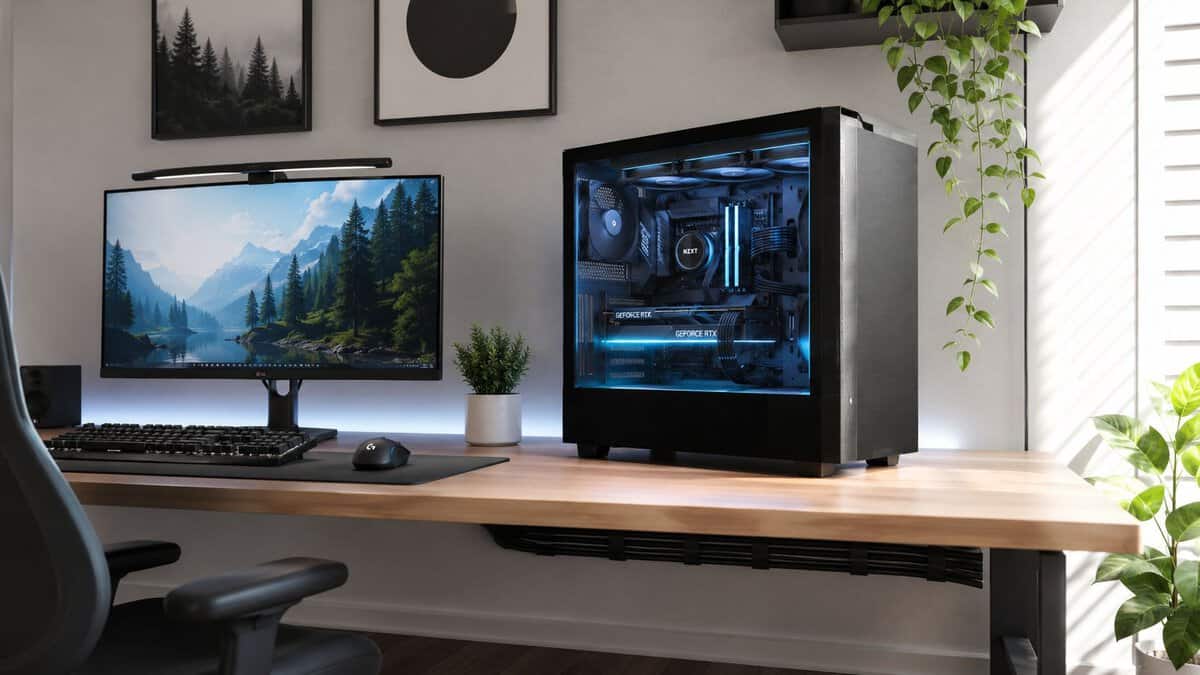
A clean internal layout doesn’t mean every visible wire disappears. It means the visible ones are intentional. The motherboard cable takes the shortest neat route. The GPU leads don’t sag into fans. The front-panel wires hug edges. The rear side closes without force.
That’s the standard worth chasing. Anything beyond that is optional polish.
Extending Cable Management to Your Desk Setup
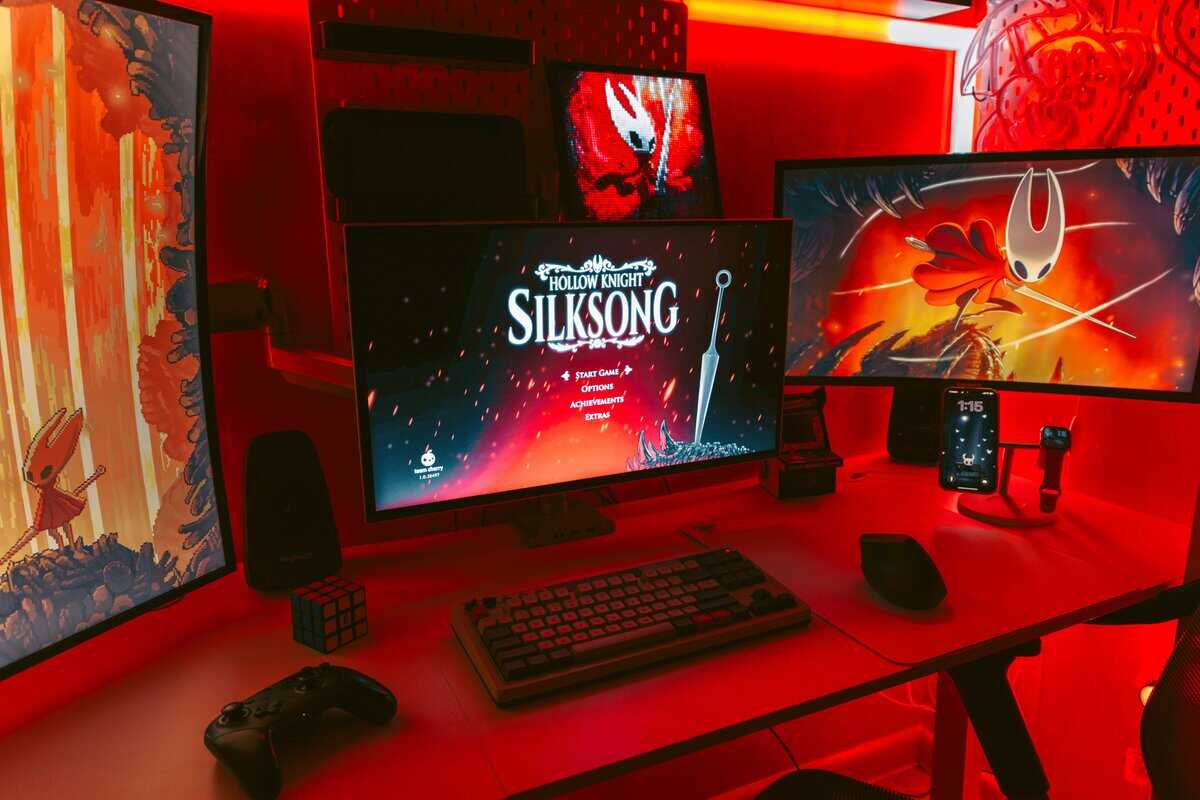
A tidy case doesn’t help much if your desk still looks like a failed wiring project. For most gamers, the actual mess isn’t inside the tower. It’s the monitor power lead, headset cable, mouse wire, phone charger, controller cable, webcam cable, and power strip all fighting for the same space.
The easiest way to fix that is to stop treating every cable the same.
Separate fixed cables from moved cables
The most useful desk rule is simple. Split your setup into static cables and dynamic cables.
Static cables stay plugged in and rarely move. Think monitor power, display cable, speaker leads, dock power, and the cable feeding a desk lamp. Dynamic cables move constantly, such as a controller charge lead, phone cable, headset cable, or a USB line you connect for a capture device only when needed.
Once you split them, the routing decisions get easier:
Static runs: Hide them aggressively under the desk, behind a leg, or along the back edge.
Dynamic runs: Keep them accessible, lightly guided, and easy to replace.
Shared power area: Mount or place the power strip where you can still reach it without crawling.
Build around your use case
An FPS desk has different needs than an MMO desk or a streaming setup. A wired mouse and keyboard for competitive play need freedom of movement first. Don’t over-pin those cables so tightly that they drag or catch. Guide them along the back or side edge, then leave enough length where your hands move.
An MMO setup often adds more accessories. Maybe there’s a keypad, charging dock, or a second headset. In that case, labels start paying off because you’ll unplug more things over time.
A streaming desk gets complicated fastest. Add a USB mic, webcam, capture device, controller cable, and maybe extra lighting, and the under-desk area fills up quickly. Keep power bricks and excess length in a raceway or tray. Keep the cables that you touch during a session separate from the ones you forget exist.
The cleanest desk isn’t the one with the most hidden cables. It’s the one where the cables you need are easy to reach and the cables you don’t need are out of sight.
Make the desk survive daily use
Many setups fail at this stage. They look fine after the cleanup, then fall apart the first week because nobody planned for plugging and unplugging.
Use a basic system:
Mount the power strip or place it consistently
Run monitor and PC cables along the back edge
Use clips for charging and accessory leads near the front
Bundle extra slack under the desk, not behind the monitor
Label anything that gets disconnected often
If your desk also holds pens, adapters, SD cards, or small streaming accessories, storage matters just as much as cable routing. If you’re trying to keep that surface usable without turning it into a pile of loose items, this guide can help you find the perfect desk organizer for the non-cable clutter that usually ends up making cable mess feel worse.
A good desk also makes routing easier. Depth, rear clearance, and leg design all affect where you can hide power and guide accessory cables. If you’re still planning the space, this guide to picking a gaming desk is useful for spotting layouts that work with cables instead of against them.
Keep accessibility where it counts
Some of the best desk cable management is visible on purpose. A labeled charging cable clipped to the desk edge can be more practical than hiding it and pulling it out every day. The same goes for a headset cable or controller lead you use every night.
That trade-off matters for budget setups. Don’t spend time hiding something that needs to come back out tomorrow.
Common Cable Management Mistakes to Avoid
Most bad cable management doesn’t come from laziness. It comes from chasing a tidy result too hard and making the setup worse to live with.
Tight bundles that create new problems
The most common mistake is overtightening. A bundle looks cleaner when it’s cinched hard, but the cable jacket, connectors, and bends all take that stress. Leave cables secure, not strangled.
Another mistake is building one giant bundle because it looks organized. Big bundles are bulky, hard to trace, and awkward when you need to remove one cable later. Smaller grouped runs are easier to service and usually fit behind the tray or under the desk more naturally.
Hiding everything
Desk clutter today often comes from multi-device setups, and advice often lists clips, labels, raceways, desk legs, drawers, and under-desk routing without turning them into a real system. It’s also true that the cleanest setup isn’t always the one with the most hidden cables, because visibly accessible labeled runs can be more practical when devices change often, as discussed in this guide on cable management across different workflows.
That’s a useful correction to the usual advice. If you swap controllers, charge handhelds, or move a mic between work and gaming, total concealment can become a nuisance.
Three mistakes worth fixing immediately
Blocking a fan with a “neat” cable run: A straight, tidy line across an intake path is still a bad line.
Leaving no service slack: If every wire is stretched tight, simple upgrades become annoying fast.
Ignoring labels on the desk side: The more peripherals you add, the more time you waste tracing cables by hand.
Good cable management should make the next hardware change easier. If it makes the next change harder, it’s too rigid.
There’s also a mindset problem. People copy showcase builds that are meant to be admired, not opened. A daily driver gaming PC should be tidy enough to cool properly and open easily. It doesn’t need to look like it’s headed to a photoshoot.
Your PC Cable Management Questions Answered
Is PC cable management mostly cosmetic?
No. The cosmetic part is real, but it’s secondary. The practical value is easier maintenance, easier upgrades, better organization, and fewer cables sitting where they shouldn’t. If the system is used hard for gaming or streaming, functional routing matters a lot more than presentation.
How much space behind the motherboard tray is enough?
There isn’t one perfect measurement that guarantees an easy build. What matters in practice is whether the case gives you usable rear routing space, cutouts in the right spots, and tie-down points that flatten bundles instead of stacking them. A little well-designed space is more useful than a larger area with no routing features.
Can I mix modular PSU cables from different power supplies?
Don’t do it unless the manufacturer explicitly states compatibility for that exact cable and unit pairing. Modular cables may look similar at the connector end and still be pinned differently. This is one of the easiest ways to create a serious hardware problem because the visual match can fool you.
If you buy a used modular power supply or inherit one from an older build, keep its original cables with it. Label the bag. Store the extras together. Treat loose unknown PSU leads like unverified parts, not spare accessories.
Are custom cable extensions worth it on a budget build?
Sometimes, but only after the basics are handled. If your case has poor routing, your power supply dumps unused leads everywhere, or your desk is a tangle, extensions won’t solve the underlying issue. They mostly improve appearance and can make visible runs look cleaner in a windowed case.
For a budget-conscious gamer, the better spend is usually on airflow-friendly case features, reusable ties, and desk organization. Extensions make more sense when the build is already functionally sorted and you want cleaner visible runs without rebuilding everything else.
What’s the simplest cable management upgrade for a dual-monitor desk?
Treat each monitor like a fixed endpoint. Run power and display cables together along the arm or stand, secure them at the rear edge, and keep slack under the desk instead of bunching it behind the screens. If your setup includes two displays plus speakers, chargers, or a webcam, this guide on how to set up dual monitors can help you think through layout before you start sticking clips everywhere.
Should I redo my whole setup every time I add a device?
No. Build in a little flexibility from the start. Leave accessible clips for temporary cables, leave some slack in the places where devices move, and avoid making every run permanent. The best cable management system is one that survives small changes without forcing a full reset.
If you’re building a gaming or streaming setup and want gear advice that respects your budget without steering you toward junk, Budget Loadout is worth bookmarking. It focuses on real-world value, durability, and the trade-offs that are important when you’re trying to improve a setup one smart upgrade at a time.
If you’re building a gaming or streaming setup and want gear advice that respects your budget without steering you toward junk, Budget Loadout is worth bookmarking. It focuses on real-world value, durability, and the trade-offs that are important when you’re trying to improve a setup one smart upgrade at a time.
Related Articles