Going live on Twitch costs nothing, and the steps that trip up new streamers are rarely the ones they spend money on. Learning how to start streaming on Twitch is mostly a matter of doing seven things in the right order: secure the account, pick free software, connect it, set a bitrate your connection can hold, test in private, prepare the channel, and go live on a schedule you can keep. Gear matters, but less than the shopping lists suggest.
This guide stays on the Twitch side of the job, from the account screen to the first broadcast, then covers console and phone streaming and what it takes to reach Affiliate. Our full beginner streaming setup goes deeper on the hardware, and the OBS settings for streaming guide covers every encoder option.
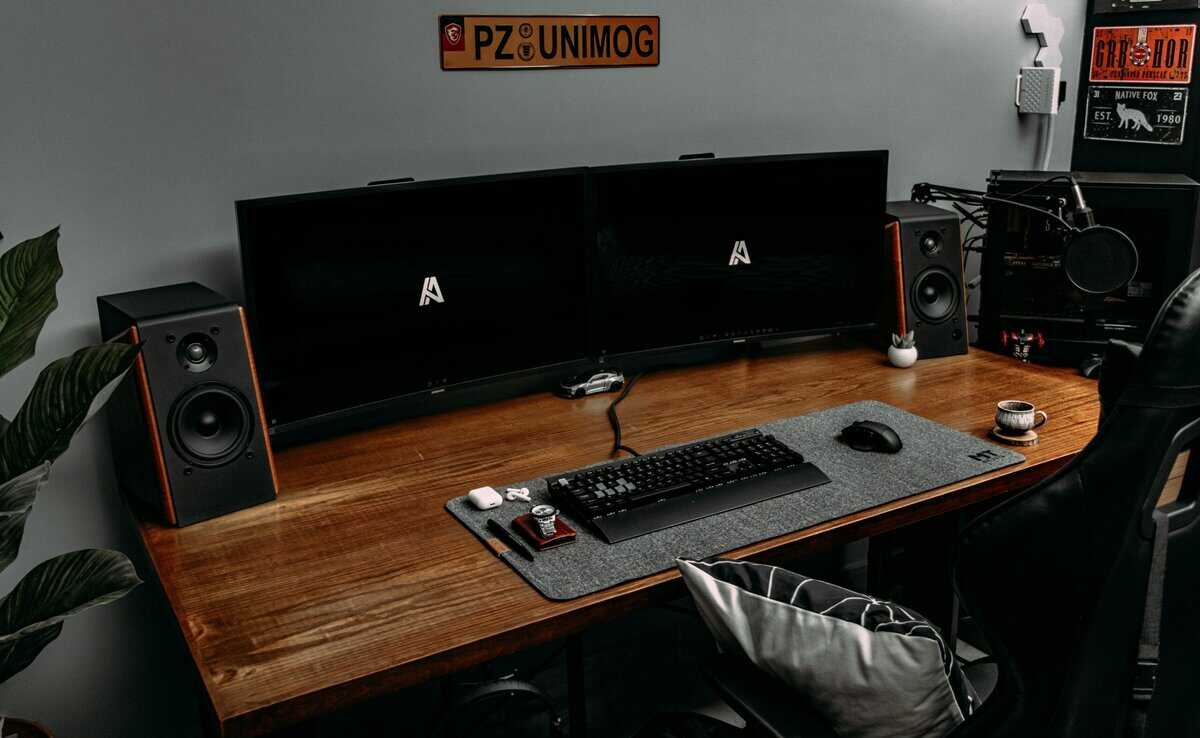
- You can start streaming on Twitch with just your gaming PC and free software like OBS Studio, with no expensive gear required on day one
- OBS Studio is free and lighter on your PC, while Streamlabs adds beginner-friendly overlays and widgets at the cost of higher CPU usage
- A stable upload speed of at least 6 Mbps and a consistent schedule matter more than expensive equipment for growing your channel
- Start simple with your existing setup, then upgrade one piece of gear at a time based on what your stream actually needs, usually audio first
- Twitch caps 1080p at 60fps at 6,000 Kbps, so set your bitrate to about three quarters of your upload speed and use a constant bitrate
Table of Contents
What You Need Before You Go Live
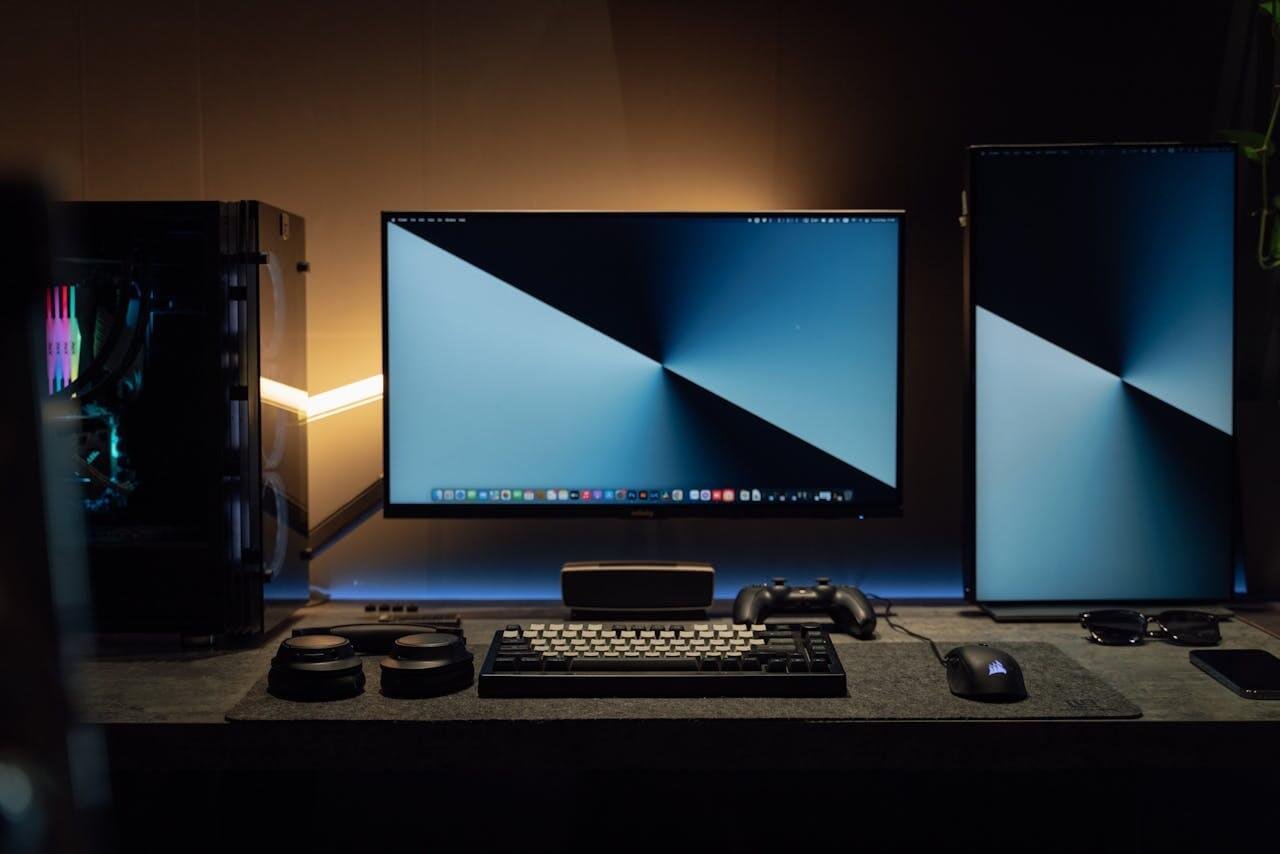
The honest minimum is short: a device that can run your game and the broadcast at the same time, an upload connection that holds steady, and a microphone that does not make you sound like you are talking through a wall. Everything else can wait until the stream itself shows you the weak point.
The Device and the Connection
A mid-range gaming PC or laptop handles both jobs if the settings are sensible, and a PS5, an Xbox Series X|S or a phone can stream with no PC at all (more on those below). Upload speed matters more than download. About 6 Mbps of stable upload is a safe floor for a clean 1080p stream, so run a speed test at the hour you plan to stream, not at three in the morning when the network is empty.
The Mic Comes First
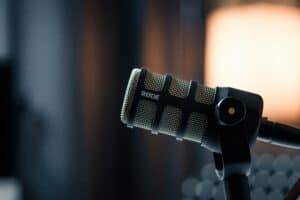
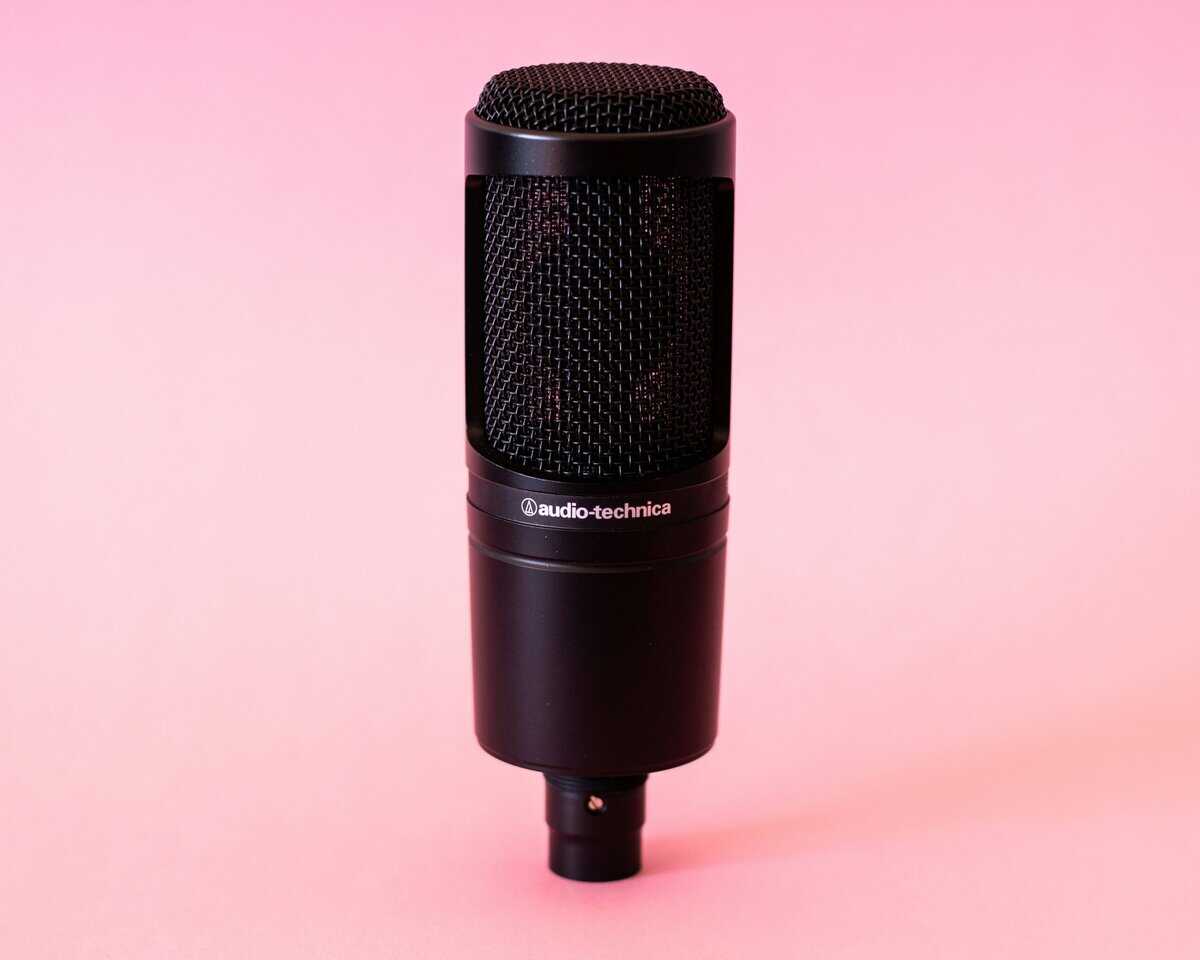
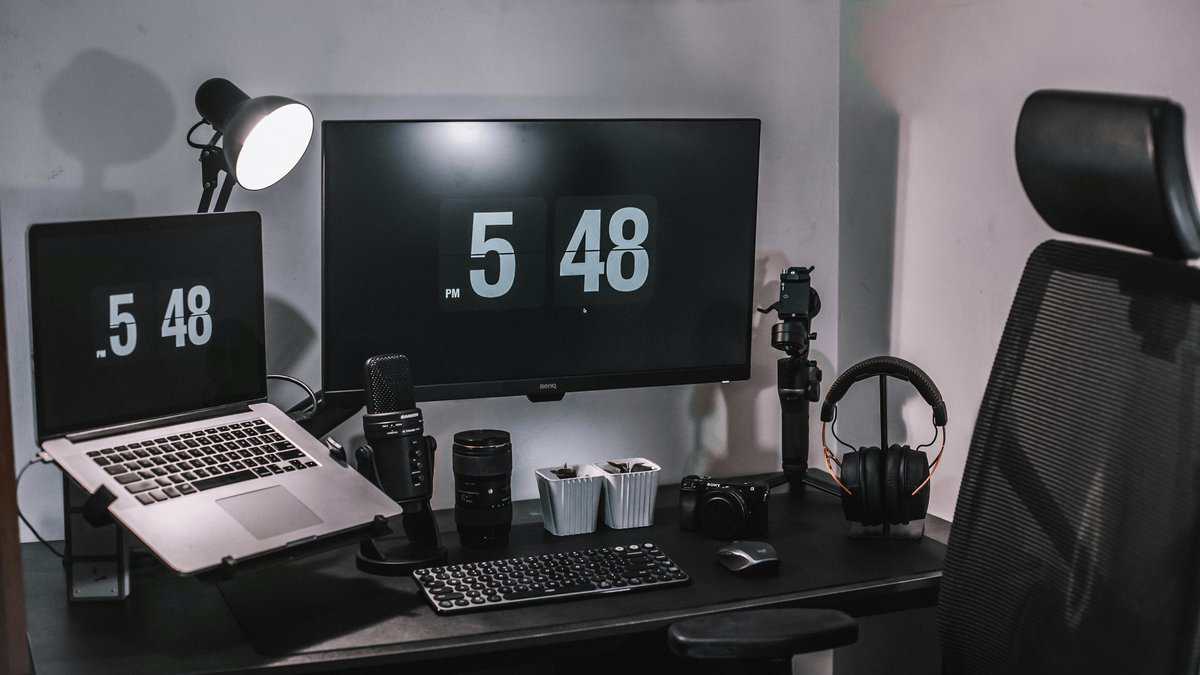
Viewers forgive a soft webcam. They leave over crackling, muffled or clipping audio, which makes a standalone USB mic the first purchase worth making. It does not need to be expensive: the Fifine K669B is a sturdy metal-bodied condenser that has been the default starter mic for years. If your room is noisy, a dynamic mic like the FIFINE AmpliGame AM8 rejects more of the background, and it can move to an XLR interface later. Our budget streaming mic guide ranks the field.
Mount it well, too. A mic on a plastic desk tripod picks up every keyboard tap, while a TONOR boom arm lifts it off the desk and closer to your mouth, which does more for clarity than most settings changes.
Camera and Light Are Optional on Day One
A face cam helps viewers connect, but plenty of channels run without one (the FAQ below covers that). If you want one, the Logitech C920 is the long-standing default and the NexiGo N60 is the budget floor with a wide field of view. Light matters more than the camera: a cheap webcam facing a window looks better than an expensive one in a dark room, and a UBeesize 12-inch ring light fixes a dim desk for little money.
Our budget webcam guide and streaming lighting guide cover the alternatives, and the budget streaming gear guide collects every streaming roundup in one place.
Step 1: Create and Secure Your Twitch Account
Sign up at twitch.tv on a computer or in the Twitch app, pick a username you are happy to say out loud, and verify your email address. Use the same name anywhere you plan to post clips, so a viewer who finds you in one place can find you in the other.
Then turn on two-factor authentication under Security and Privacy in your settings. Twitch requires 2FA before you can start Affiliate onboarding, so setting it up now saves a stop later, and it protects the account that holds your stream key. Twitch verifies your phone by text message first, then lets you add an authenticator app as a backup.
One account detail catches people out later: your stream key resets every time you change your password. If OBS suddenly refuses to connect after a password change, a fresh key is the fix.
Step 2: Pick Free Streaming Software
Broadcast software combines your game, mic, camera and alerts into one feed and sends it to Twitch. Two free options cover almost every beginner: OBS Studio and Streamlabs Desktop, which is built on top of OBS.
OBS is the lighter of the two and gives you full control, at the cost of adding alerts and overlays yourself. Streamlabs bundles themes, alerts and a chatbot into a friendlier interface, and those extras ask more of your CPU and RAM. If your PC already struggles with the games you play, start on OBS. If it has headroom and you want a polished look on the first night, Streamlabs gets you there faster.
| Feature | OBS Studio | Streamlabs Desktop |
|---|---|---|
| Performance | Extremely lightweight. Uses very few system resources, making it ideal for budget PCs or when playing demanding games. | More resource-intensive. The all-in-one features can lead to higher CPU and RAM usage, which might impact in-game performance on some systems. |
| Ease of Use | Steeper learning curve. The interface is powerful but less intuitive for beginners. Requires more manual setup for things like alerts and overlays. | Very beginner-friendly. A streamlined setup process with an intuitive interface. Alerts, themes, and chat are all integrated, making it easy to get a professional look quickly. |
| Features & Overlays | Minimalist by design. You have complete control but must add everything yourself using community-made browser sources and plugins. This offers maximum flexibility. | Feature-rich. Comes with a huge built-in library of free and premium themes, widgets, and alert packages. The integrated app store adds even more functionality. |
| Customization | Highly customizable. With a vast library of community-made plugins, you can tailor OBS to do almost anything. It’s the ultimate “do-it-yourself” tool. | Customizable within its ecosystem. You have plenty of options, but they are largely confined to what Streamlabs offers through its own platform and app store. |
| Best For | Competitive gamers, streamers on a tight hardware budget, or anyone who wants total control and the lowest possible performance impact. | New streamers, creators who value convenience, or those with a powerful enough PC who want an all-in-one solution without much technical setup. |
Competitive shooters reward the lighter option, because every bit of CPU the broadcast does not take stays with the game. Slower RPGs, strategy games and creative streams leave more room for Streamlabs and its extras. If the PC is the real bottleneck, our streaming PC guide covers what the encoder needs.
Step 3: Connect Twitch and Set Your Stream Key
The easiest route is the built-in account connection. In OBS or Streamlabs, open Settings > Stream, choose Twitch as the service, select Connect Account and log in. The software handles authorization without you copying anything.
The manual route still works and is worth knowing:
- Go to your Twitch Creator Dashboard.
- Navigate to Settings > Stream.
- Copy your Primary Stream Key.
- In OBS or Streamlabs, go to Settings > Stream.
- Select Twitch and paste your key.
Treat the key like a password. Anyone who has it can broadcast to your channel, so never show it on stream, and reset it from the same settings page if it ever leaks. If you later stream from a second PC or a laptop, connect the account there as well rather than keeping the key in a text file you might share by accident.
Step 4: Set Bitrate and Resolution for Your Connection
Bitrate is how much video data you send to Twitch every second, and it is the setting most tied to your upload speed. Twitch’s own broadcasting guidelines cap 1080p at 60fps at 6,000 Kbps and recommend a constant bitrate. A safe rule is to set the video bitrate to about three quarters of a stable upload result, so a 6 Mbps connection runs well at around 4,500 Kbps and keeps a buffer for dips.
Do not max out your bitrate based on a single speed test. Internet speeds fluctuate. Setting your bitrate too close to your maximum upload speed risks a choppy stream the moment your connection dips.
Resolution and frame rate trade against each other on a single PC. Fast shooters look better at 720p and 60fps than at a stuttering 1080p, while slower games can run 1080p at 30fps and keep text and menus crisp. Pick the one your PC holds without dropped frames, not the one that looks best on paper.
Encoder choice, audio filters and Twitch’s Enhanced Broadcasting option for supported graphics cards all live in our OBS settings for streaming guide, so this page stays on the Twitch side.
Step 5: Run a Private Test Stream
Do not let your first broadcast be your test. Twitch’s Inspector tool runs a stream that nobody sees and no follower is notified about. Log in at inspector.twitch.tv, choose to run a stream test, and add ?bandwidthtest=true to the end of your stream key in OBS or Streamlabs. Start streaming as usual, and Inspector shows the bitrate and frame rate Twitch actually receives.
Let it run for a few minutes while you play the game you plan to stream. A steady bitrate line means the setting holds. Drops and spikes mean the bitrate is set too high for your connection, so lower it and test again. Remove the test suffix when you are done, or your real stream will not show up on your channel.
While the test runs, check your audio. Talk at a normal volume and watch the mic meter in OBS: it should sit in the yellow and never touch the red.
Step 6: Set Up Your Channel and Chat
An empty default channel page looks abandoned. Before the first stream, add a clear profile picture, a simple banner and a short bio that says what you play and when. None of it needs design skills. Fill in the stream title and tags before every broadcast, too: a specific title that names the game and the goal for the night tells a browsing viewer far more than a generic one.
Safety and Moderation
Open the Creator Dashboard, go to Moderation > AutoMod and pick a starting level. Level 1 is a sensible default: it holds back the worst messages for review without blocking normal chat. As the channel grows, make a trusted friend a moderator so you are not policing chat while you play.
Free Overlays and Alerts
Free overlay and alert services such as StreamElements give you a webcam frame, a follower goal and on-screen alerts for new follows. You customize them on the service’s site, copy a browser-source URL and add it as a source in OBS. Streamlabs Desktop has the same tools built in.
Twitch is crowded at every hour of the day. Standing out is not about expensive gear. It is about consistency and presentation, which these free tools make possible.
Step 7: Go Live and Build a Schedule
When the test looks clean, set your stream title and category, start the stream and say hello before the game begins, so early viewers know someone is there. Talk through what you are doing even when chat is empty. The person who drops in ten minutes later is watching a stream, not a silent game.
A schedule does more for a small channel than any upgrade. Pick days and times you can actually keep, add them to the schedule on your channel, and stick with them for a month before you judge anything. Viewers come back to streams they can find.
End each stream on purpose rather than just clicking stop. Thank whoever stayed, say when you will be back, and use Twitch’s raid feature to send your viewers to another small streamer in your category. It costs nothing, it is the friendliest way to meet other creators, and channels you raid often return the favor.
Picking a Game
Big categories bury new channels at the bottom of a long directory. A smaller game with a dedicated community gives you a better chance of being seen, as long as it is one you can play happily for hours. Enthusiasm reads on stream, and so does obligation.
How to Start Streaming on Twitch Without a PC
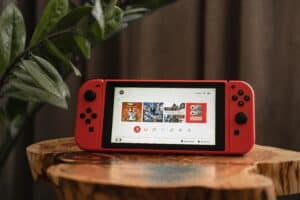
You do not need a PC to start. The PS5 and Xbox Series X|S both stream to Twitch from the console itself: link your Twitch account in the console’s settings, then start a broadcast from the share or capture menu. It is the zero-cost way to find out whether you enjoy streaming before you buy anything.
The tradeoff is control, since console broadcasts offer few overlay and audio options. When you outgrow them, a capture card routes the console into OBS on a PC. Our capture cards for streaming guide ranks them, and the Switch capture card guide covers Nintendo’s consoles, which need one to stream at all.
Phones are simpler still. The Twitch app has a Go Live button that streams your camera or your screen, and it does not need a stream key at all. Mobile games, IRL streams and quick tests all work this way, with a steady phone mount doing most of the production work.
Reaching Twitch Affiliate
Affiliate is the first monetization tier, with subscriptions, Bits, ad revenue and channel points. Twitch’s help center lists four requirements, and all four have to land inside the same 30-day window:
- Reach 25 followers.
- Stream for 4 hours in total.
- Stream on 4 different days.
- Average 3 concurrent viewers on 4 different days.
Three viewers means three people watching at the same time, not three views in total, and days below that average do not count against you. Twitch also requires 2FA before it lets you start Affiliate onboarding, which is why Step 1 turns it on early. Your progress shows in the Achievements section of the Creator Dashboard.
Those numbers are within reach for a small channel that streams consistently, which is the real lesson: the schedule from Step 7 is the path, and no piece of gear shortens it.
Frequently Asked Questions
It’s normal to have questions before you go live. Let’s address some common ones for new creators.
Can I Just Stream Directly from My Console?
Yes, and it’s a good way to start. The PlayStation 5 and Xbox Series X/S have built-in streaming apps that are easy to use. You only need the console and a headset.
The trade-off is control. You lose the ability to add custom overlays, set up alerts, or fine-tune audio and video settings. It’s a zero-cost entry point. Most streamers who become serious eventually move to a PC with a capture card for more creative freedom, but console streaming is a good way to test the waters.
Do I Really Need to Show My Face on Camera?
No. There is no rule that requires a webcam for successful streaming. Many communities have been built by streamers who never show their face.
Many streamers use a PNG avatar (PNGtubers) or an animated 3D model (VTubers). What matters is your personality. Your voice, gameplay, and chat interaction are what build a community. A camera can help forge a connection, but it’s not a requirement if you aren’t comfortable with it.
Be mindful of privacy. Streaming can reveal your room, voice, and in-game usernames. Always be aware of the personal information you are sharing, both visually and verbally.
What Games Are Actually Good to Stream for Growth?
The dilemma is whether to play a popular game or a smaller one. For a new streamer, the answer is almost always the smaller game.
Streaming Fortnite or Valorant as a new channel places you at the bottom of a directory with thousands of others, making discovery difficult.
A category where a new channel still shows up near the top of the live list gives viewers a real chance to find you.
Play something you genuinely enjoy. Viewers can detect fake enthusiasm. Your authentic passion for a game is more engaging than chasing trends.
The best game to stream is one you can play for hours. Consistency and genuine enjoyment will attract the right audience more effectively than competing in the most popular categories.
Do You Need 2FA to Stream on Twitch?
Not to go live, but Twitch requires it before you can start Affiliate onboarding, and it protects the account that holds your stream key. Turn it on in your Security and Privacy settings. Twitch verifies your phone by text message first, then lets you add an authenticator app as a backup.
Can You Test a Twitch Stream Without Going Live?
Yes. Log in to Twitch Inspector, choose to run a stream test, and add ?bandwidthtest=true to the end of your stream key in OBS or Streamlabs. The stream reaches Twitch so Inspector can show its bitrate and frame rate, but it does not appear on your channel or notify followers. Remove the suffix before your real stream.
Looking for more budget gaming gear? Check out Budget Loadout for the latest reviews and recommendations.
Related Articles