The Nintendo Switch can’t stream or record gameplay to your PC on its own. That 30-second clip feature is useful for a quick share, but for creating a YouTube video or going live on Twitch, you need a dedicated capture card for Nintendo Switch. And now that the Switch 2 can output up to 4K60, picking the right one takes a little more thought than it used to.
- 1080p60 capture covers everything the original Switch outputs
- 4K60 HDR passthrough keeps your TV picture pristine
- Plug-and-play with OBS with no driver hunting
- Captures at 1080p even when a Switch 2 sends it more
- Passthrough tops out at 4K60 with no 120Hz modes
- Light plastic body compared to metal rivals
- True 4K60 capture matches the Switch 2’s docked output
- Zero-lag HDMI passthrough for your main display
- USB-C connection suits laptops and compact setups
- Newer release with a shorter track record than Elgato
- No HDMI 2.1 for 4K120 passthrough
- Companion software is more basic than bigger brands
- 4K60 HDR capture with headroom for every current console
- HDMI 2.1 passthrough up to 4K144 for high-refresh displays
- Mature Elgato software with deep OBS integration
- Costs more than a Switch-only setup needs
- Overkill if you publish at 1080p
- Needs a USB 3.2 port for full throughput
- The Nintendo Switch cannot stream or record long gameplay sessions natively: a capture card is required for YouTube or Twitch content
- Any USB 3.0 capture card with HDMI passthrough works for the original Switch since it outputs a standard 1080p60 signal
- The Switch 2 outputs up to 4K60 docked, so match your card to the console you actually record from
- Passthrough specs describe what you see while playing and capture specs decide what your audience sees: confirm true 4K60 capture, not just passthrough
- 1080p60 cards remain the budget sweet spot if you publish at 1080p, even with a Switch 2 in the dock
Table of Contents
What a Capture Card Does for Your Switch
A capture card is a device that sits between your Nintendo Switch and your computer. It takes the HDMI video signal from your Switch dock and converts it into a format your PC or Mac can process, typically over a USB connection.
Without it, your computer cannot receive the video feed from your Switch. With a capture card, you can:
Stream on Twitch or YouTube: Broadcast gameplay using software like OBS Studio.
Record High-Quality Video: Capture gameplay footage without the Switch’s 30-second recording limitation, ideal for creating content for YouTube.
Produce a More Professional Stream: Add overlays, a webcam feed, alerts, and other graphics for a customized broadcast.
For anyone serious about content creation with a Switch, a capture card is a necessary investment. The console has a large existing audience, with 153 million lifetime console sales and over 128 million annual players. This represents a substantial potential viewer base. You can read the full Nintendo Switch sales statistics on icon-era.com for a detailed breakdown of the community size.
Key Specifications for a Nintendo Switch Capture Card
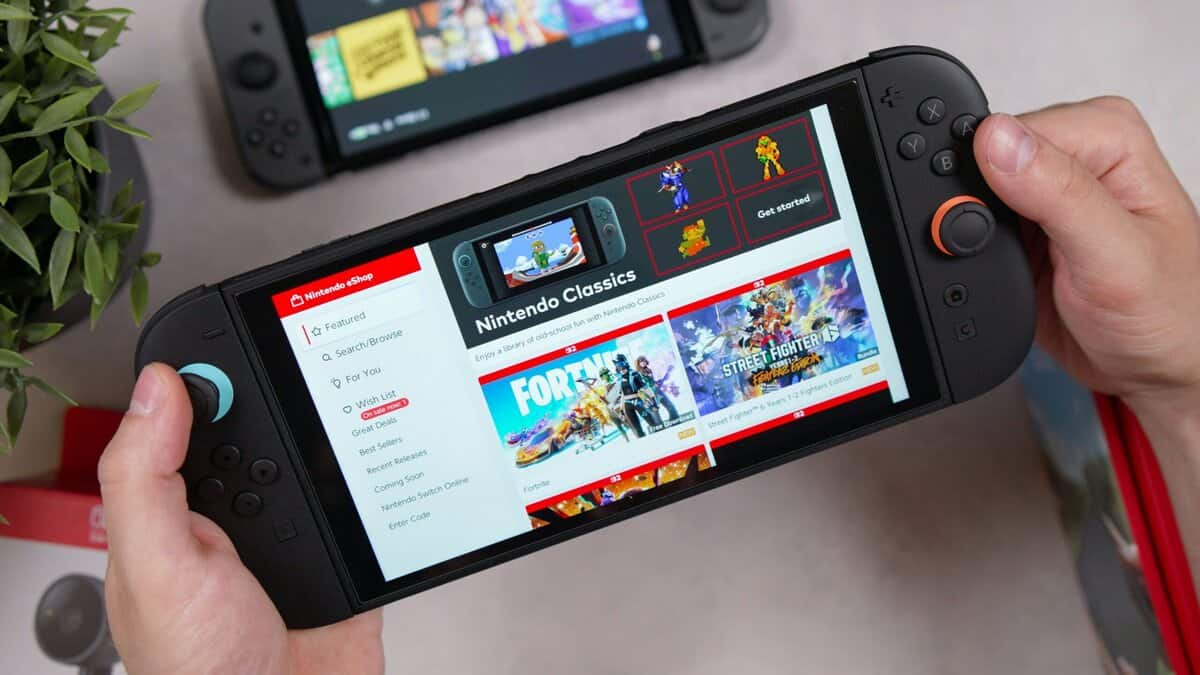
Product pages are filled with technical terms. When choosing a capture card for Nintendo Switch, only a few specifications are critical. Focusing on the right features allows you to achieve good quality without paying for capabilities the Switch cannot use.
Let’s clarify what to look for.
Technical Specifications for Switch Users
This table breaks down the key terms, their relevance to the Switch, and a practical recommendation for budget-conscious gamers seeking value.
| Specification | What It Means for Switch | Value-Oriented Recommendation |
|---|---|---|
| Capture Resolution | The quality of the video sent to your PC. The original Switch tops out at 1080p while the Switch 2 outputs up to 4K60 docked. | 1080p. Step up to 4K60 capture only when you record from a Switch 2. |
| Capture Framerate | The smoothness of the recorded video. 60fps is necessary for fluid motion in fast-paced games. | 60fps. A 30fps capture rate will result in visibly choppy video, especially in fighting games or racers. |
| HDMI Passthrough | Allows the video signal to pass through the card to a TV or monitor with no added delay. | Essential. This feature lets you play without input lag while streaming or recording. |
| Connection Type | How the capture card connects to your computer. | External USB. This option is simple, portable, and sufficient for the Switch’s output. |
These four specifications are the most important. Getting them right will address the primary technical requirements for a quality Switch stream.
For most Switch streamers, the AVerMedia StreamLine MINI+ hits the sweet spot. It captures reliable 1080p60 with a built-in H.264 hardware encoder that keeps the load off your PC, and its 4K60 HDR passthrough leaves your TV picture untouched. If you record from a Switch 2 and want full-resolution footage, the GENKI ShadowCast 3 Pro steps up to true 4K60 capture without the premium-card price tag.
Why 1080p at 60fps Is the Correct Choice
The most important specifications to check are the capture resolution and framerate. For the Nintendo Switch, the target is 1080p at 60fps.
This combination ensures your stream appears as smooth and clear as your gameplay. For fast-paced games common on the platform, like Super Smash Bros. Ultimate or Mario Kart 8 Deluxe, capturing at less than 60fps produces noticeably jerky video that is unpleasant to watch. For a detailed comparison, our guide on 1080p vs 4k gaming explains the real-world differences.
The Difference Between Passthrough and Latency
Next is HDMI passthrough, which is a non-negotiable feature. It allows you to play on your TV or monitor without input lag. The capture card sends the video signal directly to your screen before processing it for your computer, ensuring responsive gameplay.
Do not confuse passthrough latency with capture latency. Passthrough affects the gameplay experience on your TV. Capture latency is the slight delay between your gameplay and its appearance in your streaming software like OBS.
A good capture card makes this distinction easy: HDMI passthrough delivers zero-latency gameplay to your TV while your PC processes the stream separately.
For the Switch, an external USB capture card is the most practical option. They are portable, easy to set up, and provide all the necessary performance. A model with a solid metal casing is generally preferable, as it indicates better build quality and helps with heat dissipation, contributing to the device’s durability.
Internal PCIe cards, which are installed directly into a desktop PC motherboard, are unnecessary for the Switch’s 1080p output.
A Straightforward Guide to Setting Up Your Capture Card
Connecting your new capture card is a simple process. This section will guide you through connecting the cables and configuring the software to get your gameplay live.
Most value-focused external cards are plug-and-play devices with clearly labeled ports.
Physical Connections
Follow this four-step process, which follows the signal from the Switch to your monitor and PC.
Dock Your Switch: Ensure your Nintendo Switch is seated correctly in its official dock.
Connect Switch to Capture Card: Plug one end of an HDMI cable into the dock’s HDMI OUT port. Plug the other end into your capture card’s HDMI IN port.
Connect Card to Monitor: Use a second HDMI cable to connect the capture card’s HDMI OUT (Passthrough) port to your TV or gaming monitor.
Connect Card to PC: Use the included USB cable to connect the card to a USB 3.0 port on your computer. Using a USB 3.0 port is important for optimal performance.
Quick tip: You’ll need two HDMI cables for this setup: one from the dock to the capture card, and one from the card to your monitor. If you need extras, a budget 2-pack of 4K HDMI cables will cover both connections.
After these connections are made, your Switch’s display should appear on your monitor as usual. The next step is to configure your computer to see the footage.
Software Configuration in OBS Studio
With the hardware connected, we can move to the software. We recommend OBS Studio because it is free, capable, and widely used.
Open OBS. In the Sources panel at the bottom, click the ‘+’ icon and select Video Capture Device. Name it something clear, like “Nintendo Switch,” and click OK.
A properties window will appear. In the Device dropdown menu, select your capture card. Your Switch gameplay should now be visible in the OBS preview window.
To ensure your stream includes game audio, scroll down in the same properties window. Find Audio Output Mode and change it to Capture audio only. This directs OBS to use the audio from the HDMI signal.
For a more detailed walkthrough of configuring all your settings for a broadcast, see our complete streaming setup for beginners guide.
The Switch 2 Capture Card Question
The Switch 2 changed this decision more than any console launch in years. Docked, it outputs up to 4K60 with HDR10, which means a capture card for Nintendo Switch duty now covers two very different jobs. The original Switch never asked for more than 1080p60. The new console can feed a card four times the pixels.
That does not make 1080p60 cards obsolete. The Switch 2 negotiates its output over HDMI, so a 1080p card simply receives a 1080p signal. If you publish to YouTube or Twitch at 1080p anyway, nobody watching will know the difference. You only need more when you want recordings that match the full docked output.
When a Switch 2 Capture Card Needs True 4K60
A common marketing tactic is to advertise “4K passthrough” on a device that only captures at 4K 30fps. Passthrough just means you can play in 4K on your TV. The recorded file is what matters, and a 30fps capture looks choppy in anything fast-paced. For Switch 2 footage that holds up, the spec to confirm is 4K60 capture, not passthrough.
Passthrough is what you see. Capture is what your audience sees.
The GENKI ShadowCast 3 Pro is why this upgrade no longer stings. It records true 4K60 with zero-lag HDMI passthrough, and its 1440p120 and 1080p240 modes cover high-refresh PC duty as well. Genki has built Switch accessories since the original console launched, and this is the most affordable legitimate 4K60 capture path in the category. If you want maximum headroom, the Elgato 4K X steps up to HDMI 2.1 with passthrough up to 4K144, a spend that makes sense when one card also serves a PS5 or gaming PC.
Solving Common Capture Card Problems
Even with a correct setup, issues can arise. Here are solutions for the most common problems encountered with a capture card for Nintendo Switch.
Most of these problems are due to simple cable or software setting errors, not faulty hardware.
Quick Fixes for Your Stream
This is how to troubleshoot the four most frequent errors.
“No Signal” on TV or OBS: This is typically a cable issue. Double-check that your HDMI cables are connected to the correct IN and OUT ports on the capture card. If the connections are correct, try using a different HDMI cable that you know is functional.
Black Screen in OBS: This indicates the computer detects the card but isn’t receiving the video feed. First, open the “Video Capture Device” source properties in OBS and ensure your capture card is selected. If it is, you may need to disable HDCP (High-bandwidth Digital Content Protection), a copy-protection feature that can cause conflicts.
Choppy or Laggy Video: This suggests a data bottleneck. Confirm the capture card is connected to a USB 3.0 port (usually identifiable by its blue color), not an older 2.0 port. If the connection is correct, check your OBS output settings. A bitrate that is too high for your PC’s processing power can cause performance issues.
No Game Audio: This is a common setup error. In the OBS source properties for your capture card, find Audio Output Mode and set it to “Capture audio only” or “Output desktop audio (WaveOut).” This tells OBS to process the audio coming through the HDMI cable. If you’re still missing voice chat audio from party conversations, the Elgato Chat Link Pro adapter captures both gameplay sound and voice chat through a single cable for less than most HDMI cables cost.
Getting the Most Out of Your Stream on a Budget PC
When you’re working with a budget system, you have to be realistic about making some trade-offs. While your capture card for Nintendo Switch can easily send a 1080p signal to your PC, that doesn’t mean your computer can handle streaming it at that resolution.
Dropping your stream output from 1080p to a crisp 720p60 is almost always the best move. A stable, smooth 720p stream is far better for your viewers than a choppy, buffering 1080p one. Your audience will appreciate the smoothness, especially in fast-paced titles like FPS games.
You’ll also want to set a stable bitrate based on your internet upload speed, somewhere around 3,500 to 4,500 kbps is a solid target for a 720p60 stream. And don’t forget your audio! Use OBS filters like Noise Suppression to clean up your microphone audio, making sure it’s balanced with the in-game sound for a high-quality experience.
If your machine is still struggling after these tweaks, it might be time to think about an upgrade. You can check out our guide on the best gaming PC under $1000 for some value-focused ideas.
FAQ
Let’s address the most common questions about using a capture card with the Nintendo Switch.
Can I Use Any Capture Card for the Switch?
Yes, for the most part. The original Switch uses a standard 1080p HDMI signal, making it compatible with nearly any modern capture card. You do not need a special “Switch-certified” model.
Focus on finding a card that reliably handles 1080p at 60fps and has good build quality. The Switch 2 raises the ceiling: it can output up to 4K60 docked, so only a card with true 4K60 capture records everything the new console can produce.
Do I Need a New Capture Card for the Switch 2?
Not necessarily. The Switch 2 negotiates its output over HDMI, so an existing 1080p60 card still works: the console simply sends it a 1080p signal and your stream looks the same as it did before.
Upgrade only when you want recordings that match the new console’s full 4K60 docked output, or high-refresh passthrough for a 120Hz display.
What Should I Look for in a Switch 2 Capture Card?
True 4K60 capture, not just 4K passthrough. Passthrough describes the signal going to your TV, while capture describes the file your audience actually sees. Cards that advertise 4K but record at 30fps produce choppy footage in fast games.
Zero-lag HDMI passthrough and a USB 3.0 or faster connection round out the checklist.
Does a Capture Card Add Lag to Switch Gameplay?
Not if you play through the card’s HDMI passthrough. Passthrough sends the signal straight to your TV or monitor with no perceptible delay, while the capture side feeds your PC separately.
The mistake to avoid is playing off the software preview window, which always runs a beat behind. Keep your eyes on the passthrough screen and latency is a non-issue.
Do I Need a Powerful PC to Use a Capture Card?
No. Capturing gameplay is significantly less demanding on a computer than running a modern PC game. Most laptops or desktops from the past several years with a quad-core processor (like an Intel i5 or better) and at least 8GB of RAM can record or stream 1080p60 footage without issues.
PC power becomes more relevant when you use complex streaming scenes with animated overlays, multiple camera sources, or other CPU-intensive elements. For a clean gameplay stream, a modest computer is sufficient.
Recording 4K60 raises the bar somewhat: budget extra disk space and a reasonably modern CPU if you plan to archive full-resolution Switch 2 footage.
At Budget Loadout, we provide clear, hype-free recommendations to help you build a great gaming setup without overspending. Find your next upgrade with confidence at Budget Loadout.
Related Articles