Your desk already tells the story. The keyboard is loud, the PC fan hums all night, the window leaks street noise, and the mic you bought because it was “cheap enough” keeps picking up everything except your voice. That’s the best budget streaming mic problem. Most buyers aren’t choosing between “good” and “bad”, they’re choosing between a mic that fits their room and one that fights it.

A complete starter kit that delivers clean, present voice capture in a quiet room without a single extra purchase. The honest entry point for first-time streamers.
- Complete kit out of the box, nothing extra to buy
- Clean, present voice capture for its class
- One of the largest review bases in budget audio
- A condenser hears the room, so it needs a quiet space
- Included tripod sits low without a boom arm
- RGB styling may not suit every desk
The noisy-desk favorite: a dynamic mic that focuses on your voice and ignores keyboard clatter, with a built-in XLR upgrade path for a future interface.
- Rejects room noise far better than entry condensers
- USB now, XLR later covers the whole upgrade path
- Huge review base at a value price
- Dynamic capsule wants closer mic distance
- Stock desk stand benefits from a boom arm upgrade
- Voice tone is flatter than DSP-assisted rivals
Shure’s streaming-focused USB dynamic with real-time DSP that handles levels and plosives for you. The cleanest path to broadcast-sounding voice in an imperfect room.
- Auto-level DSP tames spikes without manual tweaking
- Dynamic capsule plus DSP suits untreated rooms
- Shure build quality and long product support
- Costs several times the entry kit
- USB only, so there is no XLR path later
- Overkill for casual or occasional streams
- A dynamic mic beats a condenser on a noisy desk; a condenser wins in a quiet, controlled room
- The FIFINE AmpliGame A6V kit covers quiet-room streamers without any extra purchases
- The FIFINE AmpliGame AM8 is the value pick for untreated rooms, with an XLR upgrade path built in
- Step up to the Shure MV6 only once streaming is a serious habit; its DSP does the audio work for you
- Placement and room treatment move voice quality more than any same-tier mic swap
Table of Contents
Why Your Room Matters More Than the Mic
You can put the same mic on two desks and get two different results. One setup gives you clean voice pickup. The other drags in keyboard clatter, fan noise, and a room that sounds more like a hard-surfaced storage closet than a streaming space. That is why the first decision is room match.
A noisy setup needs a mic that stays focused on your mouth. A quieter desk can make use of a more sensitive design that pulls in more detail. The price on the box matters less than the whole setup cost, because room acoustics, desk noise, and placement decide how far a budget mic can go. A modest dynamic mic can beat a pricier condenser in a messy bedroom, while a calmer space lets a more detailed mic stretch further without fighting the room.
Treat the room like part of the gear
Bare walls bounce sound. Open windows pull in traffic and neighbor noise. A mechanical keyboard throws sharp peaks into the mic every time you type or spam inputs. If your desk looks cluttered and hard, the mic’s job is simple, stay locked on your voice and ignore the rest.
That is why room treatment often pays off faster than swapping from one budget mic to another. Small changes around the desk can do more for voice quality than spending a little extra on a mic that still has to fight the same bad acoustics. For a practical rundown on cutting what reaches the mic in the first place, this background-noise guide gives a solid starting point before you buy anything else.
Practical rule: if your room sounds bad with your voice unamplified, a cheap mic will not erase that problem. It only works with what the room gives it.
Budget should never mean “cheapest possible”. It should mean the best value for your room, your desk, and how you stream. That is the part people miss when they shop only by MSRP. The right mic for a noisy bedroom is not the same mic for a quiet office, and treating all entry-tier options as interchangeable is how you waste money.
Dynamic vs Condenser and the Specs That Matter
The first spec that matters is the design itself. Dynamic microphones are the safer pick for noisy rooms because they’re less sensitive and better at rejecting what’s happening away from your mouth. Condenser microphones pick up more detail, which works well when the room is controlled, but they also hear more of the mess around you. That is why budget streamers should stop treating every budget mic like the same thing with different branding.
Read the pickup pattern before you read the marketing
For most gamers, the pickup pattern matters more than the logo. Cardioid and supercardioid patterns keep focus in front of the mic and help reduce side noise. In an untreated bedroom, that is not a small detail. It is the difference between sounding like you are on voice chat and sounding like the whole room joined the call.
A good buying habit is simple. Check the pattern, then look at what sits around the desk. If the answer includes a loud keyboard, a fan, or a room with hard reflections, choose tighter rejection. One independent buying guide specifically recommends aiming for self-noise below 18 dBA, and that is a sensible ceiling for budget shoppers who do not want hiss creeping into quiet speech. This background-noise and self-noise guide also points buyers toward directional patterns for better rejection in untreated rooms.
A spec sheet only matters if you can connect it to your desk. If the room is noisy, a tighter pattern usually beats a prettier frequency response.
Why self-noise and build quality matter together
Self-noise is the mic’s own hiss floor. If it is too high, quiet moments sound dirty even before the room gets involved. Build quality matters too, because a budget mic that flexes, rattles, or feels flimsy is usually the one you will replace sooner than you planned. A solid body, stable mount, and dependable controls matter more than flashy extras you will never touch.
The useful shortcut is this. Dynamic plus cardioid or supercardioid is the safer move for most cluttered desks. Condenser plus cardioid can sound sharper, but only if the room already behaves. That is the core buying skill, not memorizing spec names.
A pop filter helps here too, especially if you speak close to the mic or get heavy on plosives. For a quick breakdown of what it does and why it matters, use this pop filter guide before you assume the mic itself is the problem.
Best Budget Streaming Mic Picks by Tier
The budget category is not one flat shelf. It’s a ladder, and the gains show up in room tolerance, connection options, and overall build quality. The useful way to read the spread is by setup, not sticker shock. A starter condenser kit like the FIFINE AmpliGame A6V is enough for a clean desk in a quiet room, the FIFINE AmpliGame AM8 is the value dynamic buy for noisy desks and first-time streamers, and a step-up dynamic like the Shure MV6 gives you more control when the room is less cooperative.
Entry Pick: FIFINE AmpliGame A6V
At the low end, you’re buying a mic that gets the job done without turning setup into a project. The upside is clear. You get quick USB convenience, low friction, and enough quality for Discord, casual streams, and console chat. The tradeoff is just as clear. You give up some polish, some room forgiveness, and the kind of hardware feel that makes a desk setup last for years.
This is the price band where buyers fool themselves most often. If the room is noisy, the mic may still sound decent, but it will not erase bad placement or background chaos. That is fine, as long as you understand what you are paying for. You are buying voice quality per dollar, not a fix for a bad room. The FIFINE AM8 fits that logic well because it lands in the right zone for beginners who want real value without paying for features they will not use.
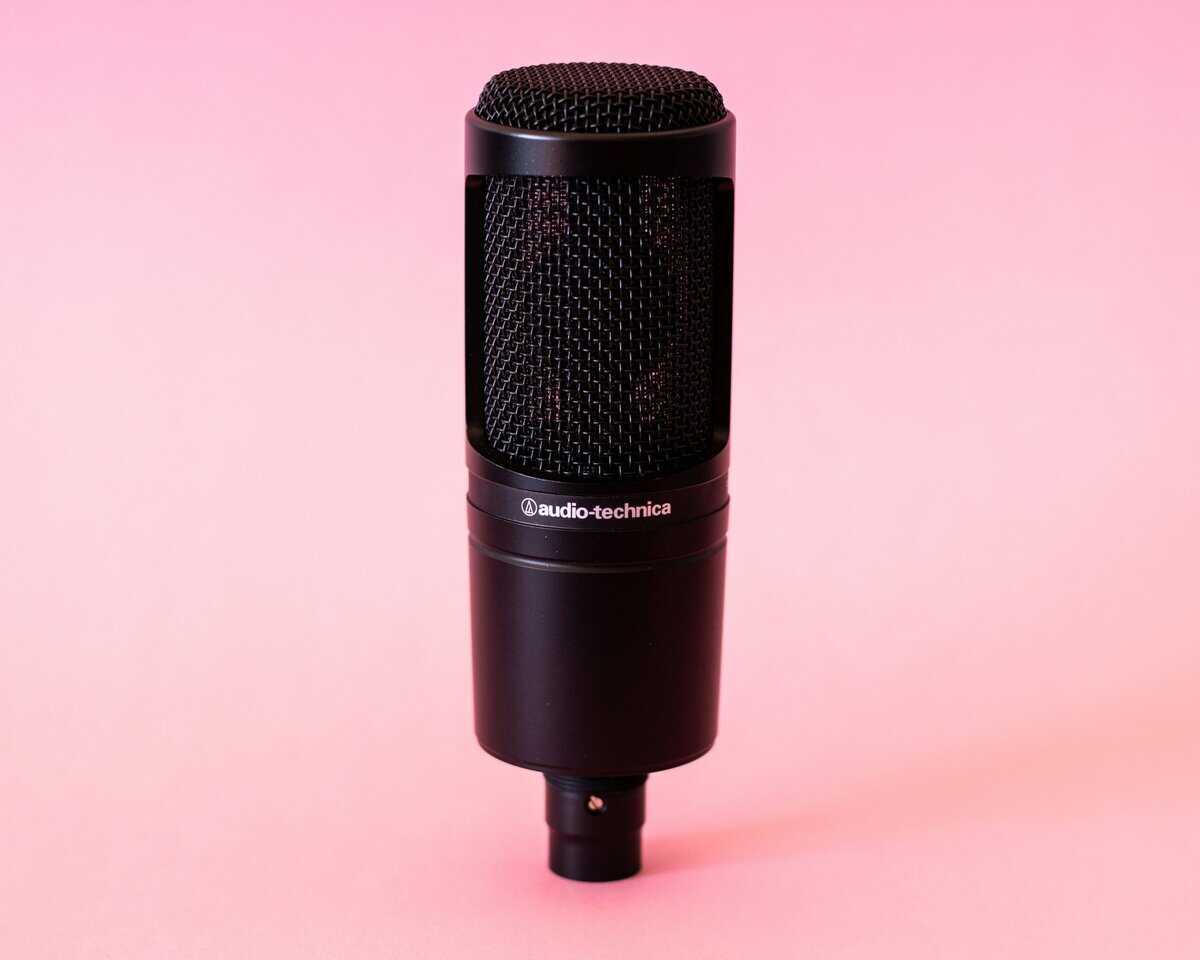
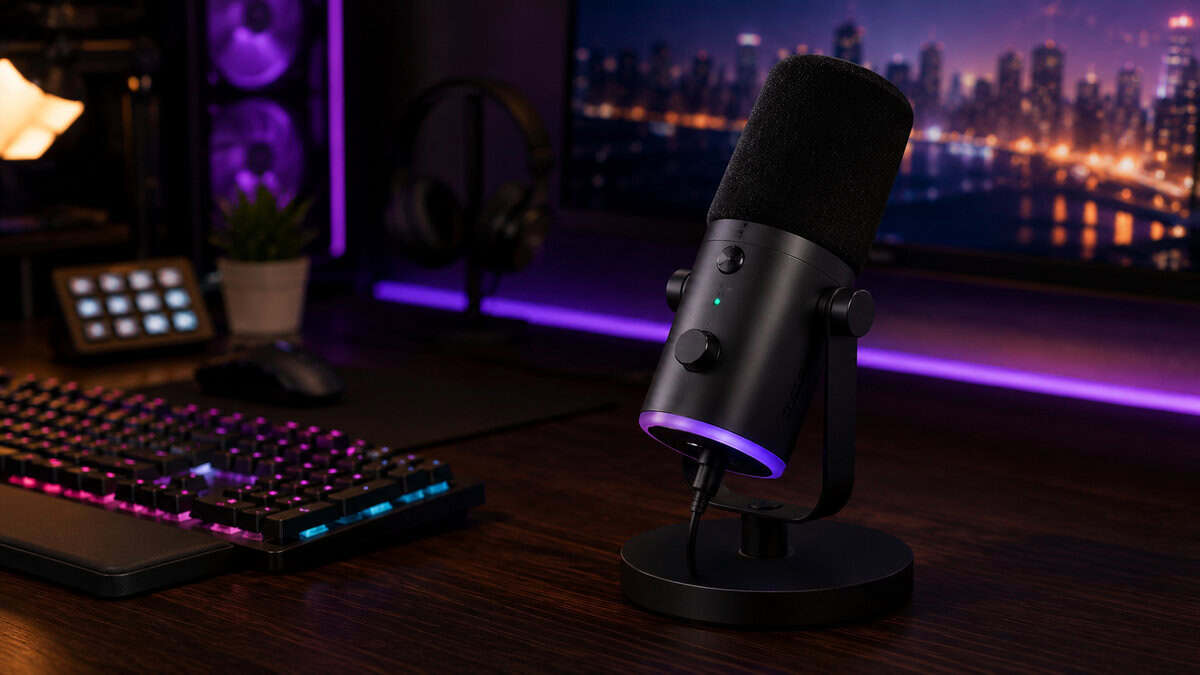
The FIFINE AmpliGame A6V is the honest face of this tier: a cardioid condenser that ships as a full kit with tripod, shock mount, and pop filter, plus tap-to-mute and gain on the body. In a quiet room it delivers clean, present voice capture that outperforms its price class, and one of the largest review bases in budget audio backs that up. Just respect what it is: a condenser hears the room, so pair it with a calm recording space.
Value Dynamic Pick: FIFINE AmpliGame AM8
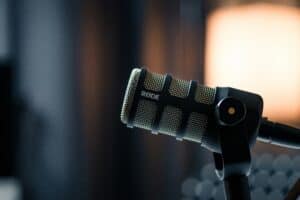
The FIFINE AmpliGame AM8 is the pick this article’s whole thesis points at: a dynamic mic that hears your voice and ignores most of the desk. It runs USB now and XLR later, so the upgrade path to an interface is already built in, and the RGB, tap-to-mute, and headphone monitoring cover the streaming basics without software fuss. For untreated rooms with keyboard clatter and fan hum, this is where the value sits.
Its closest rival is the Maono PD200X, another dynamic USB/XLR body with deeper software EQ through Maono Link. It is a fine alternative if you want more tuning control, but the AM8’s larger track record and lower price keep it in front for most buyers.
Step-Up Pick: Shure MV6
Once you move into the step-up tier, the payoff shifts. You get better rejection, more forgiving placement, and a more mature feel in the hand and on the desk. That higher price also makes more sense if you stream often, deal with inconsistent room noise, or want a mic that keeps sounding steady when your setup gets messy.
The drawback stays simple. A better mic still will not fix a bad desk. It just gives you more room to work with. That is why the step-up tier belongs to buyers who want less compromise and can justify the extra money for a more durable, more flexible setup.
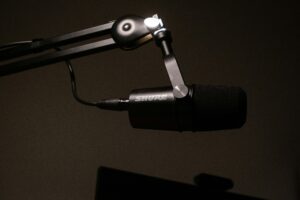
The Shure MV6 is what the step-up money actually buys: a dynamic capsule with real DSP, auto-level, a built-in digital pop filter, and headphone monitoring, from the company whose stage mics defined the category. It costs several times the entry kit, which only makes sense once streaming is a serious habit, but it is the cleanest USB path to broadcast-sounding voice in an imperfect room.
| Mic | Type | Connection | Best For |
|---|---|---|---|
| FIFINE AmpliGame A6V | Condenser kit | USB | Quiet rooms and first streams |
| FIFINE AmpliGame AM8 | Dynamic | USB and XLR | Noisy desks and upgrade paths |
| Shure MV6 | Dynamic with DSP | USB | Serious streaming in imperfect rooms |
The middle tier is where long-term buyers usually land. The entry tier is where cautious beginners should start. The flagship reference exists mostly to show what refinement looks like.
Matching the Mic to Your Game or Stream Style
FPS players, MMO raid leaders, and full-time streamers don’t need the same mic. They just think they do until the first chaotic session proves otherwise. The best choice depends on how much noise sits around your mouth and how much control you need while playing.
FPS gaming rewards tight rejection
For FPS, the mic should disappear into the background of the setup and keep your callouts clean. Off-axis rejection matters here, because you want teammates hearing “enemy left” instead of the keyboard hammering under your thumbs. A cardioid pattern is usually the safe call because it keeps focus in front of the capsule and cuts down what leaks in from the sides.
That matters more in fast comms than people admit. If the mic grabs too much room noise, your voice gets buried every time the action gets loud. A tighter pickup gives you a cleaner lane for callouts without forcing you to overthink every keystroke.
MMO nights need comfort and simple controls
MMO play is different. Sessions run long, the desk stays busy, and you want the mic to behave without becoming another thing to manage. Stable placement matters here because a mic that drifts, tips, or picks up every desk bump gets old fast. An easy mute button helps too, especially if you raid lead, talk in guild chat, or step away mid-session.
If you play for hours, physical convenience matters as much as audio quality. A good mute switch saves more frustration than a fancy spec sheet.
Streaming wants clarity and visible discipline
For streaming, the mic has to do more than sound okay in your headphones. It needs broadcast-style clarity, a clean on-camera look, and controls that help you balance voice and game audio without constant tweaks. The mic is part of the show, so a stable stand, clear mute behavior, and predictable gain control all matter.
That’s why the best budget streaming mic for streaming is often not the cheapest one. It’s the one that lets you sound consistent while you play, talk, and react without fighting the desk. If your style is quieter commentary, a detail-focused mic can work. If your room is messy and your stream is loud, lean toward stronger rejection and a more forgiving shape.
USB vs XLR and the Hidden Cost of Going Pro
USB is the right answer for most budget buyers. That’s the short version, and it holds up. First-time streamers, students, and console players usually care more about total setup cost than the microphone alone, and USB keeps the system simple. You plug in, set levels, and move on.
XLR only wins when the whole setup is ready
An XLR path makes sense when you already own supporting gear or you plan to build toward it. The hidden costs add up fast. You need an audio interface, an XLR cable, a boom arm, and enough patience to learn gain staging without turning your first stream into a troubleshooting session. A good overview of that extra path is covered in this budget audio-interface guide.
That’s why a cheap USB mic can be better value than a prettier XLR setup for a beginner. Voice quality per dollar is only half the equation. System complexity per dollar matters too, and beginners usually underestimate how much hassle the interface route adds.
When XLR actually earns its keep
XLR becomes worth it for specific buyers, not everyone. If you expect to upgrade mics over the next few years, already own an interface, or want to swap capsules and parts over time, the path makes sense. In that case, you’re building a system, not just buying a mic.
There’s also a real durability angle. A well-built XLR mic can stay in rotation longer because the rest of the chain can change around it. But that only helps if you’re ready for the extra cost and the learning curve.
The bottom line is blunt. USB is the smart default for most budget shoppers. XLR is the better long game only when you’re already committed to the rest of the chain.
Setup, Placement, and Cheap Upgrades That Help
A budget mic sounds better when you stop treating placement like an afterthought. Distance, angle, and support change the result more than you might want to admit. You do not need a studio. You need a fixed position that keeps your voice steady and keeps the room out of the mix.
Start with mouth distance and angle
For condensers, keep the mic about 4 to 6 inches from your mouth. For dynamics, sit a little closer. The goal is clean capture without forcing the gain too high. Aim the mic slightly off to the side so you are not blasting air straight into the capsule, which helps reduce plosives on hard consonants.
For a deeper reference on the standard techniques, the Wikipedia overview of microphone practice covers placement fundamentals that apply to every mic in this guide.
If you are hearing bursts on words like “p” and “b”, do not blame the mic first. Fix the angle and distance. That usually solves more than buying another accessory. A cheap foam filter helps too, because something is better than nothing when you are on a budget.
Put money into the support gear that lasts
A stand that wobbles or slips makes every take worse. Boom arms usually win on flexibility and placement, but the durability matters more than the style. Desktop stands are fine when the desk is stable and space is tight. Shock mounts help when you bump the desk a lot, but I would still prioritize a reliable arm or stand first if yours feels flimsy.
For a practical breakdown of support options, this boom arm guide is worth a look. It is the kind of accessory that makes a budget mic feel more expensive without pretending it solves everything.
Buy the accessory that stops the daily problem first. If the desk vibrates, fix the mount. If plosives hit, fix the angle. If hiss shows up, fix the gain.
Best cheap upgrades by impact
- Foam filter: Cheap, immediate, and good enough to tame basic plosives.
- Stable boom arm or stand: Helps with placement and keeps the mic where it should be.
- Shock mount: Useful when the desk gets bumped or the stand picks up vibration.
- Better room surfaces: Soft materials around the desk can do more than another low-end mic swap.
The cheapest path to better sound is rarely a new microphone. It is making the one you already bought behave like it belongs on a serious desk.
Quick Troubleshooting and the Buying Checklist
The same few problems show up over and over with budget setups. The good news is they’re usually fixable in minutes, not hours. Most of the time, the issue is not the mic itself. It’s gain, placement, or routing.
Fix the common problems fast
Plosives on hard consonants usually mean the mic is too direct or too close. Tilt it off-axis and keep your mouth slightly off the capsule’s line. A foam filter can help, but placement does most of the work.
Hiss from gain set too high means you’re asking the mic to do too much at too great a distance. Move closer and lower the gain. If the signal still sounds thin, the room is probably getting in the way and the mic is trying to compensate.
Low chat volume on console often comes from the mic being placed too far away or the input level being set conservatively. Move the mic in, then raise the level slowly until speech sits naturally above game audio. Don’t jump straight to max gain, because that usually just brings noise with it.
If the mic sounds fine in Windows but quiet in OBS, the routing is the problem. Check the input source in the software, confirm the right device is selected, and make sure the app isn’t pulling from a different profile or muted track. This PC mic test guide is a smart sanity check before you blame the hardware.
Use this checklist before you buy
- Match the mic type to the room: Dynamic for noisy desks, condenser for quieter spaces.
- Set your budget tier first: Entry, step-up, or long-term system.
- Choose USB or XLR: Don’t buy into extra complexity you won’t use.
- Check build quality: The body, stand, and controls should feel durable, not disposable.
- Think about your game style: FPS, MMO, and streaming all benefit from different priorities.
Frequently Asked Questions
Quick answers to the questions streamers ask most before buying a mic.
Is a dynamic or condenser mic better for streaming?
It depends on your room. A dynamic mic rejects keyboard clatter, fan hum, and echo, which makes it the safer choice for the untreated rooms most streamers actually have. A condenser captures more detail and sounds excellent in a quiet, controlled space, but it also picks up everything else in the room.
Do I need an audio interface for a streaming mic?
Not for USB mics, which handle conversion internally and plug straight into your PC. An interface only enters the picture when you move to an XLR mic for more control and upgrade headroom, which is why a USB and XLR combo body is a smart budget buy: it lets you defer that purchase without replacing the mic.
How close should a streaming mic be to my mouth?
Two to six inches for a dynamic mic, slightly farther for a condenser in a quiet room. Angle the capsule a few degrees off-axis so plosives pass by instead of popping the diaphragm. Distance and angle change your sound more than any equalizer preset.
Can a budget mic actually sound professional?
Yes, if you control what reaches it. Good placement, sensible gain staging, and a calmer room push an inexpensive mic well past its price class, while a premium mic in a bad spot still sounds bad. Spend effort on setup first and money on upgrades second.
Does RGB lighting or companion software matter on a mic?
Lighting is cosmetic, but software is not. Onboard DSP or a solid companion app that handles auto-leveling, noise gating, and EQ presets saves real setup time and rescues audio in imperfect rooms, which is exactly what separates step-up mics from entry models.
The right budget mic is the one that fits your room, your desk, and your plan for the next year, not the one with the loudest product page. If you want more no-nonsense gear advice for gamers and streamers, visit Budget Loadout and use it to compare the rest of your setup the same way.
Related Articles