An XLR microphone is a mic that outputs analog audio through a 3-pin XLR connector, and it needs an audio interface or mixer before a computer can record it. That’s the part most beginner advice skips, because XLR is a connector standard, not a sound-quality badge.
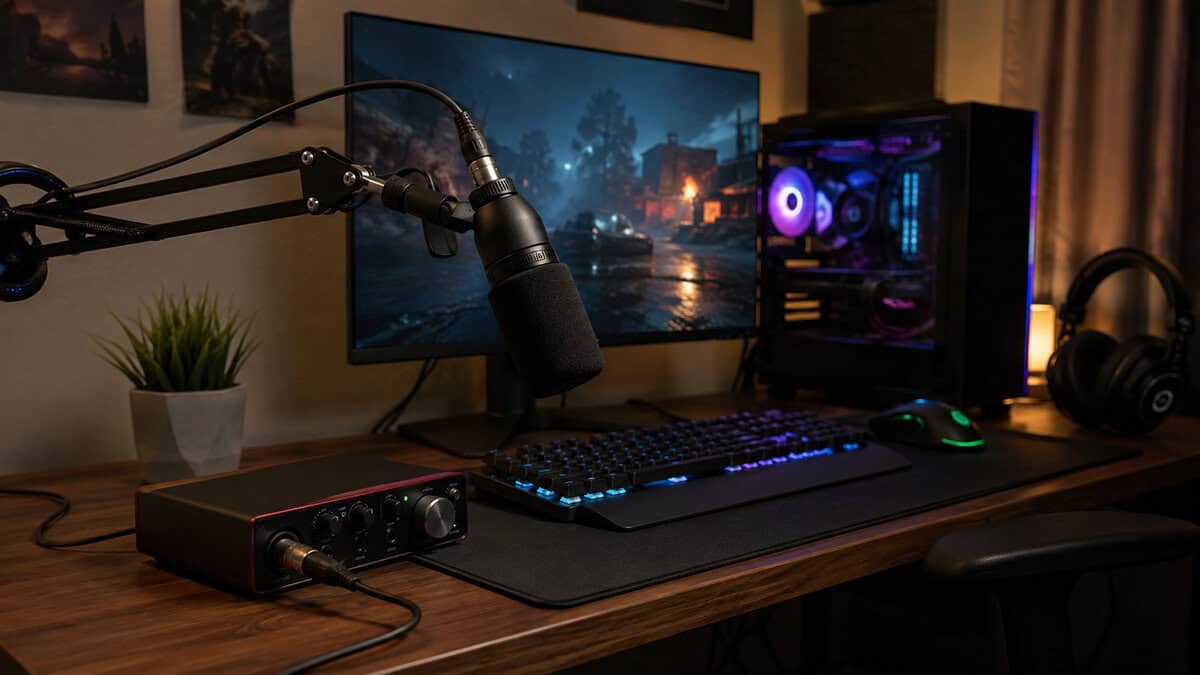
What is an XLR microphone actually getting you? Not automatic quality. A lot of people hear “XLR” and assume they need the most expensive mic in the room. They don’t. What matters is the full chain, the mic, the cable, the interface, and, for some mics, phantom power. If you’re building a desk for FPS gaming, MMO raids, or streaming, that chain matters more than the logo on the mic body.
- XLR is a connector standard, not a sound-quality guarantee; the whole chain decides how you sound
- An XLR mic cannot plug straight into a PC; it needs an audio interface or mixer first
- Condenser mics need 48V phantom power from the interface; dynamic mics do not
- Clean gain from the interface matters more than the price tag on the mic
- Start on USB, and switch to XLR when you need mixing, hardware control, or a real upgrade path
Table of Contents
What Is an XLR Microphone, Actually?
An XLR microphone is defined by its connector, not by the capsule inside it. The standard version is the 3-pin XLR used in professional audio, though XLR connectors can come in 3 to 7-pin variants for different uses. The big practical point is simple, an XLR mic sends analog audio, so it usually needs an audio interface or mixer before a PC or phone can record it.
The connector is the point
That’s why “XLR mic” can mean a dynamic, condenser, ribbon, lavalier, handheld, broadcast, instrument, or shotgun mic. The label doesn’t tell you the sound signature by itself. It only tells you the mic sends its signal over an XLR cable instead of USB.
Practical rule: if a mic says XLR, plan on buying the rest of the signal path too.
Historically, the XLR family traces back to Cannon Electric and James H. Cannon, and the modern form emerged in the mid-20th century. By 1958, the Audio Engineering Society described XLR as a registered trademark of ITT-Cannon, which shows how established the connector already was in professional audio. The name itself reflects the engineering history, X for the original series, L for the latch, and R for rubber-insulated female contacts in later versions.
How Balanced Audio and the XLR Pinout Work
Think of balanced audio like two messengers crossing a river in a storm. They carry the same message, but one is flipped in polarity. If noise hits both of them the same way along the cable, the receiving end can cancel the noise and keep the intended signal. That’s the reason XLR became such a dependable choice in studios, live sound, and broadcast rooms full of cables, power bricks, and gear.
Pin 1, pin 2, and pin 3
The three pins have specific jobs. Pin 1 is ground. Pin 2 is hot or +. Pin 3 is cold or –. Beginners often expect hot and cold to feel symmetrical in a casual way, but the important idea is that the signal travels on two conductors with opposite polarity, so interference can be rejected at the end.
In a messy gaming desk with a PC, router, monitor power, and charging cables nearby, balanced audio is doing the boring work that keeps the mic usable.
That’s also why XLR behaves well with longer cable runs. A boom arm stretching across a desk is one thing. A stage snake or a broadcast setup is another. In both cases, the cable can pick up junk from the environment, but balanced wiring is built to fight that problem instead of amplifying it.
XLR’s reputation for durability matters here too. The connector locks in, the cable feels purpose-built, and the whole format is designed for repeat plugging and unplugging. That’s part of why it became the standard physical interface for professional audio, not because it magically makes every voice better.
If you want a plain-language visual on how a mixer fits into this chain, a budget PC audio mixer guide can help you connect the dots without turning it into engineering homework.
XLR vs USB Microphones for Streamers
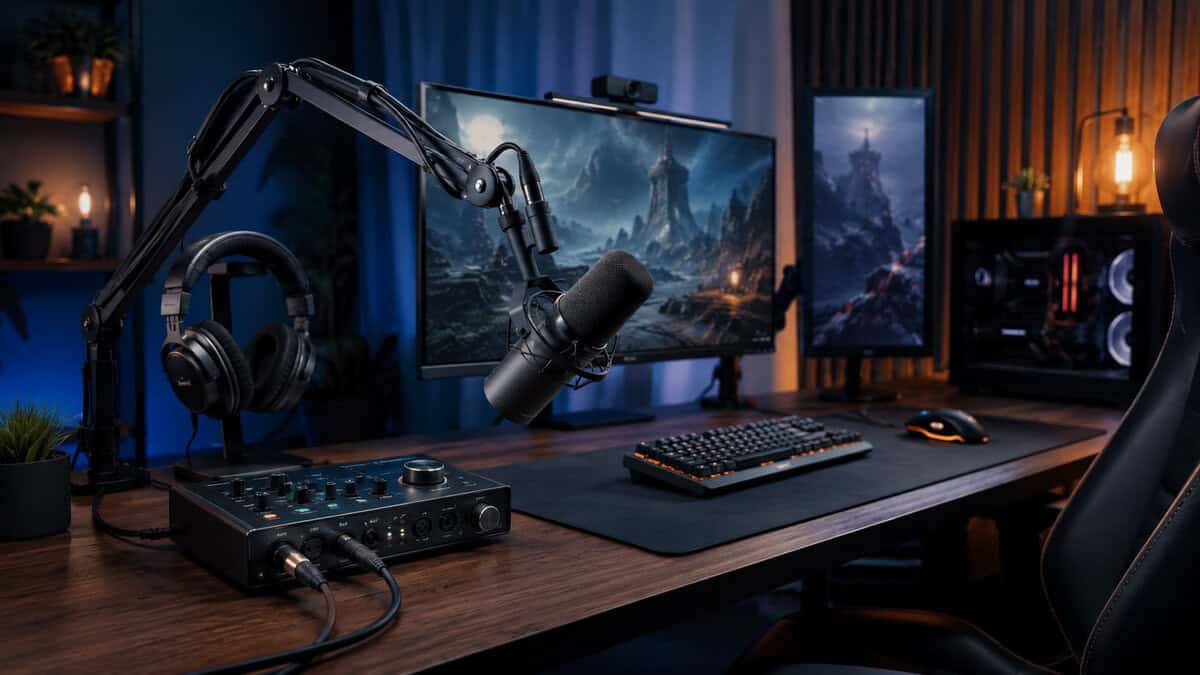
For streamers, a key tradeoff is setup simplicity versus upgrade flexibility. A USB mic plugs straight into a computer. An XLR mic needs an interface first, which means more hardware, more cables, and a little more setup time. In return, XLR gives you a system you can change piece by piece instead of replacing all at once. Buzzsprout’s USB vs XLR comparison frames that core difference the right way.
Where USB wins
USB is the smarter pick when you want plug-and-play reliability. If you’re a casual streamer, a student, or someone who just wants decent voice chat without building a full desk rig, USB keeps things simple. It’s also easier to carry, which matters if you stream from different rooms or travel with your gear.
Where XLR wins
XLR starts to make sense when you care about upgradeability and build quality. UCLA’s School of Music notes XLR mics are commonly built for durability, tend to hold up under heavy use, and can often have individual components replaced. That’s a real value point for gamers who are hard on desk gear and don’t want a mic that feels disposable. UCLA’s XLR mic and interface guide is blunt about that durability angle.
At the lower end of the market, a compact USB mic often gives better value than a rushed XLR setup. That’s the contrarian truth people skip. If your budget only covers a basic mic and a weak interface, USB can be the cleaner buy. The gap only starts to favor XLR when you’re willing to pay for the whole chain, not just the microphone body.
A simple rule
- Choose USB if you want fast setup, easy portability, and fewer moving parts.
- Choose XLR if you want a stronger upgrade path, more durable desk gear, and a setup you can refine over time.
- Skip the format debate if your room sounds bad, because no connector fixes a loud PC fan or bare walls.
For people comparing creator-focused gear, a budget USB mic guide can be a useful reality check before you spend on an interface you don’t need yet.
The Gear Chain a Budget XLR Setup Actually Needs
Buying an XLR mic means buying the whole chain, not just the mic. The signal has to leave the microphone, travel through a cable, hit an interface or mixer, and then get converted for your computer. If you’re using a condenser mic, the interface also needs to provide phantom power. A dynamic mic doesn’t need phantom power, which is why dynamic models are often easier to live with in a first setup. Audio-Technica’s XLR vs USB explanation covers that workflow clearly.
What actually goes in the chain
A beginner-friendly setup usually includes a microphone, an XLR cable, an audio interface, headphones for monitoring, and maybe a boom arm or shock mount. The cable doesn’t need to be fancy for a bedroom desk. A basic, well-made one is usually enough if it seats properly and doesn’t get abused.
Budget rule: spend for solid signal flow first, then add comfort pieces like a boom arm after the core chain works.
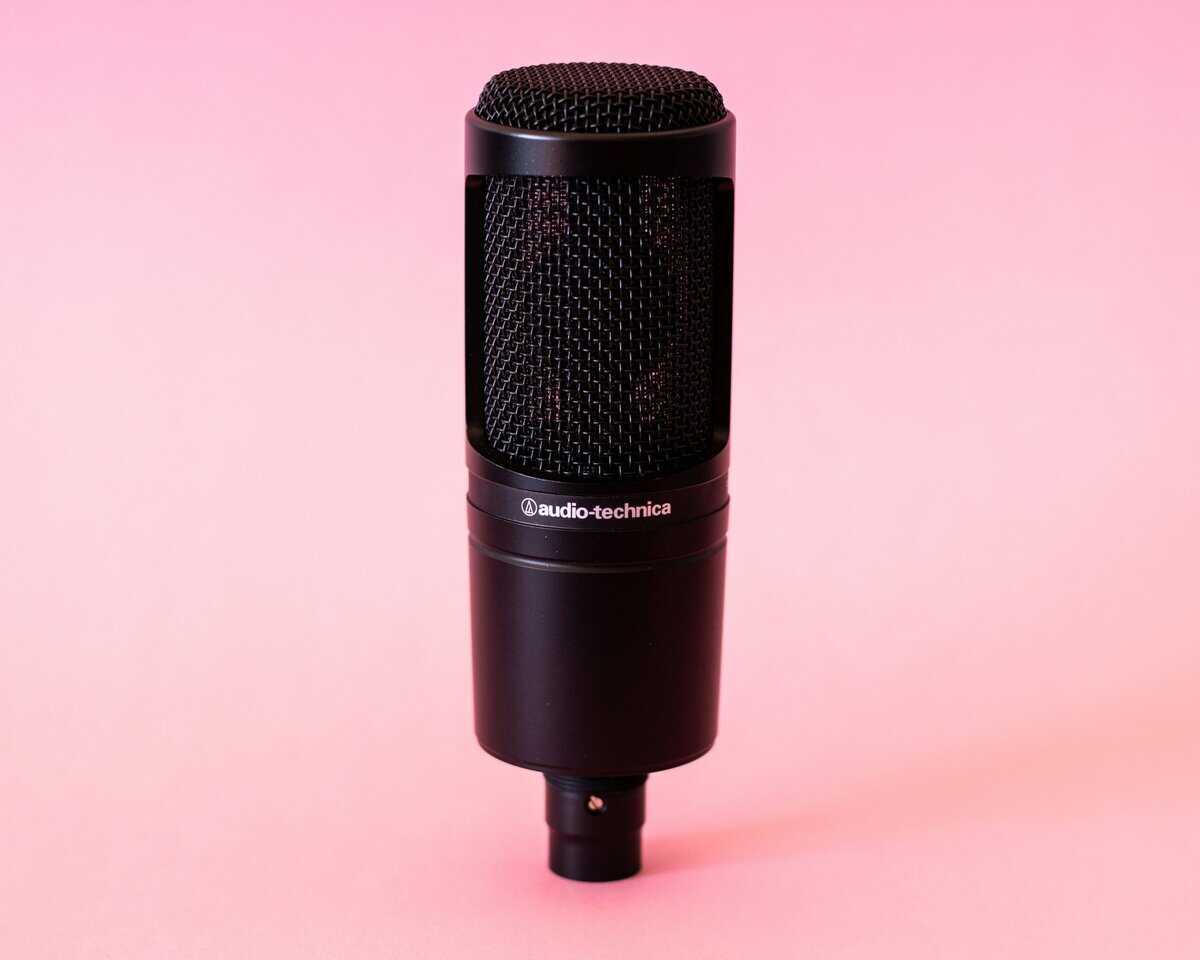
A few real mic and interface examples help anchor the decision. The Shure SM7B is a well-known dynamic XLR mic, but it’s not a casual plug-in-and-go choice because you need enough clean gain behind it. The Audio-Technica AT2020 is a common XLR condenser example. The Rode NT1 is another condenser option people like for quieter voice work, though it still needs the rest of the chain to make sense. For entry-level interfaces, buyers often start with compact two-channel units such as the Focusrite Scarlett Solo or PreSonus AudioBox, because they cover the basics without overcomplicating the desk.
The interface matters more than newcomers expect. Its preamp, analog-to-digital conversion, and gain control shape the final result.
If you want a practical walkthrough of the interface side, a budget audio interface guide is a good place to sanity-check what you need.
| Components of a Budget XLR Streaming Chain | What It Does | Budget Expectation |
|---|---|---|
| Microphone | Captures your voice through XLR | Pick for sound and durability, not branding |
| XLR cable | Carries the analog signal | Basic, reliable, and long enough for your desk |
| Audio interface | Adds gain, converts signal, may supply phantom power | The part that makes the setup work |
| Headphones | Lets you monitor your own voice | Closed-back is usually the safer desk choice |
| Boom arm or stand | Holds the mic close and stable | Helpful, but not the first place to overspend |
| Shock mount or pop filter | Reduces desk vibration and plosives | Nice upgrade once the core chain is stable |
Where XLR Shines for FPS, MMO, and Streaming
XLR earns its place when your voice needs to stay clear in a noisy setup. In an FPS game, a dynamic XLR mic can keep keyboard clacks and room chatter from dominating the mic as easily as a cheaper open setup. That matters if you’re calling shots, reacting fast, or trying not to blast teammates with every mouse click.
Different gaming use cases want different rigs
For an MMO raid leader, the benefit is different. You may be talking for long stretches, coordinating multiple people, and wanting more control over vocal level so the mic doesn’t jump around every time you lean back. A simple mixer or interface setup helps there because you can shape the signal before it reaches Discord or OBS.
Solo streamers also benefit from XLR when they plan to upgrade slowly. You can keep the same interface and swap microphones later, which is a cleaner path than replacing a whole USB mic each time you want a different sound. That’s especially useful if your content changes from gameplay commentary to talk-heavy streaming or voiceover work.
XLR makes more sense when your setup is a system, not just a microphone purchase.
There are also places where XLR is too much. Casual Discord calls don’t need it. Lightweight mobile streaming usually doesn’t need it either. If you’re setting up for one game on weekends and don’t plan to tinker, the extra hardware can become more hassle than value.
Build quality still matters here. A sturdy mic body, a locking connector, and replaceable parts can be worth more to a gamer than a minor spec difference on paper. For a setup that gets moved, bumped, and used for hours at a time, durability is part of the value equation.
The Honest Case Against Going XLR Too Soon
The common “XLR is always better” pitch leaves out the part where beginners get stuck buying the wrong mix of gear. A modest USB mic with decent room treatment can sound better than a rushed XLR setup paired with a weak interface and the wrong mic type. The connector didn’t fail there. The whole chain did.
Hidden costs add up fast
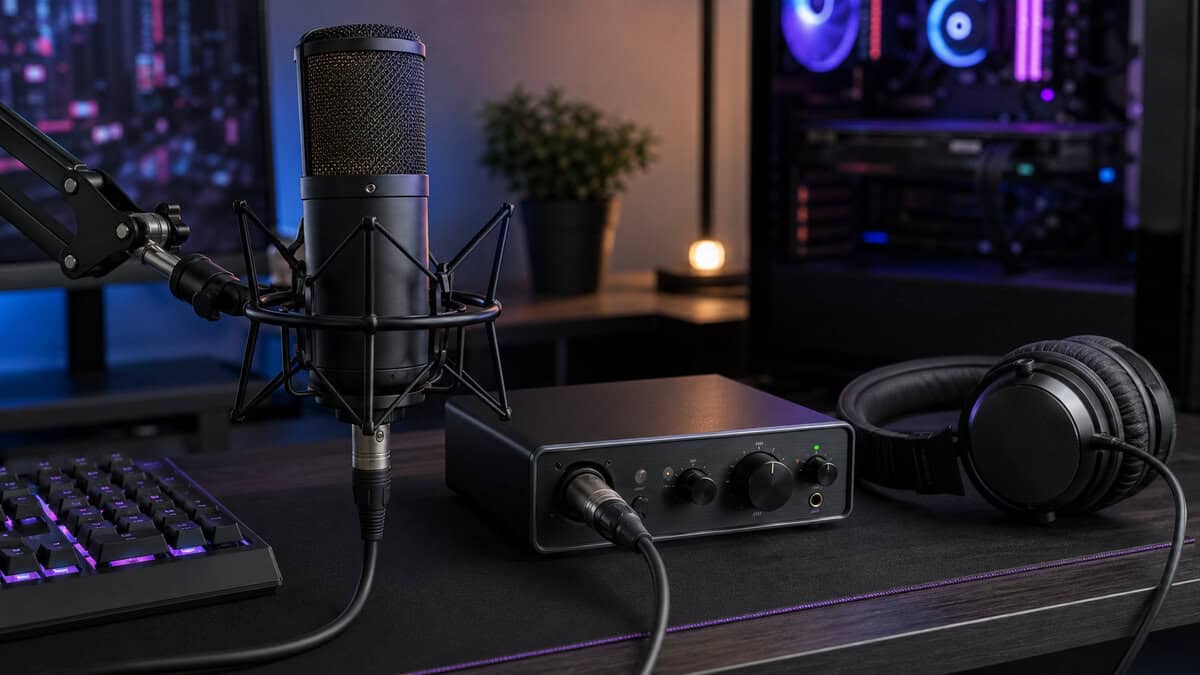
The mic isn’t the only purchase. You may also need an interface, XLR cable, boom arm, pop filter, headphones, and, in some cases, extra gain support for low-output dynamic mics. That makes the true cost of “going XLR” bigger than the mic tag suggests. It also makes setup slower, which matters if you just want to record or stream tonight.
Portability is another tradeoff. USB gear is easier to move from one room to another, and it’s friendlier if you don’t want a semi-permanent desk layout. XLR setups tend to feel more fixed, which is fine for a dedicated streaming desk and less fine for people who rearrange often.
A cleaner way to decide is to ask whether you need the upgrade path now. If you’re still testing your voice, your room, and your content schedule, USB is usually the smarter budget play. If you already know you want to tinker, upgrade, and improve piece by piece, XLR starts to earn its keep.
Troubleshooting Common XLR Setup Problems
XLR problems usually come from one broken link in the chain. The mic sends a signal through the cable, into the interface, then into your computer and recording app. If one part is set wrong, the whole setup can look dead even when the microphone itself is fine.
Start with the symptom, not the shopping regret.
If you get no sound at all, check whether your interface is selected as the input device in both your computer settings and your recording or streaming software. Then unplug and firmly reconnect the XLR cable at the mic and interface. XLR plugs should click into place. If your mic is a condenser, make sure phantom power is turned on. That is the 48V switch on many interfaces, and without it, many condenser mics do nothing.
If the signal is very quiet, look at gain first. Dynamic mics often need more preamp gain than beginners expect, especially if you speak softly or keep the mic too far away. Talk from a few inches away and raise gain gradually while watching the input meter. If the meter barely moves, test the chain before blaming the mic. Budget Loadout also has a guide on how to test a microphone on PC if you want a computer-side checklist.
A rough, fuzzy sound usually points to too much gain, not too little. Lower the interface gain and test again. If your interface has a pad or instrument setting, confirm you are using the proper mic input mode.
Fast fixes for the usual problems
- No sound: wrong input selected, cable not fully seated, or phantom power off for a condenser mic.
- Very low volume: gain is too low, you are too far from the mic, or your interface preamp is running out of clean gain.
- Distortion: gain is set too high, or you are speaking too close while peaking the input.
- Hum or buzz: bad cable, USB power noise, or a grounding issue somewhere in the desk setup.
- Plosives: air is hitting the capsule directly, so angle the mic slightly off-center or add a pop filter.
- Driver problems: your computer may be using the wrong audio device, or the interface driver install went sideways. Reboot, reconnect, and retest one change at a time.
Watching the input meter in your OS sound settings can tell you whether the problem is the analog side, meaning mic, cable, interface, or the software side, meaning drivers, input selection, or app permissions.
Putting It Together for a Budget Streamer
If you want the simplest useful path, start with a dynamic XLR mic, a solid interface, and a basic boom arm. That’s the starter tier for people who care about value, not the lowest sticker price. If you already have a quieter room and want a lighter, more detailed sound, a step-up condenser can make sense. If you’re pushing into a more demanding voice setup, a Shure SM7B-style dynamic with enough clean gain is the kind of upgrade that rewards a careful chain.
Think in relative budget terms. Budget means the best value for the category, not the cheapest tag on the shelf. A better-made mic and interface can save you from rebuying the same thing six months later.
For a weekend-ready setup, buy the mic, the interface, and the cable first. Add the boom arm, pop filter, and monitoring comfort after you’ve confirmed the sound works in your room. If you want a simple starting map for the rest of your desk, a streaming setup for beginners guide can help you keep the purchases focused.
Frequently Asked Questions
Quick answers to the questions streamers ask most before switching to XLR.
Can I plug an XLR microphone directly into my PC?
No. An XLR microphone outputs analog audio, and a computer needs that signal converted to digital first. That is the job of an audio interface or mixer, which adds the preamp gain and analog-to-digital conversion a motherboard mic jack cannot provide. Plugging an XLR mic into a 3.5mm adapter usually produces a signal that is far too quiet.
Do all XLR microphones need phantom power?
No. Condenser microphones need 48V phantom power, which most interfaces supply at the press of a button. Dynamic microphones do not need it. Turning phantom power on for a dynamic mic is normally harmless, but the habit worth building is checking your mic type before recording.
Is an XLR microphone better than USB for streaming?
Not automatically. A USB mic is simpler and often sounds just as good in an untreated room. XLR wins when you want hardware gain control, a mixer, or the option to upgrade the mic and interface separately. The connector itself does not add quality.
What do I need to run an XLR microphone?
Four things: the microphone, an XLR cable, an audio interface or mixer with enough clean gain, and a stand or boom arm to keep it positioned. Condenser mics also need the interface to supply phantom power.
Why does my XLR microphone sound so quiet?
Usually gain staging. Dynamic mics need much more preamp gain than condensers, so raise the gain on the interface first. If it is a condenser, confirm phantom power is on. Then check that the computer is listening to the interface rather than a built-in mic.
If you’re building a gaming or streaming setup and want the no-hype version of what’s worth buying, Budget Loadout covers the gear that improves your desk without wasting money. Visit Budget Loadout for practical guides that help you choose the right mic, interface, and accessories for your setup.
Related Articles