Most thermal paste advice starts in the wrong place. It tells you to chase the highest spec, the most expensive tube, or the paste that wins a benchmark by a sliver on day one. For most gaming PCs, that’s not the smart buy.
If you’re building a machine for FPS games, MMOs, or a mixed gaming and streaming setup, the best thermal paste is usually the one that stays stable, applies cleanly, and makes sense for the cooler you’re using. A small temperature edge can matter in a tuned system. It usually doesn’t matter much in a value-focused build where the cooler, case airflow, and mounting pressure decide more than the label on the tube.
That changes how you should shop. Instead of asking which paste is best in a vacuum, ask which one gives the best performance per dollar per year, and which one you won’t regret using two years from now.
- Forgiving, easy-spread consistency for first-time builders
- Long track record of multi-year stability in mainstream rigs
- 8g tube covers multiple repastes
- Headline conductivity rating trails newer premium formulas
- Thinner texture can feel runny on a first application
- Plain tube, with no applicator or stencil in the box
- Consistent results across air and liquid coolers with no cure time
- Bundled cleaning wipes simplify old-paste removal
- Noctua rates it for roughly five years of service on the CPU
- Costs more per gram than budget workhorse pastes
- 3.5g tube covers fewer repastes than an 8g value tube
- Gains over a well-applied budget paste are modest on mainstream CPUs
- Formulated for sustained 250W-class thermal loads
- Included spreader stencil helps nail even coverage
- Pairs well with big tower coolers and 240mm-class AIOs
- Overkill for mainstream six-core gaming builds
- Premium cost per gram compared to value tubes
- Benefits shrink when airflow or the cooler is the real bottleneck
- Arctic MX-4 covers most budget builds: easy to spread, stable for years, and cheap enough to repaste guilt-free
- Noctua NT-H2 is the smartest step-up when you want proven consistency with no curing time
- Corsair XTM70 only pays off with a strong cooler and a hot, high-wattage CPU
- Application quality matters more than paste choice: a centered pea-sized dot beats an expensive tube applied badly
- Repaste every few years or when load temps creep upward, not on a rigid schedule
Table of Contents
Why the Best Thermal Paste Is Not Always the Most Expensive
Price gets too much credit here.
For a budget gaming build, the smartest paste usually is not the one with the highest headline spec or the highest price per gram. It is the one that gives you solid temperatures, stays stable, and does not force an early repaste. A premium tube that starts a little cooler but dries out faster can end up costing more per year for almost no real benefit in frame rates, noise, or day-to-day use.
That trade-off matters more than small launch-day test gaps. In a typical gaming system, cooler quality, mounting pressure, case airflow, and fan tuning have more influence on temperatures than the jump from a decent mid-priced paste to an expensive one. If you’re still choosing that part of the build, this budget CPU cooler guide will affect your final thermals more than spending extra on paste.
What matters more than headline specs
Thermal paste is a maintenance item, not a trophy part.
Good paste earns its keep over time. It should spread cleanly, work with normal mounting pressure, resist pump-out, and hold up through months of heat cycles. That is the difference between a paste that still looks like a good buy two years later and one that only looked good on a benchmark chart the day you installed it.
For most first-time builders, easy application has real value too. A paste that is forgiving to apply and easy to clean lowers the chance of a bad mount, wasted material, or a messy reinstall. That practical stuff counts.
Practical rule: Match the paste to the class of the build. Mainstream CPU and mid-range cooler, buy a reliable mid-range paste. High-power chip with a serious cooler and manual tuning, spending more can make sense.
The smarter definition of “best”
For gamers trying to build well on a budget, “best” usually means:
- Consistent over time, so temperatures do not creep up quickly
- Easy to apply, especially for a first build
- Close enough in performance that you are not paying a premium for a tiny thermal win
- Good value over the life of the system, not just on install day
That is less exciting than buying the most expensive tube on the shelf. It is also how you avoid paying extra for performance you will never notice.
Understanding Thermal Paste Basics
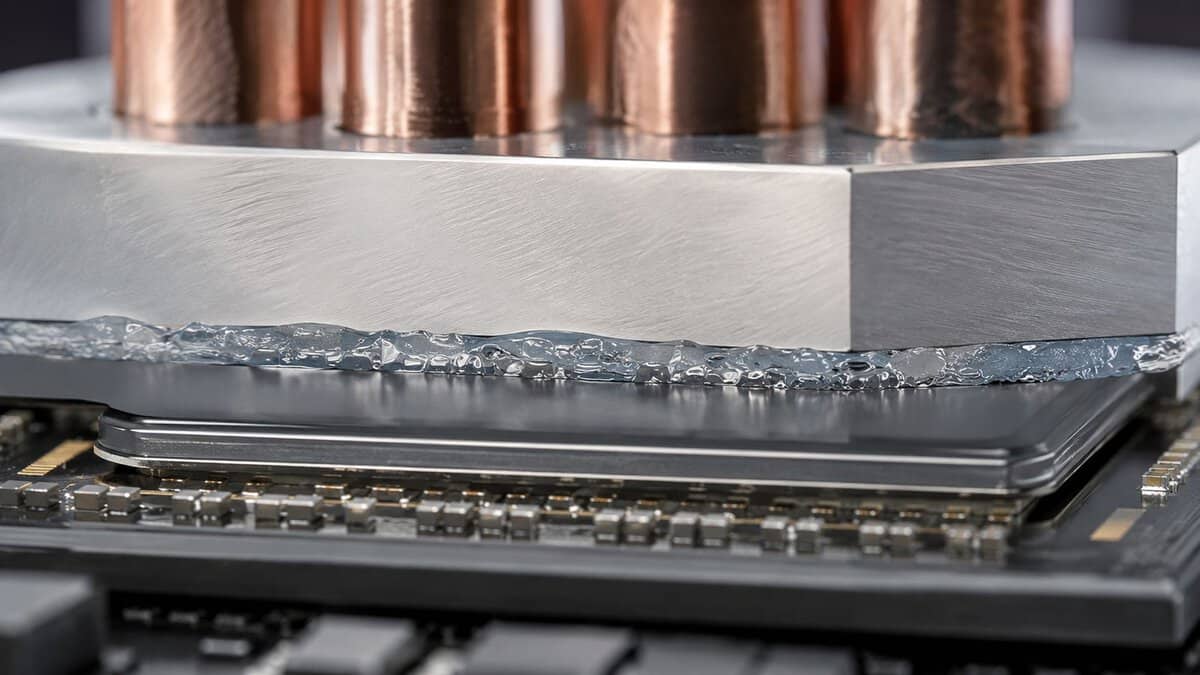
Thermal paste fills microscopic gaps between the CPU heat spreader and the cooler base. Those two metal surfaces look smooth, but they aren’t perfectly flat. Without paste, tiny air pockets sit between them, and air transfers heat badly.
That means even a strong air cooler or liquid cooler can underperform if the interface layer is wrong. Paste doesn’t replace the cooler. It helps the cooler make proper contact and move heat where it needs to go.
If you’re still deciding between cooling styles, the broader tradeoffs in AIO vs air cooler matter more than small differences between decent pastes.
What the main paste types mean in practice
Most builders don’t need a chemistry lesson. They need to know what each category means when they’re leaning over a motherboard with a cooler in hand.
- Ceramic-based pastes are usually a beginner-friendly option. They tend to be forgiving, straightforward to spread under mounting pressure, and well suited to general gaming builds.
- Carbon-based pastes are common in enthusiast and mainstream builds because they balance strong thermal performance, good usability, and low drama.
- Metal-based pastes can offer higher-end performance, but they need more care. Some compounds in this category are less forgiving if they get where they shouldn’t.
For most first builds, the safest answer is simple. Use a conventional non-conductive paste with a good reputation for durability and smooth application.
Specs that matter and specs that get overplayed
Builders often focus too hard on thermal conductivity numbers. Those numbers aren’t useless, but they can mislead you if you treat them like a direct promise of lower in-game temperatures.
What matters more in practice:
- Viscosity affects how easily the paste comes out and how it settles under pressure.
- Consistency affects whether the mounting process spreads it well.
- Durability affects whether the paste still performs well after long use.
- Build quality matters because a paste that separates, dries fast, or becomes difficult to work with isn’t good value.
A good thermal paste should be boring. It should apply cleanly, stay put, and keep doing its job while you play, stream, and forget it exists.
What beginners usually get wrong
New builders often think more paste means better cooling. It doesn’t. Too much paste can create mess and complicate cleanup. Too little can leave poor coverage. Another common mistake is obsessing over the exact shape of the pattern instead of getting clean surfaces and even mounting pressure.
The basics are straightforward. Clean both surfaces well, use an appropriate amount, seat the cooler evenly, and don’t overthink it.
What Really Defines Good Thermal Paste for Gamers
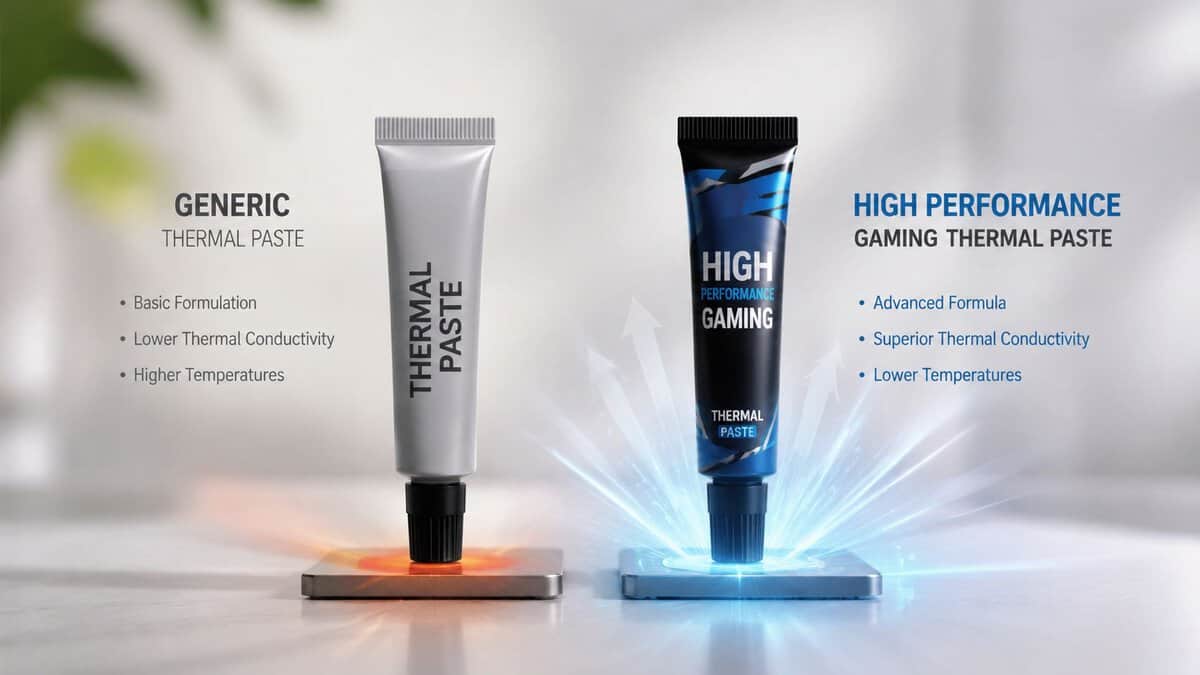
Good thermal paste for a gaming PC earns its keep over time. A paste that runs a degree cooler on day one is not automatically the better buy if it costs more, dries out sooner, or needs replacing earlier.
For most gamers, the smart pick is the one that gives solid temperatures, easy application, and a long service life. That is the best performance per dollar per year.
Long-term stability matters more than small launch-day wins
Thermal paste ages under heat. After enough gaming sessions, shutdowns, and warm-up cycles, weaker compounds can dry, harden, or slowly shift away from the hottest part of the CPU. Builders usually call that pump-out. Once that starts, the early temperature advantage stops meaning much.
That matters a lot more in a budget build than marketing pages suggest. If one tube costs noticeably more but only buys a tiny temperature drop, it needs to hold that edge for years to justify the premium. Many do not.
A better way to judge value is simple. Ask how long the paste stays reliable before you need to think about it again.
What to prioritize in a gaming build
Budget gamers usually get the best results by focusing on a short list of practical traits:
- Stable performance over time. A paste that stays consistent for years beats one that peaks early and fades.
- Easy application. If it spreads well and does not fight you during mounting, the install is more likely to go right.
- Safe handling. Non-conductive or low-risk compounds make more sense for first builds.
- Reasonable price. A small thermal gain is only worth paying for if the rest of the system can use it.
- Fit for your cooler and workload. A mid-range air cooler with a sensible paste is already enough for a lot of gaming rigs.
If you plan to push voltage and clocks, paste choice deserves more attention because your margin gets tighter. Before making those changes, it helps to understand how cooling fits into the bigger picture of overclocking your CPU.
Diminishing returns show up fast
This is the part new builders usually do not hear enough. Once you move past bargain-bin paste, the gains shrink hard. Testing from Tom’s Hardware’s thermal paste comparison shows that the gap between competent pastes is often small enough that cooler quality, case airflow, and mounting pressure matter just as much or more in real systems.
I have seen this play out plenty of times. Builders spend extra chasing the best paste on paper, then pair it with a basic tower cooler in a warm case and expect a dramatic change. They end up buying a premium consumable for a minor result.
For a budget gaming rig, the best paste is usually the one you can apply once, trust for years, and forget about.
That is what defines good thermal paste for gamers. Reliable temperatures, low hassle, and value that holds up long after the first benchmark run.
Top Thermal Paste Picks for Budget Gamers in 2026
Skip the idea that you need the paste with the biggest hype. For a budget gaming PC, the smarter buy is usually the one that stays stable for years, applies without drama, and does not cost enough to eat into the cooler budget.
That matters more than a tiny first-day temperature win. If your CPU is already staying within normal CPU temperature ranges while gaming, the better long-term value often comes from a reliable mid-priced paste that you can forget about until the next upgrade.
2026 Best Value Thermal Paste Comparison
| Product | Type | Durability | Best For |
|---|---|---|---|
| Arctic MX-4 (8g) | Conventional paste | Up to 8 years of stable service per Arctic | First builds, general gaming rigs, set-and-forget use |
| Noctua NT-H2 (3.5g) | Conventional paste | Around 5 years on the CPU per Noctua, no curing time | Gaming plus streaming, users who want a proven step-up |
| Corsair XTM70 (3g) | Conventional paste | Long-life formula built for sustained high loads | Hot 250W-class CPUs, strong coolers, tuned systems |
Best for Most Budget Rigs: Arctic MX-4
The first category in that table is the one I recommend most often, and Arctic MX-4 is its definitive example. This reliable budget workhorse is easy to spread, forgiving for first-time builders, and usually holds up well over time. That last part matters. Saving a few dollars up front means less if the paste dries out early and forces a repaste sooner than expected.
For a typical gaming build with a mainstream six-core or eight-core CPU, the MX-4 is usually enough, and the 8g tube covers several repastes before it runs dry.
The Smartest Upgrade Path: Noctua NT-H2
A step up like the Noctua NT-H2 (3.5g tube with cleaning wipes) makes sense if you want a little more headroom without paying premium pricing. These are the pastes that hit the sweet spot for performance per dollar per year. They cost more than entry-level options, but they still make sense if they stay stable, resist pump-out, and do not need frequent replacement.
That is the trade-off many first-time builders miss. The cheapest tube is not always the cheapest option over three or four years.
When Paying More Makes Sense: Corsair XTM70
The premium conventional category, where the Corsair XTM70 (3g syringe rated for 250W+ CPUs) sits, has a place, but it is narrower than marketing makes it sound. If you already have a stronger tower cooler or a 240mm-class liquid cooler, a hotter CPU, and a case with decent airflow, then paying more for the last bit of thermal performance can be reasonable.
If the rest of the cooling setup is average, the extra money usually buys a benchmark difference you will never feel in a game.
A recent Tom’s Hardware thermal paste roundup also showed a value-focused conventional paste competing unusually well in air-cooling tests. That is the kind of result budget gamers should pay attention to. Good pricing plus strong real-world performance is better value than paying premium money for a tiny improvement.
Short version: buy a reliable budget or mid-range paste first. Move up only if your cooler, CPU, and tuning goals can actually use the difference.
How to Apply and Test Your Thermal Paste Correctly
Expensive paste cannot save a bad mount. A basic, durable paste with clean contact and proper pressure usually gives better long-term results than a premium tube slapped on carelessly.
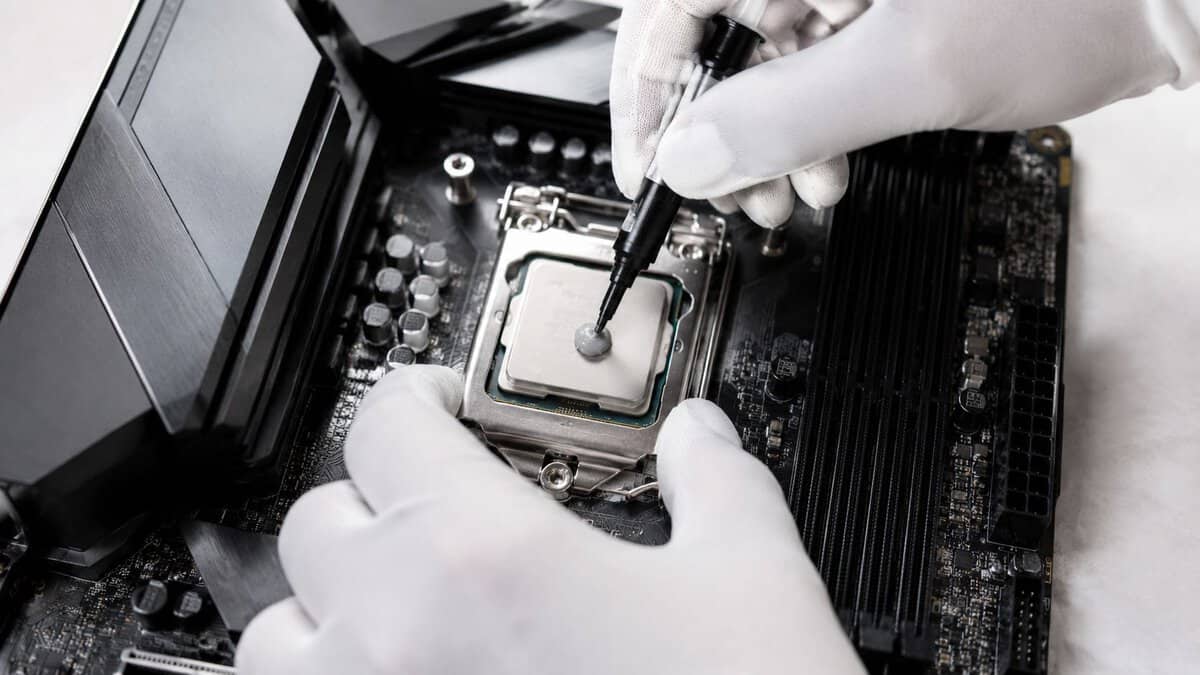
The goal is simple. Use enough paste to fill microscopic gaps, not so much that it squishes everywhere and makes a mess. For most mainstream desktop CPUs, a small center dot is enough. The exact pattern matters less than coverage and mounting pressure, which is why experienced builders stop obsessing over pea versus line after a few installs.
How to apply it cleanly
Use a repeatable process.
- Power down and remove the cooler carefully. If it feels glued on, twist gently to break the seal first.
- Clean both surfaces completely. Use isopropyl alcohol and a lint-free cloth, coffee filter, or cleaning wipe until the old paste is gone.
- Apply a small amount in the center. Start conservative. Too much is more common than too little.
- Seat the cooler straight and tighten evenly. Alternate screws in a cross pattern if your bracket allows it.
- Do not lift the cooler to inspect the spread. If you break contact, clean it and start over.
That last step trips up a lot of first-time builders. Once the cooler is mounted, leave it alone unless you are redoing the whole job.
What matters most
Three things decide whether the repaste works:
- Clean contact surfaces
- A sensible amount of paste
- Even mounting pressure
Pattern debates get more attention than they deserve. In real builds, a tidy center application with firm, even contact is good enough almost every time, and good enough is usually the smart call for performance per dollar per year.
How to test whether the job worked
Do not judge the result from one idle temperature screenshot.
Boot the system, let background tasks settle, then test under the same conditions you had before. Use the same fan curve, room temperature, and game or stress load if you want a fair before-and-after comparison. Watch the trend over a full session, not just the first minute.
Check for:
- Stable idle behavior after the system settles
- Load temperatures during your actual games
- Fan noise under sustained play
- Clock speed consistency during longer sessions
If you are not sure what counts as hot, this guide to normal CPU temp gives useful context before you assume the paste job failed.
For gaming PCs, your own workload matters more than a synthetic torture test. If the machine stays stable through the games you play, with sane fan noise and no throttling, the paste is doing its job.
Laptop owners dealing with similar heat issues can use this step-by-step guide to cool laptop.
Troubleshooting Common Thermal Paste Problems
If temperatures are still high after a repaste, don’t assume the paste was the wrong choice. Most post-install issues come from contact problems, airflow limits, or unrealistic expectations.
High temps right after repasting
Start with the mechanical stuff first.
- Check cooler mounting pressure. Uneven tension can ruin contact.
- Inspect protective film mistakes. It happens more often than people admit.
- Confirm fan direction and airflow. A good paste can’t fix poor case ventilation.
- Look at cooler class. A modest cooler still has modest limits.
If your case airflow is weak, fixing that may help more than changing paste again. A better enclosure layout, fan placement, and exhaust path often make a bigger difference, especially in compact builds. That’s where a good gaming PC case guide becomes part of the thermal solution.
Signs the paste has aged badly
Sometimes the system is fine for a while, then temperatures creep upward over months. That often points to drying, hardening, or pump-out rather than a sudden hardware fault.
Watch for these patterns:
- Temperatures rise gradually with no other hardware changes.
- Fans ramp harder than before in the same games.
- Performance dips under long sessions such as streaming or MMO raids.
For laptop owners dealing with similar thermal symptoms, a practical step-by-step guide to cool laptop is worth reading because the diagnosis process overlaps with desktop troubleshooting more than people think.
When to repaste again
There isn’t one schedule that fits everyone. A lightly used desktop in a cool room can go a long time without attention. A heavily used gaming and streaming machine that sees regular heat cycles may deserve earlier maintenance.
The simple rule is this. Repaste when behavior changes, not because the calendar tells you to panic. If temperatures are stable, fan noise is normal, and performance hasn’t shifted, leave it alone.
Final Verdict: Which Paste Should You Actually Buy
Buy for the full life of the build, not for the screenshot on day one.
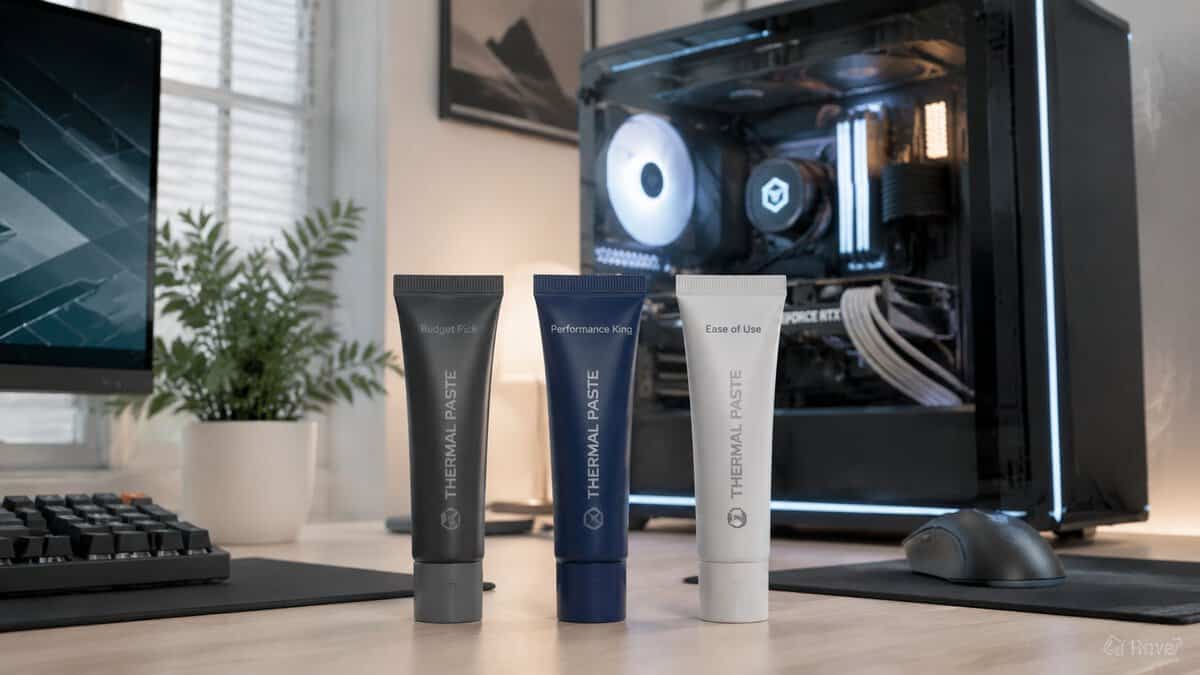
For a budget gaming PC, the best pick is usually a mid-priced paste that spreads easily, stays stable for years, and keeps temps in line without turning repasting into a maintenance hobby. A slightly lower peak temperature looks nice in a chart, but long-term value matters more. If one paste costs more, dries out sooner, and only gives a small improvement on a modest cooler, the cheaper durable option often wins on performance per dollar per year.
That is the practical answer.
A reliable value paste makes the most sense if you run a mainstream CPU with an entry-level or mid-range air cooler and spend your time in shooters, MMOs, racing games, or single-player titles. A stronger all-round paste is worth it if your chip runs hotter, you stream while gaming, or you already paid for a cooler good enough to show the difference. Premium conventional paste only makes sense when the rest of the thermal setup is already sorted and you care enough to pay extra for a small margin.
I would also put durability ahead of marketing specs every time. Good paste should apply cleanly, stay consistent through heat cycles, and stop being something you have to think about. That saves money, time, and hassle over the life of the system.
The smart buy sits in the middle. Not bargain-bin paste with questionable longevity, and not the expensive tube chasing tiny gains you probably will not notice in actual games.
Frequently Asked Questions
Quick answers to the thermal paste questions builders ask most.
How often should I replace thermal paste?
For quality pastes like the ones in this guide, every 3 to 5 years is a sensible window for a gaming PC. Repaste sooner if load temperatures creep upward over time, if you remove the cooler for any reason, or if the paste was applied badly the first time. There is no benefit to repasting a system that still runs at normal temperatures.
Is expensive thermal paste worth it for gaming?
Usually not. Between a solid budget paste and a premium one, the difference on a mainstream CPU is typically 1 to 3 degrees under load, which you will never feel in a game. Premium formulas only make sense when a hot, high-wattage CPU and a strong cooler let that headroom do real work, such as holding boost clocks during long sessions.
How much thermal paste should I apply?
A pea-sized dot in the center of the CPU is the safe default. Mounting pressure from the cooler spreads it evenly across the heat spreader. Too much paste squeezes out the sides and insulates the edges, while too little leaves dry contact zones. Larger CPUs can take a slightly bigger dot or a short line, but the center-dot method is hard to get wrong.
Can I use CPU thermal paste on a GPU?
Yes. Conventional non-conductive pastes work the same way on a GPU die as on a CPU heat spreader. Two cautions: opening a graphics card can affect its warranty, and a bare GPU die is more fragile than a CPU heat spreader, so apply gently and use a thinner, even layer rather than a thick dot.
Is thermal paste electrically conductive?
The conventional pastes recommended here are non-conductive and non-capacitive, so a small spill onto the motherboard will not short anything. Liquid metal compounds are the exception: they conduct electricity, damage aluminum cold plates, and are strictly an experienced-enthusiast option, which is why none made this list.
If you want more hype-free buying advice for gaming and streaming gear, Budget Loadout is built for exactly that. It focuses on the stuff that improves your setup without pushing you to overspend, so you can make smarter upgrades and avoid paying extra for gains you won’t notice.
Related Articles