When you’re hunting for the best gaming PC under $1000, the first question boils down to a single trade-off: convenience versus value. You can go with a prebuilt system for a plug-and-play experience with a warranty, or you can build it yourself, hand-picking every part to maximize performance.
Both paths can get you a capable 1080p gaming machine, but they demand very different things from you.
- Building a gaming PC yourself typically saves $100-200 compared to an equivalent prebuilt at the $1,000 price point
- Prebuilt PCs offer warranties, convenience, and customer support that DIY builds don’t — valuable if you’re not comfortable troubleshooting
- At $1,000, you can build or buy a system capable of solid 1440p gaming in most titles with a modern mid-range GPU
- The build-vs-buy price gap is shrinking as prebuilt competition increases, so always compare current prices before deciding
Table of Contents
Navigating Your Sub-$1000 Gaming PC Options
Finding a solid gaming PC without overspending means you’re constantly juggling performance, build quality, and future upgrade potential. At this price point, every dollar matters, and that first choice—prebuilt or DIY—sets the tone for your entire experience.
This guide cuts through the marketing noise to get straight to the real-world compromises you’ll face. Whether you want a machine that works out of the box or you’re determined to get the absolute best performance for your money, this guide provides the practical advice you need to choose.
Prebuilt vs. DIY: A Quick Comparison
The right path depends entirely on your priorities. Here’s a direct breakdown of what each option offers.
| Feature | Prebuilt PC | DIY (Do-It-Yourself) PC |
|---|---|---|
| Primary Benefit | Convenience & Warranty | Maximum Performance & Customization |
| Best For | Gamers with limited time or technical skill | Enthusiasts who want control over every part |
| Common Trade-off | Potential for lower-quality secondary parts (PSU, motherboard) | Requires significant time for research and assembly |
| Build Quality | Varies by brand; often uses standard cases but can have proprietary parts | Completely up to you; better durability is possible with smart part selection |
| Use Case Focus | FPS Gaming (e.g., Valorant) | MMOs, Streaming, and CPU-heavy tasks |
For example, a prebuilt is a functional choice if you want to jump into competitive FPS games immediately. A DIY build, on the other hand, lets you put more of your budget toward a better CPU, which is an advantage for running demanding MMOs or a basic streaming setup for beginners.
The core decision isn’t about which is “better,” but which compromise you are willing to make. You are either trading money for convenience (prebuilt) or trading your time for better value and performance (DIY).
Prebuilt vs. DIY: The Core Decision for Your Build
The first choice you’ll make when hunting for the best gaming PC under $1000 is a big one: buy a prebuilt system or build it yourself? This isn’t just a list of pros and cons; it’s about aligning the entire experience with your time, your comfort with tech, and what you value most. One path gets you gaming instantly, while the other extracts more performance out of your budget.
Prebuilt systems from brands like CyberPowerPC or Skytech offer a straightforward, plug-and-play experience. They arrive ready to go, usually with Windows installed and a single warranty covering the whole machine. If you’re short on time or don’t want the hassle of building and troubleshooting, this is your route.
But that convenience comes with trade-offs. To hit that sub-$1000 price, manufacturers often cut costs on parts you don’t see. The power supply might be a generic model, or the motherboard could be a proprietary design that makes future upgrades difficult. You’ll also likely deal with pre-installed “bloatware” that bogs down your system.
Understanding the DIY Path
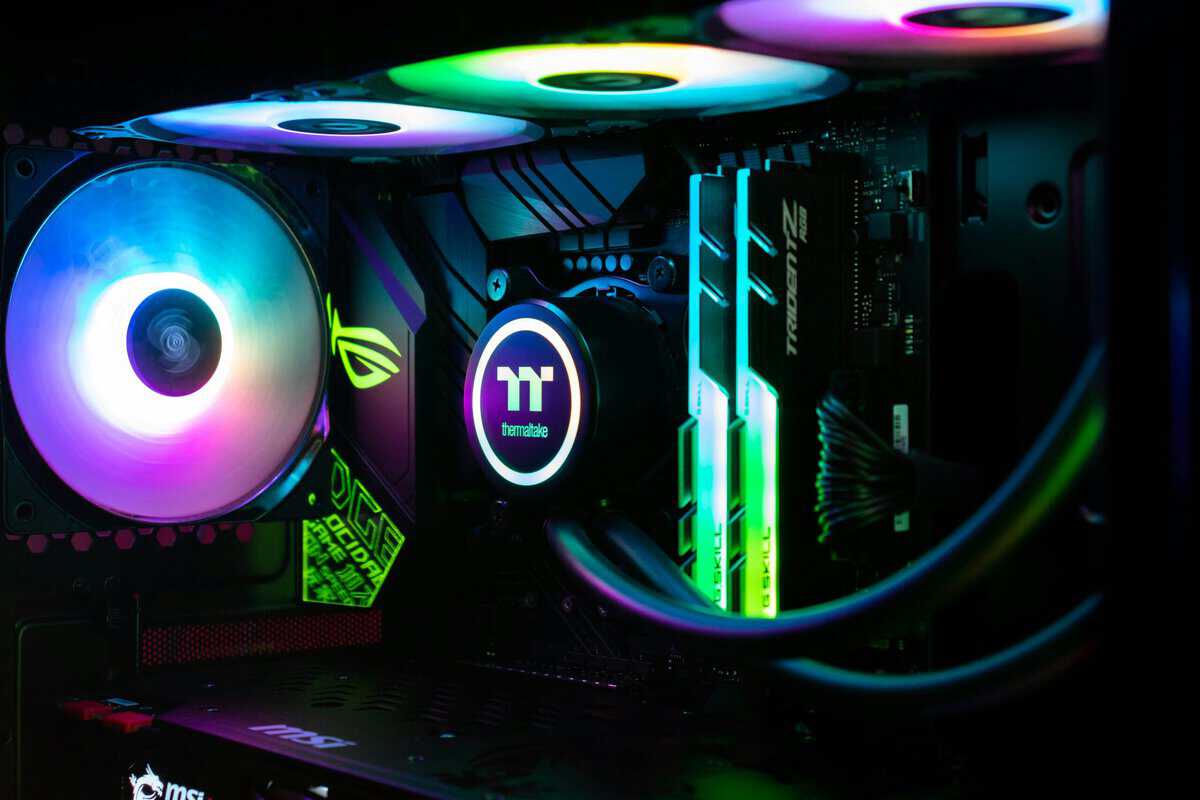
Going the Do-It-Yourself (DIY) route gives you absolute control over every component. You decide where your money goes, ensuring you have a high-quality power supply for stability and a standard motherboard with a clear upgrade path. This approach almost always delivers better long-term value and higher raw performance for the same cash.
There’s also a satisfaction that comes from building your own rig. You learn how your PC works, which makes future upgrades or troubleshooting feel less intimidating. For instance, you could put extra cash toward a better CPU for MMOs like Final Fantasy XIV, which are notorious for hammering processors during raids. A durable build quality starts with selecting reliable components from the ground up.
Of course, this path demands your time. Be prepared to spend hours researching parts, watching build guides, and possibly troubleshooting issues like POST failures or driver conflicts.
The DIY compromise is clear: you are trading your personal time and effort for better hardware, greater customization, and a more durable, upgradeable machine. It’s a project, not just a purchase.
Situational Recommendations
To make this choice more concrete, let’s look at a few common scenarios. Each one shows where one path usually has a clear advantage.
For the Competitive FPS Gamer: If your main goal is to jump straight into games like Valorant or Call of Duty and hit high frame rates, a prebuilt is a valid choice. These systems are often optimized for popular titles out of the box, and the convenience means you’re playing faster. Build quality is often sufficient for this use case, though component longevity can be a concern.
For the Aspiring Streamer or MMO Player: If you’re planning to stream or get deep into CPU-heavy MMOs, the DIY route is the smarter play. It lets you sink more of your $1000 budget into a better processor and motherboard—two things critical for multitasking and keeping frames stable. A prebuilt might skimp on the CPU to afford a flashier GPU.
For the Long-Term Value Seeker: If you see this PC as a foundation you’ll build upon for years, DIY is the only logical choice. You can pick a quality case, power supply, and motherboard that will support more powerful components down the line. This focus on durability and standard parts saves you from buying a whole new system later.
Ultimately, the prebuilt vs. DIY question is the most critical one for a budget build. It shapes not just the parts you get, but the entire experience of owning, using, and upgrading your gaming PC.
Evaluating Top Prebuilt Gaming PCs Under $1000
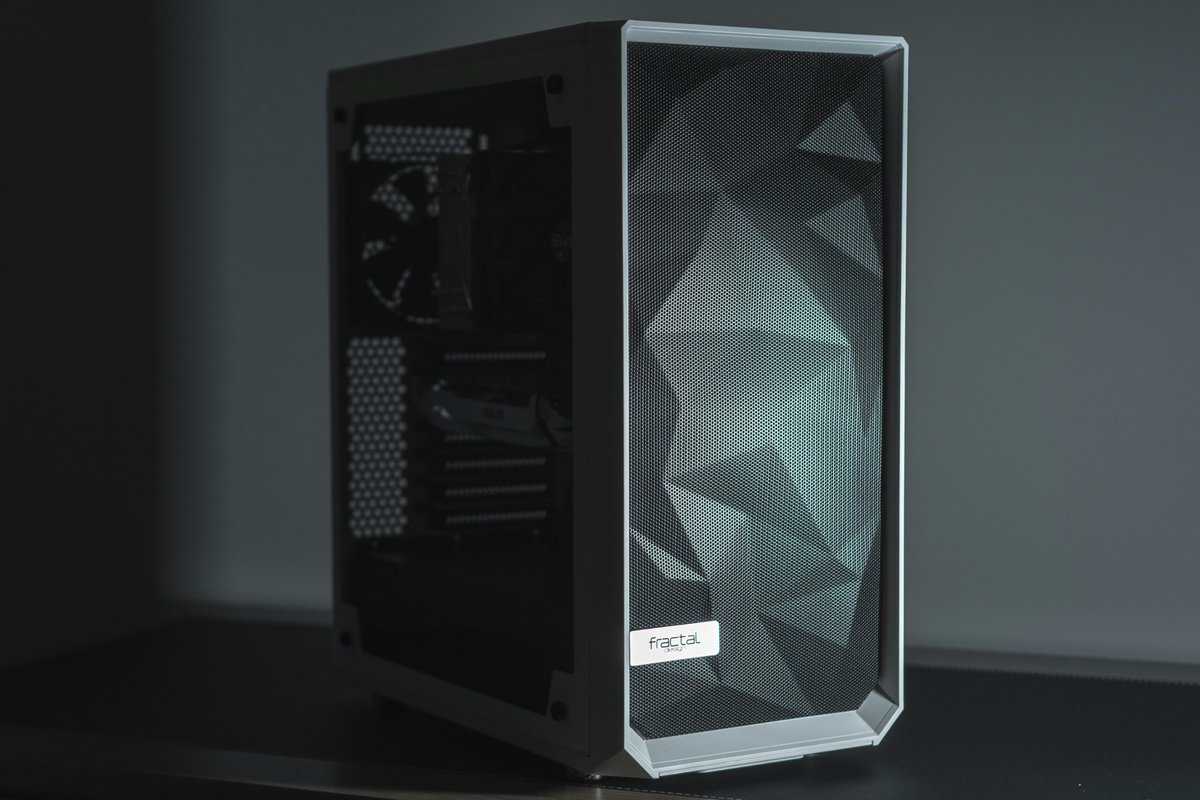
When you shop for a prebuilt gaming PC, the options can be overwhelming. The trick is to look past the LED lights and marketing to see what’s under the hood. For the best gaming PC under $1,000, you need to focus on core components, build quality, and the hidden compromises that will define your gaming experience.
Brands like CyberPowerPC and Skytech dominate this price point. They are proficient at pairing sensible components, like an Intel Core i5-14400F or AMD Ryzen 5 7600 CPU with a graphics card like an NVIDIA GeForce RTX 4060 or the newer RTX 5060.
What to Expect for Performance
A well-configured prebuilt under $1000 should handle modern games at 1080p. You can realistically expect high frame rates in many popular titles.
Competitive FPS Gaming: For games like Valorant, Apex Legends, or Call of Duty, these machines perform well. You should be hitting 100+ FPS at 1080p on medium-to-high settings, providing the smooth gameplay needed to compete.
MMO and RPG Gaming: In worlds like Final Fantasy XIV or Cyberpunk 2077, you can achieve a stable 60 FPS at 1080p with some adjustments to graphics settings. The Ryzen 5 and Core i5 processors in these builds are capable of handling crowded cities and intense boss fights.
Entry-Level Streaming: While not a dedicated streaming rig, it can function for basic streaming. Using a GPU with a dedicated encoder like NVIDIA’s NVENC, you can stream gameplay at 720p while gaming at 1080p without a major performance hit.
To give you a clearer picture, here’s a breakdown of a typical sub-$1000 prebuilt and its expected performance.
Example Prebuilt PC Configuration and Performance Targets
| Component | Example Specification | Expected 1080p Performance (High Settings) | Notes and Trade-offs |
|---|---|---|---|
| CPU | Intel Core i5-14400F or AMD Ryzen 5 7600 | 60-120 FPS, depending on the game | Solid 6-core CPUs that won’t bottleneck the GPU in most 1080p gaming scenarios. |
| GPU | NVIDIA GeForce RTX 4060 8GB or RTX 5060 8GB | Apex Legends: ~120 FPS, Cyberpunk 2077: ~70 FPS | The RTX 5060 offers DLSS 4 support and improved efficiency. The RTX 4060 remains a proven, often discounted option. |
| RAM | 16GB (2x8GB) DDR5 5600MHz | N/A | DDR5 is now standard in this price range. Dual-channel (2x8GB) is critical. |
| Storage | 1TB NVMe M.2 SSD | N/A | Fast load times are a given. Some builds might use a smaller 512GB drive to cut costs. |
| Power Supply | 600W 80+ Bronze (Often generic) | N/A | This is a common cost-cutting area. A low-quality PSU is a risk to system durability. |
This table shows a solid baseline. A PC with these specs will deliver a good experience today and has some room for future upgrades.
Looking Beyond the Spec Sheet
The spec sheet only tells you half the story. The real value—and potential problems—of a prebuilt comes from the components they don’t advertise prominently.
Manufacturers often cut costs on the power supply unit (PSU), motherboard, and cooling. A cheap PSU can be unreliable and potentially damage other components. Likewise, a barebones motherboard might lack features or use proprietary connectors, making future upgrades difficult or impossible. The overall build quality and durability are directly tied to these less-marketed parts.
A great CPU and GPU mean nothing if they are supported by a cheap, unreliable power supply and a motherboard that prevents you from ever upgrading. These are the components that separate a good value prebuilt from a disposable one.
Before you buy, dig into reviews that mention these specific parts. Look for systems that use standard, off-the-shelf components. This ensures you can easily swap out RAM, storage, or the GPU in a few years.
Common Pitfalls and How to Avoid Them
When you find a deal, keep an eye out for common red flags. These are trade-offs that can cripple your PC’s performance and lifespan.
First, single-channel RAM is a performance killer. Always make sure the PC comes with two sticks of RAM (e.g., 2x8GB for 16GB total) running in dual-channel mode. This simple difference can boost gaming performance by up to 20% in some CPU-heavy games.
Second, watch out for proprietary parts. Some large manufacturers use custom-shaped motherboards or cases that make it impossible to install standard components. This locks you into their ecosystem and kills future upgrade plans.
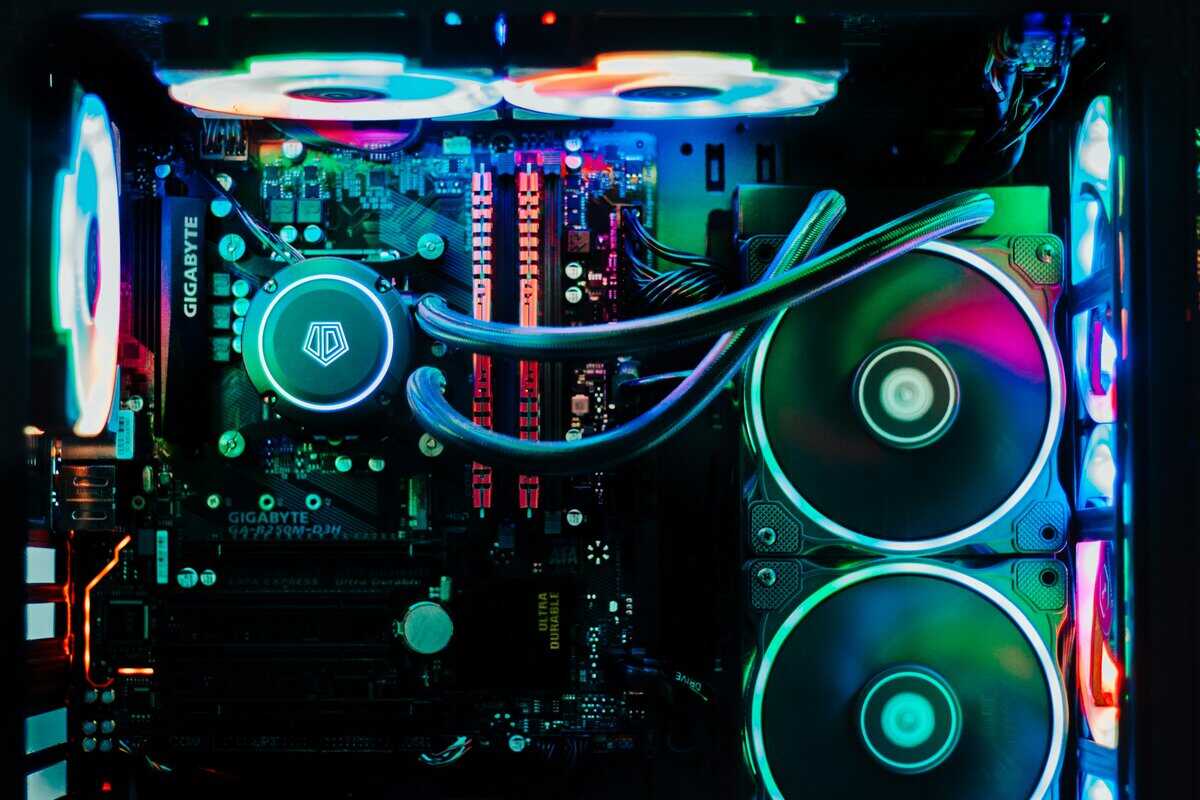
Finally, check the cooling solution. A stock CPU cooler might be adequate for light use, but it can lead to thermal throttling—where the CPU slows down to avoid overheating—during long gaming sessions. A system with at least one or two case fans and a decent CPU cooler will provide more consistent performance and contribute to the longevity of the machine.
Building Your Own Gaming PC for Under $1000
Going the DIY route for a gaming PC under $1,000 is about control. You decide exactly where your money goes, maximizing the performance of your build. It’s a hands-on approach, but the payoff is a machine that’s more powerful, better built, and easier to upgrade than most prebuilts at the same price.
The goal here isn’t just to assemble parts; it’s to create a balanced system. A powerful GPU paired with a weak CPU will bottleneck itself, wasting money. Likewise, using a cheap power supply or motherboard is a common mistake that leads to instability and limits future upgrades. This approach prioritizes build quality and durability from the start.
This blueprint is for a cohesive build where every part works together, giving you a solid rig for high-refresh-rate 1080p gaming and a respectable entry into 1440p.
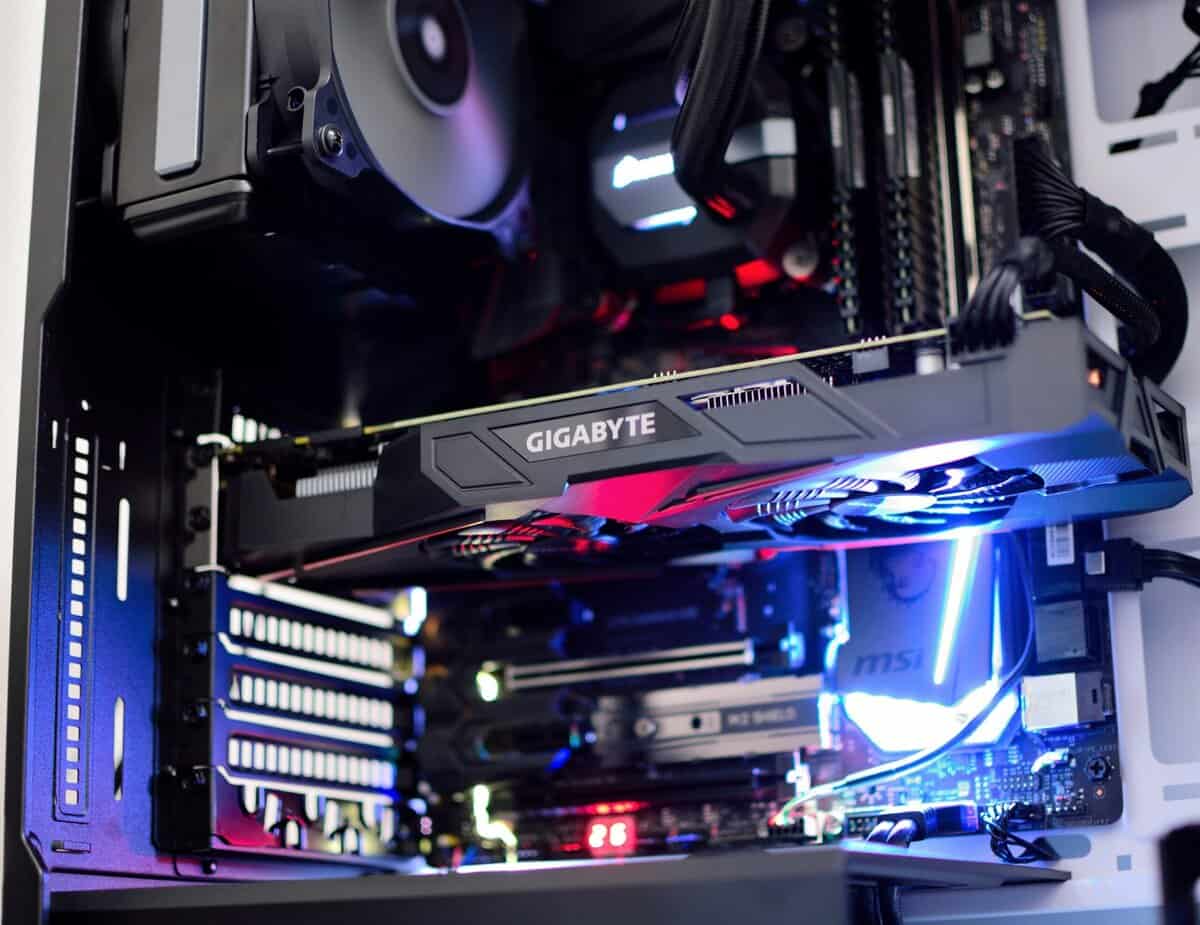
The Heart of the Build: CPU and GPU
For a sub-$1000 budget, the optimal choice is typically an Intel Core i5 or AMD Ryzen 5 processor. Models like the Intel Core i5-14400F or the AMD Ryzen 5 7600 provide strong gaming performance without consuming too much of the budget, leaving more money for the graphics card. For the most budget-conscious builders, the Ryzen 5 5600 on the AM4 platform remains a viable option with cheaper DDR4 motherboards.
On the GPU front, you have several strong options. The Intel Arc B580 at around $250 offers 12GB of VRAM and excellent value. The NVIDIA GeForce RTX 5060 at $299 brings DLSS 4 support for AI-powered frame generation. For the best balance of price and future-proofing, the AMD RX 9060 XT 16GB at $350-400 delivers strong 1080p performance with double the VRAM of its competitors.
The market has advanced significantly. It’s now possible to build a rig that pushes over 100 FPS in demanding titles like Call of Duty at 1080p. Builds featuring current-gen cards like the RX 9060 XT can comfortably handle 1440p gaming in many titles. You can learn more about these performance findings from recent build guides.
The single most important decision you’ll make is how much of your budget goes to the GPU. For a gaming PC, this one component will have the biggest impact on your frame rates and visual quality.
Laying a Stable Foundation
While the CPU and GPU get the attention, the supporting components are what ensure your system is stable, reliable, and upgradeable. Skimping here turns a value build into a future problem.
Motherboard: You don’t need a top-of-the-line board. A solid B-series motherboard (like a B550 for AMD or a B660/B760 for Intel) is a smart buy. They offer better power delivery, more ports, and ensure you won’t need a new board just to swap in a better processor later.
Power Supply (PSU): Do not cheap out on the PSU. A low-quality power supply puts your entire system at risk and compromises durability. Stick to trusted brands like Corsair, SeaSonic, or EVGA. Look for at least an 80+ Bronze efficiency rating and a 550W-650W capacity.
RAM and Storage: For modern gaming, 16GB (2x8GB) of DDR4 RAM at 3200MHz is the standard. Using two sticks for dual-channel mode provides a noticeable performance bump. For storage, a 1TB NVMe M.2 SSD is essential for fast boot times and short game-loading screens.
Sample $1000 DIY PC Build Component List
This list is a blueprint for a balanced build that prioritizes gaming performance. Prices fluctuate, but this provides a solid starting point.
Here’s a breakdown of parts that work well together without exceeding the budget.
| Component | Recommended Model | Why This Part Is Chosen | Estimated Cost |
|---|---|---|---|
| CPU | AMD Ryzen 5 7600 | Excellent 6-core gaming performance on the modern AM5 platform with a clear upgrade path. | ~$200 |
| Motherboard | B650M Motherboard | Provides DDR5 support, PCIe 4.0, and compatibility with future Ryzen processors. | ~$120 |
| GPU | Intel Arc B580 12GB or AMD RX 7600 8GB | The Arc B580 offers more VRAM for the price. The RX 7600 is a proven performer with mature drivers. | ~$250 |
| RAM | 16GB (2x8GB) DDR5 5600MHz | DDR5 is now the standard for new builds, ensuring better longevity. | ~$60 |
| Storage | 1TB NVMe M.2 SSD | Guarantees fast system responsiveness and quick loading times in games. | ~$60 |
| Power Supply | 650W 80+ Bronze PSU | A reliable power supply from a reputable brand ensures system stability and durability. | ~$65 |
| Case | High-Airflow Mid-Tower | A case with a mesh front panel provides superior cooling to keep components running optimally. | ~$75 |
| Total | ~$830 |
Note: For tighter budgets, an AMD Ryzen 5 5600 with a B550 motherboard and DDR4 RAM can save ~$80-100 while still delivering excellent 1080p performance.
This parts list lands well under the $1000 mark. That leaves a cushion for taxes, shipping, or minor price changes, so you can finish your build without surprise costs.
What Gaming Performance Should You Expect
Let’s get straight to the point: specs on a sheet don’t tell you how a game will feel. The real goal for a gaming PC under $1000 is turning hardware into smooth, responsive gameplay. It’s about setting realistic expectations for the kinds of games you play.
First, a PC in this price range is a 1080p machine. While you can attempt 1440p by reducing settings, the 1920×1080 resolution is where your system will perform best. This is the sweet spot for budget hardware, letting you increase frame rates and visual quality without overtaxing the GPU.
Performance in Competitive FPS Titles
If you play fast-paced shooters like Valorant, Call of Duty, or Apex Legends, you’re in a good position. These games are optimized to run on a wide variety of PCs, and a sub-$1000 build has enough power to give you a competitive edge.
The goal is a high refresh rate. You should aim for a consistent 100+ FPS at 1080p with a mix of medium-to-high settings. That level of performance keeps gameplay fluid and responsive. The build quality of your system, particularly its cooling, is key to maintaining these frame rates during long matches without thermal throttling.
Performance in Graphically Demanding Games
For gamers who play visually intensive single-player games or massive MMOs like Final Fantasy XIV, the performance target is different. Instead of the absolute highest frame rate, the focus shifts to a stable experience. Here, a PC under $1000 is capable of delivering a solid 60 FPS at 1080p on high settings.
When things get chaotic—like a 24-person raid or a massive firefight in Cyberpunk 2077—you may need to lower a few settings to medium to keep things smooth. A locked 60 FPS is more enjoyable than a fluctuating frame rate. This is also where the durability of your components, like a reliable power supply, proves its worth by handling sustained graphical loads.
The trade-off is clear: you can’t max out every graphical setting in the newest AAA titles and expect flawless performance. You’ll need to be strategic, prioritizing settings like texture quality while maybe lowering shadow or lighting effects to maintain that stable 60 FPS.
The Reality for Aspiring Streamers
Streaming adds another layer of demand on your system, as it has to run the game and encode video simultaneously. A PC under $1000 can be a starting point for streaming, but you must understand its limitations. You can realistically stream your gameplay at 720p while playing at 1080p.
To do this, you’ll rely on your GPU’s dedicated encoder, like NVIDIA’s NVENC. This hardware-based encoding has a minimal impact on gaming performance compared to CPU encoding (x264). If you try to push for a 1080p stream or use high-quality CPU encoding, your in-game frame rate will drop significantly. It’s a practical compromise for a budget-conscious creator.
So, What’s the Final Verdict?
Deciding on the best gaming PC under $1000 boils down to one question: what do you value more, your time or absolute performance-per-dollar? There’s no single right answer, just the one that fits your situation.
If you want to unbox a PC, plug it in, and be playing within minutes, a prebuilt system is the logical choice. You trade some raw power for immediate convenience and a single warranty. The build quality will be consistent, though expect compromises on parts like the motherboard or power supply, which can affect long-term durability.
On the other hand, if your goal is to get the most gaming performance out of your budget and you are willing to assemble it yourself, the DIY route offers unbeatable value. This path gives you total control over every component, ensuring you get quality, durable parts where they count and a clearer upgrade path for the future.
The No-Nonsense Buying Checklist
Whether you go prebuilt or DIY, use this checklist to ensure you’re making a smart purchase. These are non-negotiable points that separate a good value PC from a future problem.
Verify the GPU Model: Don’t just settle for “RTX graphics.” You need to know the exact model (e.g., RTX 4060 or RTX 3050) and its VRAM. This is the single biggest factor for in-game frame rates.
Confirm Dual-Channel RAM: Make sure the system has at least 16GB of RAM installed as two separate sticks (e.g., 2x8GB). A single stick of RAM is a common cost-cutting tactic that cripples performance.
Prioritize an NVMe SSD: Your operating system and favorite games should be on a fast NVMe solid-state drive. This guarantees snappy boot times and short loading screens.
Inspect the Power Supply Unit (PSU): For a DIY build, stick with a reputable brand like Corsair or SeaSonic with at least an 80+ Bronze rating. For prebuilts, dig into detailed specs and look for a brand name, not just a generic wattage number. A quality PSU is fundamental to system durability.
A great PC isn’t just about a flashy CPU and GPU. It’s a balanced system where the supporting cast—the power supply, the RAM configuration—is chosen with just as much care. That’s what guarantees long-term stability and performance.
Following this checklist ensures your new rig has a solid foundation. Once you have your PC, you’ll need a display that can keep up. To round out your setup, check out our guide on the best budget gaming monitor.
Got Questions? We’ve Got Answers
Stepping into PC gaming, especially on a budget, brings up questions. Let’s tackle some of the most common ones to help you make a confident decision.
Can a $1000 PC Actually Run Games at 1440p?
Yes, but with significant compromises. A PC in this price range can run games at 1440p, but you’ll be turning down many graphical settings to get playable frame rates, especially in the latest titles.
Don’t expect to run everything on high or ultra settings and maintain a steady 60 FPS. A sub-$1000 PC is best thought of as a 1080p machine. At that resolution, it can deliver high frame rates and good visual quality. Consider 1440p a bonus for older or less graphically intense games.
Should I Buy Now or Wait for New Parts to Drop?
For a build under $1000, waiting for the next hardware launch rarely provides a significant benefit. The best value in this price bracket almost always comes from previous-generation parts that have seen price drops as new, more expensive components are released.
The reality of budget building is that you’re hunting for deals on established, reliable components, not chasing cutting-edge technology. Buying now gets you in the game sooner without the risk of missing out on a revolutionary price drop that likely won’t materialize for budget parts.
What Upgrades Should I Plan for First?
Planning your upgrade path from day one is a smart way to extend your PC’s lifespan. The first and most impactful upgrade for a gaming rig is almost always the graphics card (GPU). It gives you the biggest, most direct boost to in-game frame rates.
After the GPU, here’s what to consider next:
More Storage: Adding a second SSD is a simple upgrade. It gives you more room for a growing game library.
More RAM: If you find yourself multitasking heavily—gaming while running Discord, browser tabs, and other apps—bumping your memory from 16GB to 32GB can make the whole system feel more responsive.
Peripherals: Don’t forget your controller. If you’re looking for an option that won’t strain your budget, you can find solid recommendations in our roundup of the best budget gaming controllers for PC.
At Budget Loadout, we specialize in helping you find the best gear that balances performance and price. For more practical guides and honest reviews to complete your setup, explore our other articles.
Related Articles