Your mic is probably sitting too low, too far away, or directly on the desk that’s taking every keyboard hit and mouse bump. That’s how most gaming and streaming setups start. It works, but it also creates the usual problems: muddy voice pickup, less desk space, and a setup that feels cramped every time you queue for ranked or go live.
A microphone boom arm fixes all three. It gets the mic off the desk, puts it where your voice sounds right, and gives your mouse hand room again. For FPS players, that extra space matters. For MMO players and streamers who stay at the desk for hours, the comfort matters just as much.
- Internal cable routing keeps streams looking clean
- Smooth tension, stays where you put it
- Fits most broadcast and USB mics
- Not cheap for first-time buyers
- Traditional profile eats vertical space on camera
- Clamp only (no grommet option in-box)
- Lowest entry price that still tracks well
- 3.3 lb capacity covers most USB mics
- Adapters for almost any mount
- No integrated cable channels
- Tension can loosen over time
- Less elegant on camera than premium picks
- Low-profile stays out of the camera frame
- Magnetic cable management is clean
- Broad mic compatibility
- Shorter reach than traditional scissor arms
- Needs careful clamp placement
- Not built for heavy broadcast condensers
- Near-invisible internal cable routing
- Solid construction for heavier mics
- Understated finish on camera
- Premium price for the category
- Less accessory flexibility than Elgato
- Overkill for light USB mics
- A boom arm gets the mic off your desk, isolates it from keyboard and mouse thumps, and frees up real estate for a cleaner stream.
- Weight capacity is the first filter — check your mic’s weight plus shock mount before anything else; most budget arms cap around 2 to 3 lb.
- Cable management quality separates good arms from great ones; stealth or internal routing keeps streams looking clean on camera.
- Low-profile arms fit cramped desks and ultrawide monitor setups; traditional scissor-style arms give more reach for mid-depth desks.
Table of Contents
Your First Step to a Cleaner Stream Setup
Most bad mic setups aren’t caused by the microphone. They’re caused by where the microphone lives.
A desk stand puts the mic in the path of your hands, under your monitor line, and directly on the same surface that’s getting hammered during gameplay. In an FPS match, that means wide mouse movement gets restricted. In an MMO, it means your mic keeps ending up too far off-axis while you lean back or shift around. In a stream, it means the audience hears more desk than voice.
What changes immediately
A boom arm solves the practical stuff first.
Desk space comes back: You stop building your setup around a metal base sitting in front of your keyboard.
Mic position improves: The mic can sit closer to your mouth without blocking the screen.
Comfort gets better: You don’t have to hunch forward every time you talk.
Setup looks cleaner: Even a modest build feels more intentional once the mic isn’t parked on the desk.
That last point matters less than YouTube thumbnails make it seem, but it still matters. A clean setup is easier to use every day.
Practical rule: Buy a boom arm to fix placement and stability first. The cleaner look is just the bonus.
What this guide is really focused on
A lot of boom arm reviews stop after unboxing. They tell you whether the clamp fits, whether the arm swings around, and whether it looks nice next to RGB lighting. That’s not enough.
The core question is simpler. Will it still hold your mic properly after months of daily use?
That’s where cheap arms usually separate themselves from value-focused ones. Some are fine if you barely move them. Some start squeaking, loosening, or sagging once you adjust them every day before a stream. For budget-conscious gamers, durability matters more than a flashy first impression. Replacing a bad arm later costs more than buying the right one once.
Why a Boom Arm Is a Non-Negotiable Upgrade
Calling it “just a mic stand” misses the point. A good microphone boom arm changes how your whole desk works.
For gaming, it clears the area that matters most. If you play low-sens shooters, you already know how annoying it is when your mouse pad shares space with a mic base, cable slack, and a stand you keep bumping. A clamp-mounted arm moves that clutter off the play surface.
Better mic placement, less body strain
Mic placement affects voice quality more than most beginners expect. If the mic is too low, you tilt your head down to speak into it. If it’s too far, you crank gain and pull in more room noise. If it’s stuck behind the keyboard, you end up talking across it instead of into it.
A boom arm lets you place the mic where it should be. Close enough for clear voice pickup, but out of the way of your monitor and hands. That’s a practical upgrade during long Discord sessions, raids, and streams where posture starts to slip.
It isolates the mic from desk impact
The best simple analogy is suspension on a car. Your desk gets hit constantly. Key presses, mouse flicks, controller taps, elbow bumps, cable tugs. A boom arm helps keep those vibrations from going straight into the microphone mount.
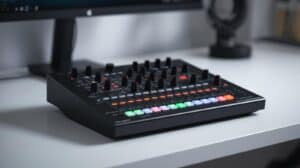
It isn’t perfect isolation on every model, but it’s a lot better than parking the mic directly on the same desk that absorbs all your movement. If you’re also thinking about routing multiple audio sources or adding better control over levels, pairing your arm with the right audio mixer for PC can make the whole voice chain feel more stable and easier to manage.
The cleanest sounding setup usually isn’t the most expensive one. It’s the one where the mic is positioned correctly and kept away from desk noise.
Space matters more than people admit
This is the part a lot of buyers understand only after installing one. Your setup feels less annoying to use.
For streamers, the camera frame looks cleaner. For work-from-home gamers, the desk becomes easier to switch between calls and play. For anyone using a compact desk, a boom arm creates room that wasn’t there before. That’s why I treat it as a foundational upgrade. Not because it looks professional, but because it removes friction every single day.
Decoding Boom Arm Specs That Actually Matter
Cheap listings love filler specs. Rotates 360 degrees. Professional design. Universal compatibility. Heavy-duty construction. Most of that tells you very little.
What matters comes down to load, reach, mount quality, and materials.
Weight capacity is the first filter
Buyers make the most expensive mistake. They check the microphone weight and stop there.
That doesn’t work. The arm has to support the full mounted load, not just the mic body. Professional boom arms typically support 3 to 4.4 lbs, but that includes the microphone, shock mount, and cable. Exceed that, and you risk spring failure and joint sag. The same source also notes that a 1.5 lb microphone at 30 inches of extension puts far more rotational force on the mount than it does at 12 inches, which is why reach and payload have to be considered together in this boom arm load-capacity reference from NEEWER.
Here’s the buying rule that avoids most problems:
Add everything up: Mic, shock mount, and cable all count.
Leave headroom: Don’t shop right at the stated limit.
Think about extension: A mic that holds fine close to the clamp can droop once the arm is fully stretched.
If you’ve ever seen a boom arm look fine on day one and then start sinking toward the keyboard a few weeks later, overload is usually the reason.
Reach and desk geometry decide usability
A boom arm can be strong and still be wrong for your desk.
Deep desks, ultrawide monitors, stacked displays, and side-mounted PCs all change how much reach you need. Traditional scissor arms swing high and arc over gear. Low-profile arms usually stay under monitor level and keep the frame cleaner on camera. Neither style is automatically better. It depends on where your monitor sits and whether you need the arm to disappear between sessions.
Buy for your desk layout, not the product photo. Listing photos rarely resemble a real gaming setup with a large monitor, keyboard, mouse pad, and speakers all fighting for space.
Clamp versus grommet
Most buyers will use a desk clamp. That’s fine, and it’s usually the right choice.
A clamp mount is easier to install, easier to move, and better if you change setups often. The downside is that a cheap clamp can slip, dent soft desk material, or flex under load.
A grommet mount is more secure if your desk supports it, but it’s less convenient and more permanent. I only recommend it if you already know the boom arm is staying in one spot for a long time.
Build materials tell you how long it lasts
Budget arms often look similar in photos. They don’t feel similar after months of use.
What holds up better:
Steel frame parts: Better for repeated adjustments and heavier setups.
Solid joints: Less wobble, less squeak, less drift.
Tighter clamp hardware: Fewer problems with slipping over time.
What usually fails first:
Thin metal tubing
Loose pivot points
Plastic-heavy joints
Weak threads at the mic mount
Those failure points matter more than packaging extras. A bundled pop filter doesn’t help if the arm starts sagging halfway through a stream.
Cable Management and Advanced Features
A boom arm can hold your mic and still feel cheap every day. The difference usually shows up in the details, especially cable routing and tension control.
Hidden cable routing is more than cosmetic
People often treat cable management as a visual feature. It isn’t only that.
Premium boom arms with integrated stealth cable channels can reduce vibration-induced noise by 3 to 6 dB compared to exposed cables, because the cable is secured within the arm instead of hanging loose and carrying movement into the mic path. Warm Audio describes this approach in its stealth cable management design overview. In plain terms, a loose XLR or USB cable can act like a vibration bridge.
That matters most when you type hard, move the arm often, or stream from a desk that isn’t especially sturdy.
A few practical options, from best to worst:
Internal cable channel: Cleanest look and the best daily experience.
External clips built into the arm: Good enough if they’re secure and don’t pop off.
Velcro or zip ties: Works, but looks rough and can still let the cable move.
Loose hanging cable: Usually the worst option for both appearance and noise control.
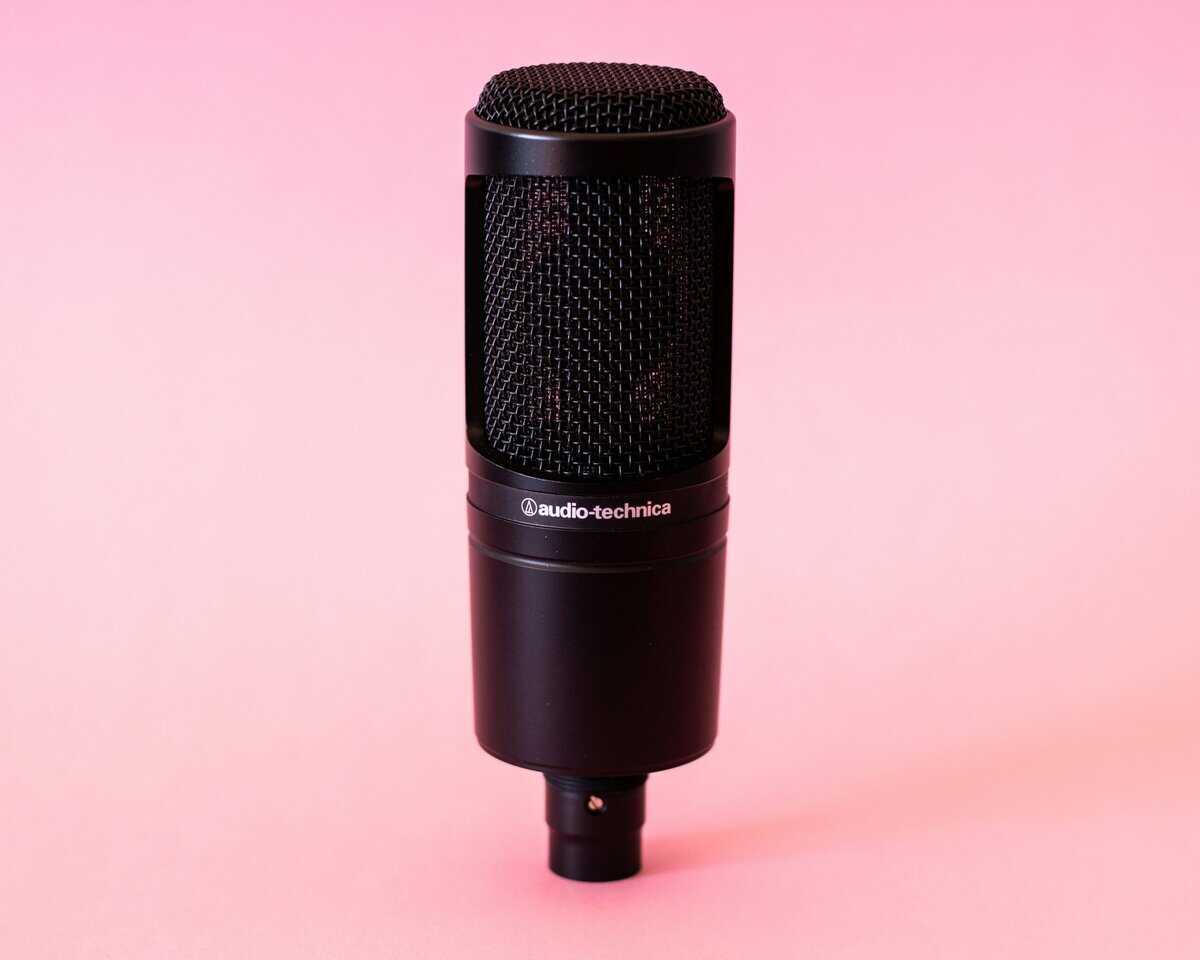
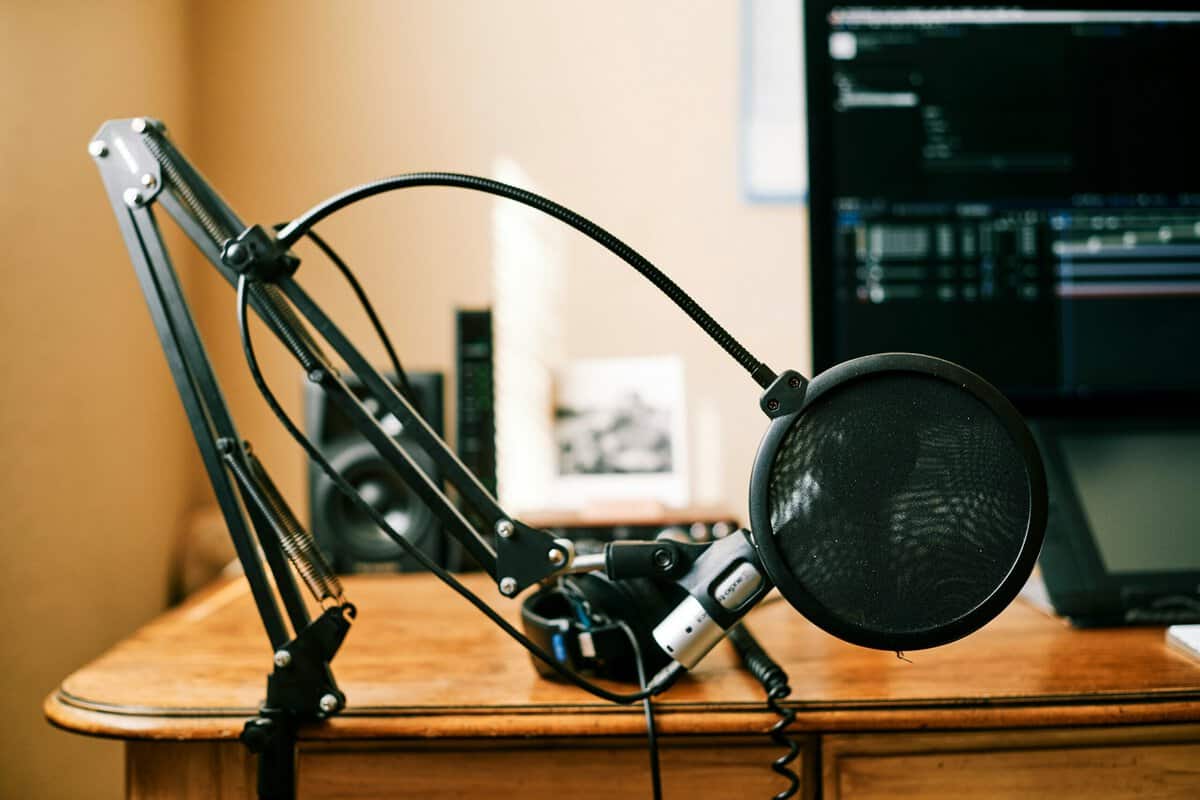
If your mic is close to your mouth, a microphone pop filter is another small upgrade worth considering alongside better cable routing. One handles plosives. The other cuts down avoidable mechanical noise.
Adjustable tension is what makes an arm usable
A fixed-spring arm can hold a mic. An adjustable arm is easier to live with.
Better arms give you some way to tune resistance so the microphone doesn’t spring upward or sink downward. That’s especially useful if you swap between a lighter USB mic and a heavier XLR setup, or if you add a shock mount later.
What usually works well in practice:
Smooth one-handed repositioning
No drift after you let go
Enough resistance to hold angle without feeling stiff
What doesn’t:
Arms that snap upward when unloaded
Joints that need constant retightening
Spring tension that’s too weak for normal streaming mics
Traditional arm or low-profile arm
This choice is mostly about camera framing and monitor placement.
Traditional broadcast-style arms rise higher and offer flexible positioning from the side or above. They’re useful when the desk is crowded or when you want the mic to swing completely away after use.
Low-profile arms stay lower, usually under monitor height. They’re great for clean on-camera setups and compact desks, but only if your display has enough clearance and your preferred mic position works with that lower path. Some gamers love them. Others find they clash with speakers, soundbars, or monitor stands.
Best Budget Microphone Boom Arms in 2026
Not every cheap arm is a deal, and not every higher-priced arm is worth it. For budget-conscious gamers and streamers, the best picks are the ones that balance durability, stable joints, usable cable management, and enough load support for a real setup.
I wouldn’t buy based on accessories in the box. I would buy based on whether the arm still feels solid after months of being moved, folded away, and brought back into position.
2026 Budget Microphone Boom Arm Comparison
| Model | Style | Max Load (lbs) | Cable Management | Best For |
|---|---|---|---|---|
| Elgato Wave Mic Arm | Traditional | 2.2 lbs for microphone alone, 2.6 lbs with accessories | Integrated internal routing | Best overall value |
| NEEWER MS041 | Traditional | 3.3 lbs | No integrated routing | Best ultra-budget option |
| InnoGear Low-Profile | Low-profile | Qualitatively positioned as a low-profile budget option | Basic external routing or model-dependent management | Best low-profile value |
| Warm Audio WA-MBA | Traditional | Not specified here | Stealth internal routing | Best for cable management priority |
Best overall value
This is the model I point people toward when they want fewer compromises without stepping into premium-studio pricing. The load specs are clear, the design accounts for accessories, and the integrated routing makes the whole setup cleaner and quieter than the usual budget scissor arm.
Why it stands out:
Thoughtful load handling: It supports 250 to 1,000 grams for the microphone alone and up to 1,200 grams with accessories, which is the kind of distinction cheaper listings often blur.
Better day-to-day use: Internal cable routing and smoother movement make it easier to reposition without fighting the arm.
Safer long-term buy: It makes more sense for streamers who adjust their setup often.
Trade-off: if your setup is especially heavy, you still need to check total payload carefully. This isn’t a buy-first, think-later option.
Best ultra-budget option
If your goal is to spend as little as possible while still getting a functional microphone boom arm, the MS041 is one of the more realistic choices. It gives you a stated 3.3 lbs capacity and does the basic job. For a light mic setup, that’s workable.
Where it makes sense:
Console gamer adding a mic for party chat and occasional streaming
Student setup where the desk changes often
Secondary desk or temporary content setup
Where it falls short:
No integrated cable routing
More exposed to clutter and vibration transfer
Less confidence for repeated heavy daily adjustment
This is the arm I’d call acceptable, not future-proof. It can be a decent buy if you know its limits and don’t overload it.
Cheap boom arms usually don’t fail because they were cheap. They fail because buyers ask them to hold more weight, for more hours, with more daily movement than the design can tolerate.
Best low-profile value
Low-profile arms solve a real problem. They keep the arm lower in frame, look cleaner on camera, and often work better for people who hate a spring arm hanging over the monitor.
The appeal is obvious for streamers who want a tidy desk shot or gamers using a monitor-mounted camera. The reason I’d still call this a value pick instead of an automatic pick is durability uncertainty. Low-profile budget arms often look better than they feel. If the joints are loose or the hardware is soft, the clean look stops mattering fast.
Best use case:
Streamers who keep the mic in a fixed position
Compact desks where overhead swing is awkward
Setups where camera framing matters
Best if cable management is your priority
This one earns attention mainly for its stealth cable routing. If you care about a cleaner on-camera look and less cable slap around the arm, that feature has real value.
The caution is simple. Don’t pay extra for cable management alone if the rest of your setup is very basic. But if your stream desk is already dialed in and you’re tired of taping cables to a budget arm, this is one of the smarter upgrades.
Installation Guide and Troubleshooting Common Issues
The easiest way to ruin a decent microphone boom arm is a bad install. Most of the long-term complaints people have with budget arms start here. Clamp mounted crooked. Tension set wrong. Cable left hanging. Threads forced instead of aligned.
Budget arms under around $30 get praised for low entry cost, but that’s only part of the story. Forum discussions and user polls highlighted by The Podcast Host indicate that potentially up to 60% of budget users report failures such as loosening or sagging within the first year of heavy use, which is why installation and maintenance matter more than most quick reviews admit in this discussion of budget boom arm durability.
Install it like you plan to keep it
Start with the desk clamp. Put it on a solid section of the desk, not on a thin edge that flexes when you lean on it. If your desktop surface marks easily, place a thin piece of cardboard or soft padding between the clamp and the desk. Tighten it firmly, but don’t crank it so hard that you crush weak material.
Then set the arm into the base and test movement before attaching the microphone. You want smooth travel with no side wobble. After that, mount the mic hardware carefully and route the cable so it doesn’t pull on the mic end.
A simple order works best:
Secure the clamp first: Pick the strongest spot on the desk.
Check arm motion unloaded: Make sure joints move cleanly.
Attach adapter and mount carefully: Don’t force mismatched threads.
Add cable with slack: Leave enough room for movement without tugging.
Balance tension last: Tune the arm only after the full setup is mounted.
Fixing sag, squeak, and clamp slip
Most recurring issues are manageable if you catch them early.
Sagging mic: Increase tension gradually. Don’t overcorrect in one turn.
Clamp slipping: Re-seat the clamp on a flatter, stronger desk section.
Squeaking joints: Tighten hardware where needed and inspect for metal-on-metal rubbing.
Mic thread mismatch: Use the correct adapter instead of forcing the mount.
This walkthrough is helpful if you want to see the general install flow before touching your own setup.
A boom arm that starts drifting usually gives you warning signs first. Small droop, extra wobble, clamp movement, or a new squeak. Fix those early and the arm lasts longer.
Daily habits that extend lifespan
This part is simple and ignored a lot.
Don’t yank the arm by the microphone. Don’t fold it hard against its stops every day. Don’t let cable weight hang from the mic connector. And if you change microphones, re-check balance instead of assuming the old tension setting still works.
Heavy daily use breaks budget arms faster than occasional use. That’s normal. If you stream for hours most days, treat the arm like a moving part that needs occasional adjustment, not a one-time install.
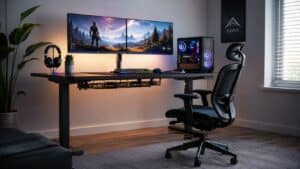
If you’re also sorting out the rest of your desk, this guide to the best streaming setup is a useful companion because a boom arm works best as part of a clean overall layout, not as a random add-on.
One more reality check. A boom arm helps a lot, but it won’t fix every audio problem by itself. If your room is loud or your PC fans are aggressive, pair the arm with a few basic noise-control habits. This practical guide on reducing background noise on a mic is worth a read before you start blaming the microphone.
Making the Right Investment
A microphone boom arm is one of the few setup upgrades that improves comfort, audio quality, and desk space at the same time. That’s why it’s worth buying carefully.
The smart buy usually isn’t the cheapest arm on the page. It’s the one with enough load support for your actual mic setup, solid build quality at the joints and clamp, and a design you’ll still want to use after months of daily adjustment. If you game casually and barely move the arm, a basic option can work. If you stream often, play long sessions, or want your setup to stay clean and stable, spending a bit more on a better-built arm usually saves money later.
For most readers, the primary decision isn’t whether to get a boom arm. It’s whether to buy one that just sits on your desk or one that keeps doing its job without sagging, squeaking, and getting in the way.
Buy for the microphone you have now, but leave room for the accessories and habits you’ll add later. That’s how you end up with a microphone boom arm that still feels like a good purchase long after the unboxing.
Frequently Asked Questions
What weight can a typical boom arm hold?
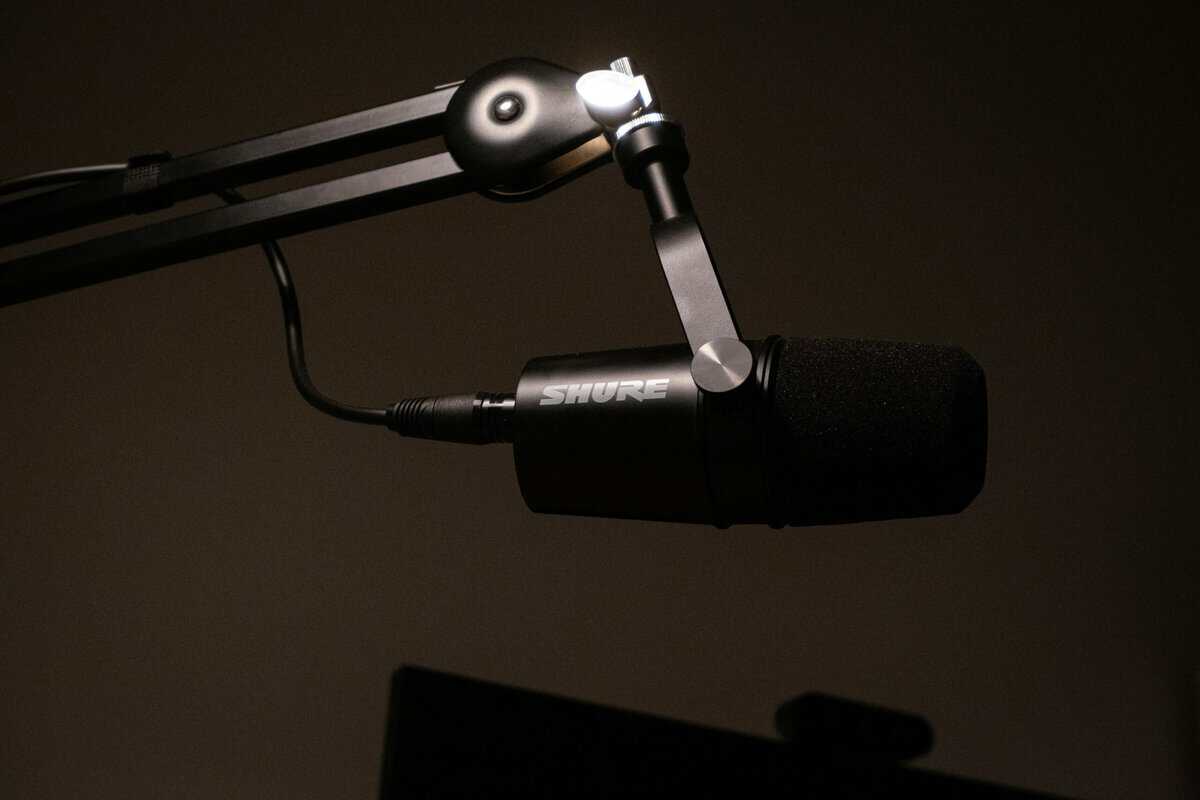
Most budget boom arms hold 1 to 3 lb of mic plus shock mount. A Shure SM7B with an accessory mount can push 3 lb, so check the spec before you buy — overloading is the number one cause of sag and clamp slip over time.
Do boom arms work with any microphone?
Almost. They need a matching thread (usually 5/8 inch with a 3/8 inch adapter) and the arm’s weight rating must cover your mic plus shock mount. USB mics that ship with a desk stand usually need that stand unscrewed first before mounting on a boom arm.
Do I need a pop filter if I have a boom arm?
Yes. A boom arm improves placement, but a pop filter stops plosives (p and b sounds) from punching into the mic capsule. Pair them if you are on a cardioid condenser or a broadcast dynamic mic for best results.
If you want more practical gear guides like this, Budget Loadout focuses on gaming and streaming upgrades that prioritize value, durability, and fewer regrettable purchases.
Related Articles