TL;DR: The best monitor arm for most gamers is the one that matches your monitor’s actual weight, not just its size. Basic arms usually support around 15 pounds, better models handle 25 pounds or more, and most modern monitors work with standard 75x75mm or 100x100mm VESA mounts, which cover over 90% of displays across brands since 2005.
Quick Picks 2026
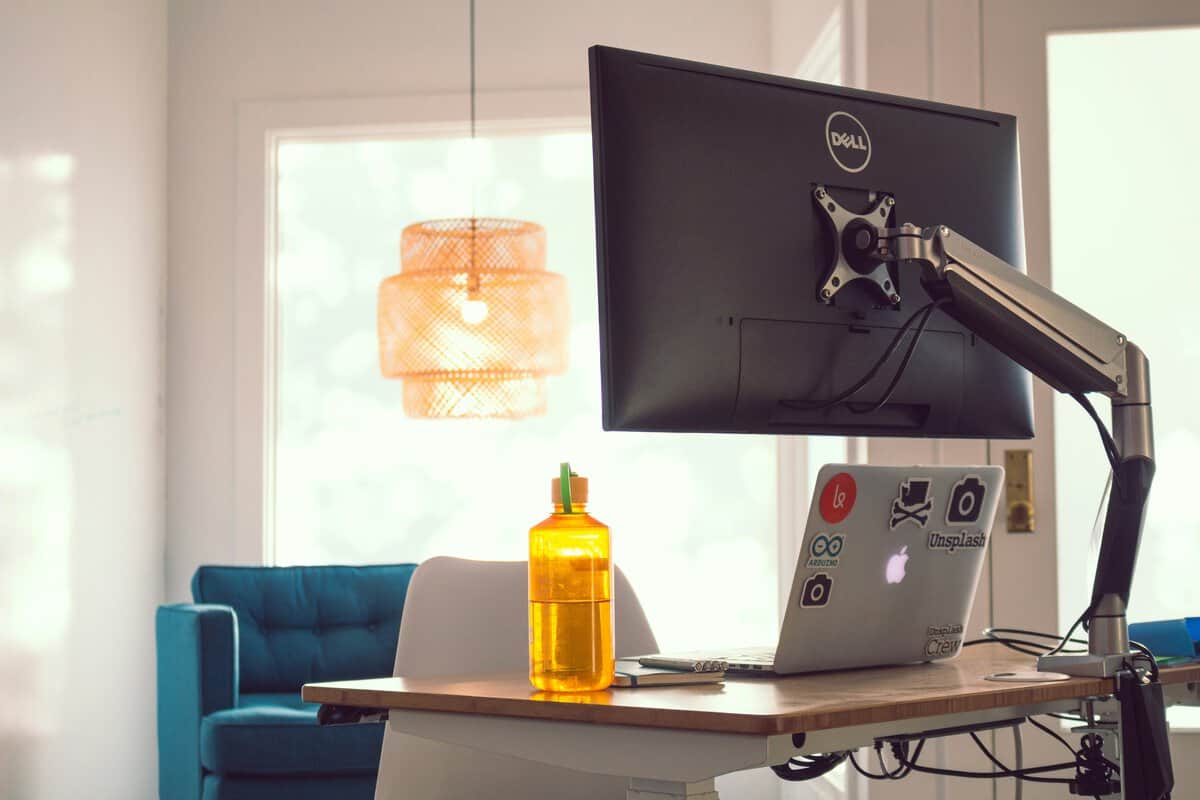
Your stock stand is probably doing three things badly right now. It’s eating desk space, locking your screen into one height, and forcing you to work around the monitor instead of placing the monitor where your eyes and shoulders want it.
That gets old fast if you play competitive FPS, grind MMOs for hours, or run a second screen for OBS, Discord, or chat. A good monitor arm fixes that. A bad one gives you bounce, sag, broken cable clips, and a clamp you stop trusting every time you bump the desk.
For budget buyers, the trick isn’t finding the cheapest arm. It’s finding the cheapest arm that still stays stable with a modern 27-inch or larger monitor.
- Cheapest credible gaming arm
- Smooth gas-spring motion
- 4.5/5 over 17,000 reviews
- heavier build may leaves no headroom for heavy panels
- Plastic cable channel feels basic
- Not built for ultrawides
- Tidier than two separate single arms
- Wide articulation range
- Works well for support-screen layouts
- Mechanical (set-and-forget) rather than gas-spring
- Takes more patience to tune than a single arm
- Cable routing is just acceptable
- Rated for 42 lb ultrawides
- Rock-solid build and fit
- Long warranty and smooth motion
- Not a budget buy in absolute terms
- Overkill for standard 27-inch monitors
- Larger desk footprint at the base
- Silky Constant-Force motion
- 10-year warranty sets it apart
- Proven long-term reliability
- Pays a big premium over the WALI
- Not needed for a standard 27-inch setup
- Doesn’t fit ultrawides above 34 inches
- Match the arm to the monitor’s actual weight, not just its size — most budget arms cap at 15 to 22 lb, not 30 lb.
- VESA 75×75 or 100×100 fits nearly all modern gaming monitors; check the back panel before you click buy.
- Gas-spring arms win for frequent adjustment; mechanical arms stay put better if you set and forget.
- For ultrawide or heavier panels, step up to a heavy-duty arm like the Ergotron HX — a light-duty arm will sag and creep.
Table of Contents
What to Look For in a Gaming Monitor Arm
A cheap arm can look fine on day one, then start sagging a month later once a 27-inch monitor, webcam, and daily desk bumps expose its weak points. For a budget gaming setup, the goal is simple. Buy enough arm for the monitor you own, not the light office display shown in the product photos.
Weight capacity comes first
Ignore screen size as the main filter. Two 27-inch monitors can put very different loads on an arm, especially once you get into high-refresh gaming panels, curved screens, or thicker housings with heavier stands removed.
Check the monitor’s weight without the stock stand, then leave some safety margin. That extra headroom is what keeps the arm from drifting downward over time. It also helps if you run a webcam, light bar, or stiff DisplayPort cable that pulls on the screen more than expected.
From testing budget arms, this is the line I do not like to cut too close. An arm that barely meets the listed weight can hold at first and still feel bad to use. You see more wobble, more joint slip, and more readjustment than you should.
Practical rule: Buy for the monitor’s real weight, then add margin so the arm stays stable after months of use.
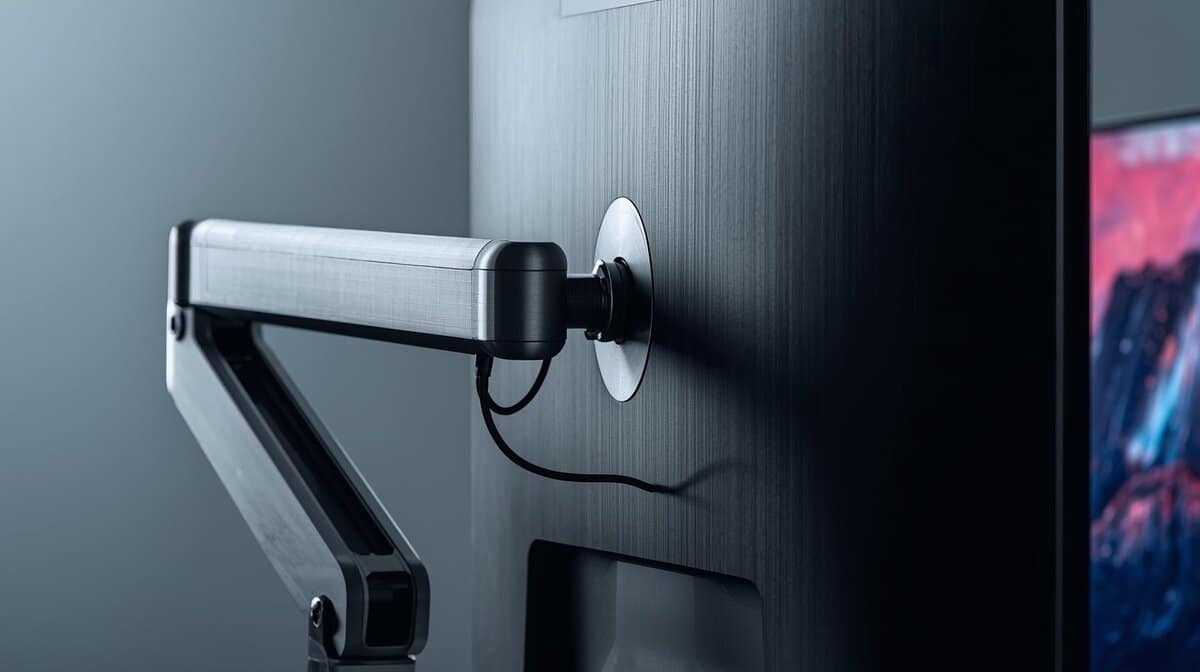
VESA support is a quick check
Compatibility here is usually straightforward. Look at the back of the monitor for the four mounting holes. If they are hidden, a plastic cover or stand bracket is often in the way.
Most gaming displays use one of the common VESA patterns, so this usually turns into a yes or no check, not a long comparison. The bigger problem is forgetting to verify it before buying the arm, or finding out your monitor needs a separate adapter plate.
Mount type affects stability more than buyers expect
The arm and the desk work as one system. If the desk flexes, the monitor moves with it.
Desk clamp: Best for most setups. It installs faster, moves easily, and makes sense if you change layouts or swap gear often.
Grommet mount: Better for a cleaner, more fixed position. It can feel more planted if your desk already has a cable hole in the right spot.
Desk thickness and material: Thin particleboard, hollow tops, and soft desktops are where cheap clamps become sketchy.
Rear clearance: Some arms need more space behind the desk than the product page suggests, especially if you want to push the monitor back.
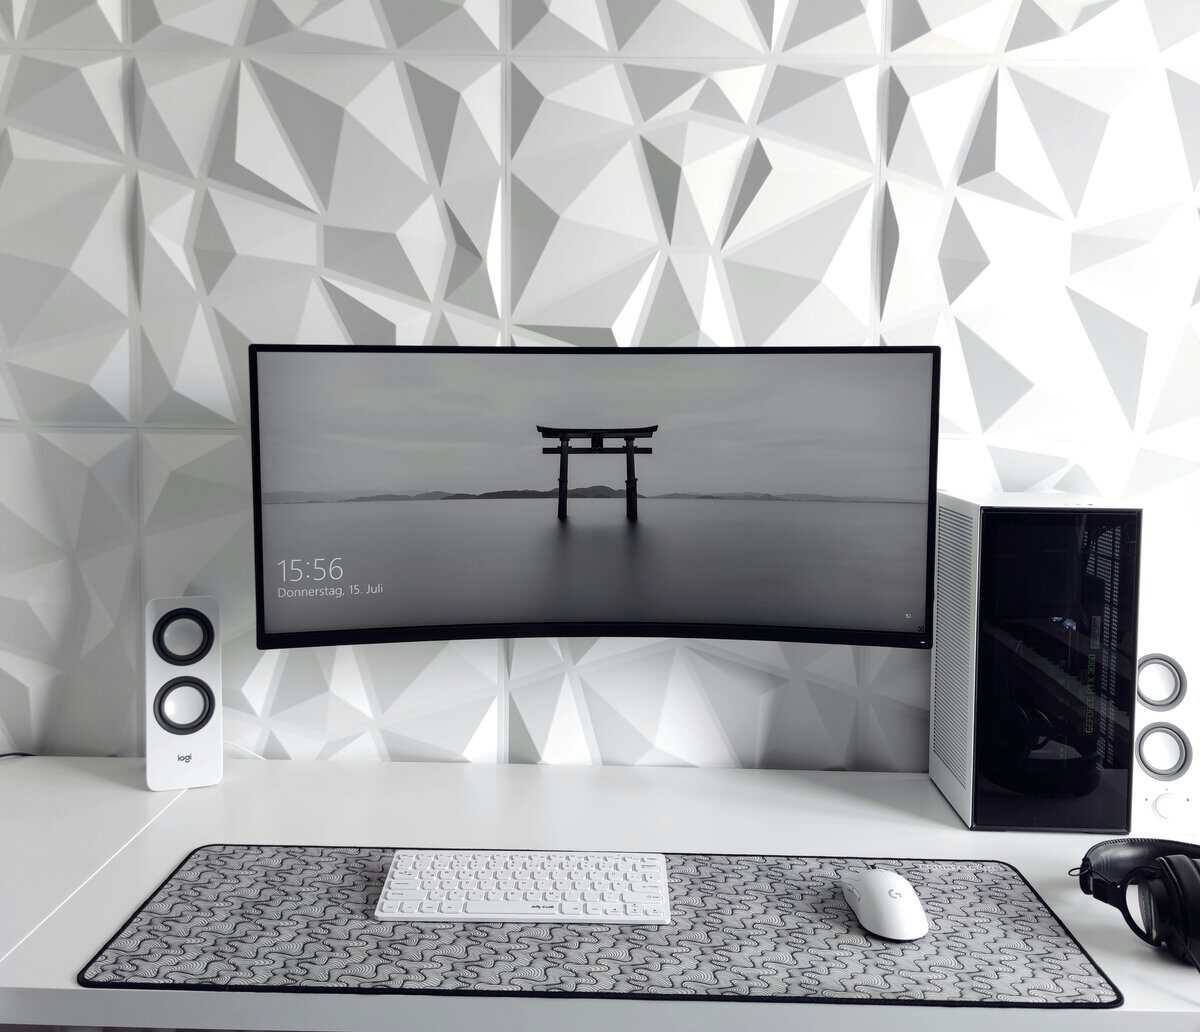
If you are working with a small surface, check how a gaming desk setup with proper monitor placement is laid out before you buy. A monitor arm saves space, but only if the desk gives the arm room to swing and clamp securely.
Adjustment range matters if you actually use it
A lot of budget arms advertise tilt, swivel, pivot, and height adjustment, but the useful range can still be mediocre. The problem is not the feature list. It is how well the arm holds position once you set it.
For gaming and streaming, height range and forward-back movement matter more than full rotation. If the monitor sits at the right eye level and can come closer or move back cleanly, that does more for comfort than a pivot mode you never touch.
Gas Spring vs Mechanical Which Is Better
A lot of buyers overspend here.
For a budget setup with a modern 27-inch monitor, the main question is not which mechanism sounds better. It is whether the arm will still hold height and stay level six months from now. A cheap arm that moves beautifully on day one can become annoying fast if the screen starts drifting or bouncing every time the desk gets bumped.
Where gas spring wins
Gas spring arms are easier to reposition on the fly. If you pull the screen forward for controller play, push it back for keyboard and mouse, or keep changing camera and monitor placement while streaming, that lower-effort movement is useful every day.
A good gas arm also makes fine adjustments less frustrating. You can usually nudge the monitor into place with one hand instead of loosening something, shifting the panel, and tightening it again.
That advantage depends heavily on quality. Budget gas arms often feel great at first, but they are also the models most likely to lose tension, sag with heavier 27-inch and 32-inch panels, or need frequent readjustment. If your monitor is near the top of the arm’s rated capacity, paying a bit more for a better gas arm usually prevents future annoyance.
Where mechanical makes more sense
Mechanical arms are the better value choice for a lot of budget gamers. They are simpler, usually cheaper, and often a safer match for a setup where the monitor gets positioned once and stays there.
That matters more than buyers expect. A fixed gaming desk with a single 27-inch display does not need silky motion nearly as much as it needs consistent hold. In that kind of setup, a decent mechanical arm can be the smarter buy because there is less to go wrong and less chance of gradual droop.
I have also found that cheaper mechanical arms tend to fail in more obvious ways. They feel stiff, or adjustment takes longer, but they usually do not hide problems behind smooth movement the way low-end gas arms can. For a practical layout, it helps to look at gaming desk setup ideas for monitor positioning and arm clearance before buying the arm itself.
Gas spring fits setups that move often. Mechanical fits setups that need to stay put and stay level.
Best value verdict
For most budget gamers, mechanical spring is the safer place to save money.
Spend more on gas spring only if you will use that easier movement, or if you are mounting a heavier monitor and want better tuning and less sag over time. Check this before you buy, not after. A cheap gas arm is often the worst middle ground. It costs more than a basic mechanical arm but still misses the long-term stability that makes the upgrade worth paying for.
The Best Monitor Arms for Budget Gamers in 2026
This is the part that matters most. Which arms are worth buying if you want value, stability, and fewer regrets.
| Arm | Badge | Max Load | VESA | Best For | Approx. Price |
|---|---|---|---|---|---|
| WALI Single Monitor Arm | Best Overall Value | 22 lb | 75×75, 100×100 | Single 27″ gaming setup | ~$30 |
| VIVO Dual Monitor Arm | Best Budget Dual | 19.8 lb per arm | 75×75, 100×100 | Streaming / work + play | ~$50 |
| Ergotron HX | Best Heavy-Duty | 42 lb | up to 200×200 | Ultrawide / heavy panels | ~$330 |
| Ergotron LX | Premium Benchmark | 25 lb | 75×75, 100×100 | Buyers wanting best-in-class feel | ~$200 |
Best overall value
The WALI Single Monitor Arm is the easy recommendation for a typical single-monitor gaming setup. It’s the kind of arm that makes sense for a 27-inch display when you want a real upgrade over a stock stand without paying premium-arm money.
Premium models such as the Ergotron LX set the standard for smooth motion with Constant Force technology and a 10-year warranty, but the practical value case is different for cheaper arms. The WALI Single Monitor Arm still offers reliable support for monitors up to 22 lbs or more, and it carries a 4.5/5 rating from over 17,000 reviews (full comparison details here).
What I like about the WALI type of arm is simple. It solves the main problem. It gets the monitor off the desk, gives you useful adjustment, and usually feels stable enough if you don’t overload it.
The trade-off is refinement. Budget arms like this don’t move with the same precision as an Ergotron. You feel more friction. Fine positioning takes more patience. Cable routing is usually just acceptable.
Best budget dual-monitor arm
For streaming, MMOs, or a work-and-play desk, a VIVO Dual Monitor Arm makes more sense than buying two random single arms and hoping they line up cleanly.
A dual arm works best when one screen is your main display and the other handles support tasks. In practice, that means game front and center, then chat, OBS, guides, Discord, or music on the side.
Build quality matters more here than with a single arm. Dual setups expose weak joints faster. If one side drifts or sits slightly lower, you notice it every day.
What to expect from the trade-off:
Better organization: One mount point keeps the desk cleaner.
More setup time: Dual arms take longer to level correctly.
More sensitivity to desk flex: Any weakness in the desk becomes more obvious.
Less forgiving tuning: A dual setup punishes lazy installation.
If you run two monitors every day, buy a dual arm built for that job. Two cheap singles can work, but they rarely look or feel as tidy.
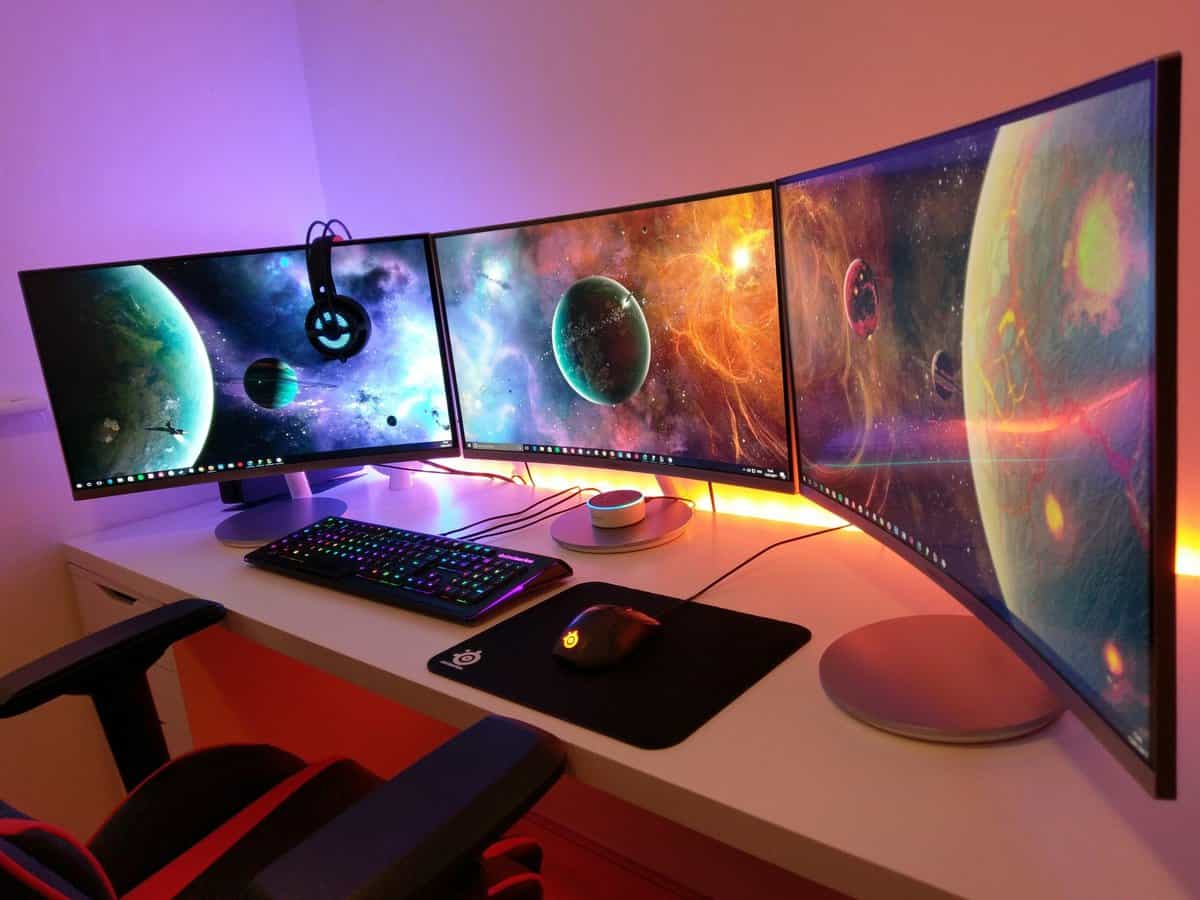
Best heavy-duty arm for ultrawides
If you use a large curved display, stop trying to force a light-duty arm into heavy-duty work. That’s where buyers waste money.
The Ergotron HX is the right category of product for ultrawides and heavier panels. It isn’t a budget pick in absolute terms, but it is the value pick for people who already own an expensive large monitor and need the arm to match it.
Spending more changes the outcome. On smaller screens, premium arms mostly buy nicer motion and better finish. On ultrawides, premium arms often buy basic confidence that the monitor won’t tilt, creep, or feel unstable.
Premium benchmark for context
The Ergotron LX is still the benchmark single arm if you want to know what extra money buys. You’re paying for smoother adjustment, stronger long-term confidence, and a better warranty story.
For a budget-conscious gamer with a normal single monitor, that jump won’t always be necessary. For someone who adjusts their display often, cares about fit and finish, or plans to keep the same arm through multiple monitor upgrades, it can make sense.
How to Install and Tune Your Monitor Arm
You clamp the arm down, hang a 27-inch monitor on it, and the screen still drifts or wobbles. In a lot of budget setups, that comes from installation and tuning mistakes, not a defective arm.
Start with the desk, not the arm
Check the clamp area first. The mount needs a flat, solid section of desk, not a beveled edge, trim piece, cable tray, or hollow honeycomb section pretending to be solid wood.
This matters more with modern 27-inch and 32-inch gaming monitors because they place greater stress on the arm than older 24-inch panels. A cheap arm on a solid desk can feel fine. A decent arm on a weak desk can still bounce every time you touch the mouse.
Leave enough clearance behind the desk so the arm can swing and retract without hitting the wall. Mounting too close to a corner also limits how well you can center the screen.
Tune the tension correctly
Budget arms get judged too harshly here. Many of them ship with tension set far too loose or far too tight for the monitor you’re using.
Mount the display, support it with one hand, then use the included hex key or adjustment screw to change tension in small steps. The goal is simple. The monitor should stay put when you stop moving it, without rising on its own or slowly sinking over a few minutes.
If you own a heavier 27-inch+ monitor, spend extra time on this part. That small effort often decides whether a cheaper arm feels acceptable for a year or starts sagging early. If the joints still creep after proper tuning, you’ve found the limit of the arm, not your setup skills.
For visual guidance, this walkthrough covers the basic process well:
Cable Management That Works
Built-in cable clips on budget arms are often flimsy. Treat them as light guides, not load-bearing parts.
Run only the cables the arm needs, then leave a little slack near the monitor and near the base so movement does not tug on the ports. If you stuff HDMI, power, webcam, mic, and light bar cables into one narrow channel, the clips can pop off and the arm will feel stiffer when you reposition it.
A cleaner cable run also makes small aim and height adjustments easier, which matters if you switch between gaming, work, and streaming. If you want the rest of the desk to match the arm setup, these gaming desk setup ideas are a practical starting point.
Optimize Your Setup for Gaming and Streaming
A good arm isn’t just about freeing desk space. It lets you put the monitor where the game feels easiest to read and your neck doesn’t hate you later.
Top guides often stop at “arm’s length,” but that’s too vague for modern displays. Ergonomic guidance based on a 20-22 arcminute visual angle shows that a 27-inch 1440p monitor and a 34-inch ultrawide need different distances and heights, and a proper setup can reduce eye strain by 20-30% (Eureka Ergonomic’s setup guide).
FPS setup
For competitive shooters, keep one display centered directly in front of you. The point is fast visual pickup with minimal head movement.
Put the top of the screen at a comfortable eye-level position, then pull the monitor close enough that you can track targets without leaning in. The arm helps because you can fine-tune that spot instead of accepting whatever the stock stand allows.
MMO and RPG setup
Long sessions change the priority. Comfort matters more than the most aggressive forward position.
A slightly more relaxed viewing distance works better here, especially if you’re reading chat windows, inventory panels, maps, and quest text. This is also where a monitor arm pairs well with a clean accessory layout and something like a monitor light bar if you play in a darker room.
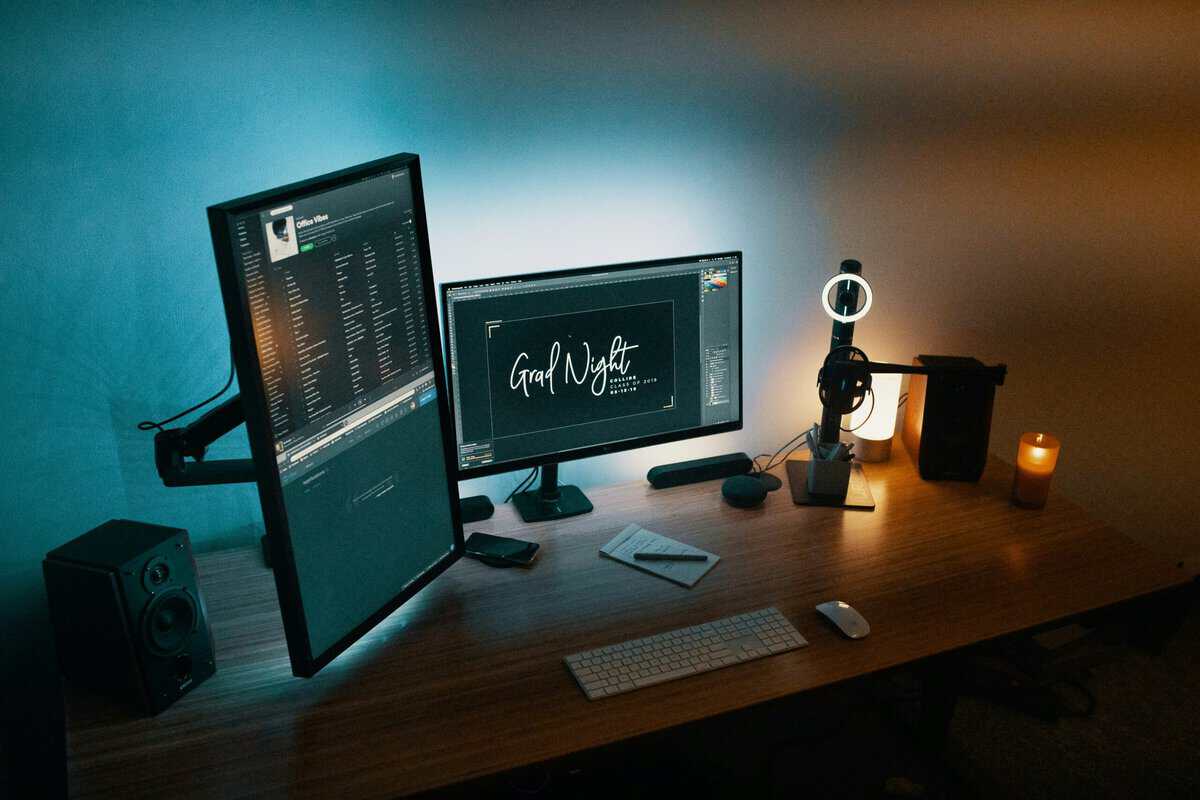
Streaming and dual-monitor layout
The best streaming setup keeps the main monitor centered and the second monitor slightly off to the side. You want your game screen to stay primary while OBS, stream chat, alerts, or Discord remain visible without forcing a full neck turn.
Center the main display. Angle the secondary display toward you instead of placing it flat beside the first one.
That one adjustment makes a dual setup feel less fatiguing over long sessions.
Frequently Asked Questions
Do monitor arms work with curved monitors?
Yes, if the arm supports the monitor’s weight and VESA pattern. Curved panels often apply greater rotational stress, so this is one place where a heavier-duty arm matters more than it would with a lighter flat screen.
Can a monitor arm damage my desk?
Yes, it can, especially on softer or weaker desktops. Use the included pad if the arm comes with one, and consider a reinforcement plate if the desk surface feels thin or compressible. Clamp pressure plus turning force is what causes most marks.
Is it hard to upgrade from a single arm to a dual arm later?
Usually, yes. In most cases you are not upgrading the same system — you are replacing it with a different mount. If you already know streaming or dual-screen work is in your future, it is smarter to plan for that now instead of buying twice.
If you’re building a gaming or streaming setup and want gear advice that focuses on value, durability, and real trade-offs, Budget Loadout is worth a look. It’s built for players who want better gear choices without overspending on features they won’t use.
Related Articles