You’ve got the console on the desk, the dock out of the box, and a TV waiting on the right input. That’s the easy part. The part that trips people up is everything after that: which cable goes where, why some USB-C chargers work and others don’t, why a docked image can disappear even when the console is charging, and which upgrades are worth buying.
The good news is the Switch 2 Dock is straightforward once you understand its limits. It’s built for proper docked play, not for random charger experiments and bargain-bin accessories. If you want stable output for shooters, smoother online play for MMOs, or a cleaner setup for couch streaming and capture, the dock can absolutely do the job without turning into a money pit.
- Switch 2 Dock needs USB-C PD power that meets the right wattage — random chargers often refuse to output video
- Use HDMI 2.0 or 2.1 cable rated for the resolution you actually run — most issues come from cheap cables
- If the image flickers or cuts out, check the cable and port before blaming the dock or console
- For online play, plug ethernet straight into the dock — wired beats wireless every time
- Skip overpriced accessory bundles — a quality charger, HDMI cable, and Cat 6 ethernet cable is all most setups need
Table of Contents
Getting Your Switch 2 Dock Set Up
A lot of new owners make the same mistake right away. They treat the Switch 2 Dock like a generic USB-C hub. It isn’t. It’s a purpose-built dock with its own power and display behavior, so the best setup starts with using the included parts first, then changing one thing at a time if you want a second room setup or travel kit.
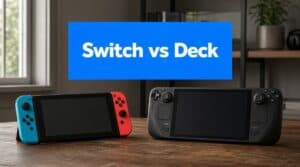
If you’re still deciding which Nintendo system makes sense for your setup, this Nintendo Switch model comparison is worth checking before you buy extra accessories you may not need.
Start with the clean setup
Set the dock near the display you’ll use most. Don’t hide it inside a packed media cabinet, and don’t jam it against a wall where the rear cables have to bend sharply. The dock works best when it has room to breathe and the console can slide in and out without pressure on the connector.
Then keep the first boot simple:
- Use the included dock and power adapter first. That removes the biggest variable.
- Connect HDMI directly to the TV or monitor. Skip splitters and switch boxes on day one.
- Dock the console only after power and video are connected.
- Confirm the display works before adding accessories like controllers, USB devices, or capture gear.
Practical rule: If you’re troubleshooting a dock, reduce the setup to power, HDMI, and console. Every extra device adds another failure point.
What matters for value
Budget buyers usually ask the right question. Not “What’s the cheapest way to dock this?” but “What gives me stable docked play without wasting money?” That’s the right mindset.
For many users, value means three things:
- Stable video output for long play sessions
- Reliable power delivery that doesn’t drop signal
- Durable accessories you won’t replace in a few months
That matters more than chasing branded extras. The stock dock already gives you a strong baseline. The smart move is learning where third-party accessories are safe, and where they become a gamble.
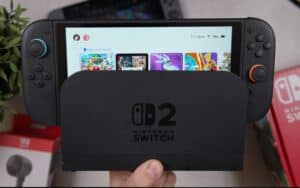
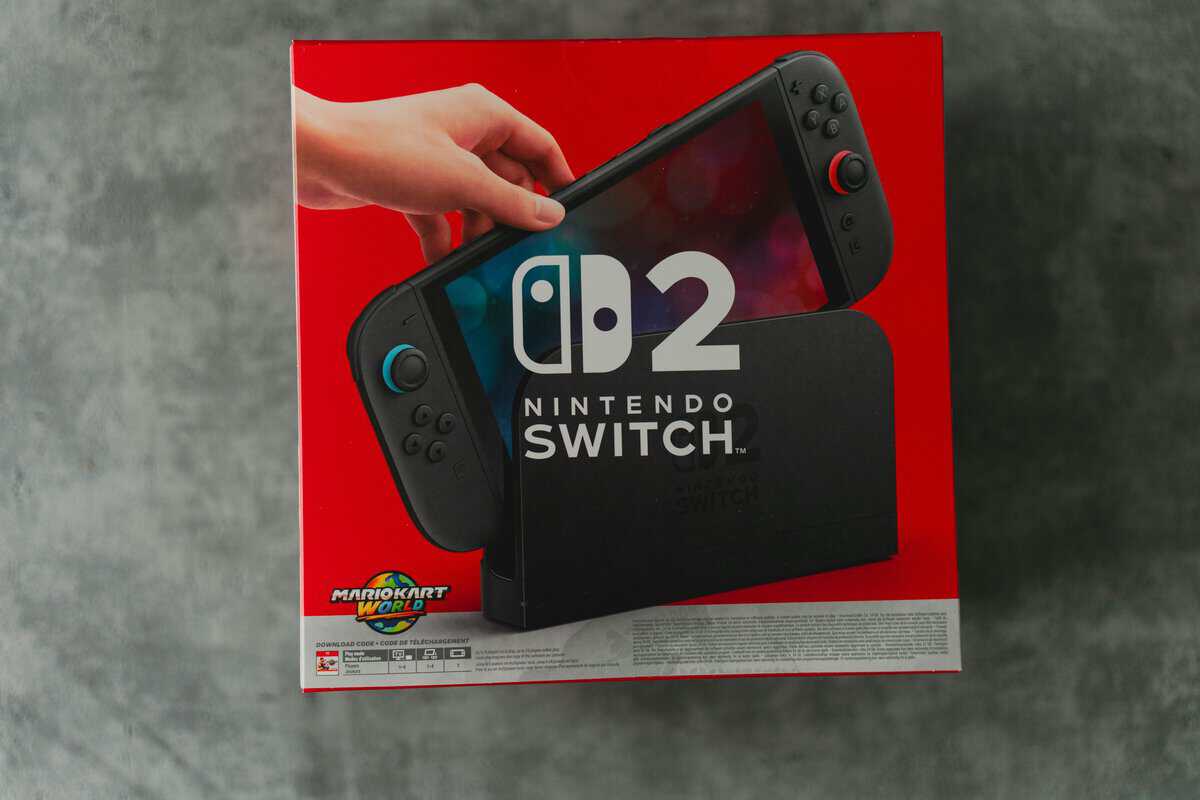
Unboxing and Connecting Your Dock
The switch 2 dock is larger than the old one, but that extra bulk serves a purpose. The housing gives the console more breathing room, and the shape leaves part of the screen area exposed at the top instead of burying everything inside a tighter shell.

Nintendo lists the dock at about 4.5 inches by 7.9 inches by 2 inches and 0.84 lbs, with 2 USB 2.0 ports, HDMI output, wired LAN, and AC adapter input. The HDMI output supports up to 4K at 60 fps, with 120 fps at 1080p or 1440p, plus VRR, and the console draws 17 to 19W under load in docked mode according to the official Switch 2 tech specs.
Know the port layout
Before plugging anything in, identify what each connection is doing.
- AC adapter port powers the docked setup
- HDMI port sends video and audio to your display
- Wired LAN port gives you a steadier connection for online games and downloads
- Two USB 2.0 ports handle accessories like wired controllers or adapters
For most setups, the best connection order is simple.
- Plug the AC adapter into the dock first
- Run HDMI from the dock to the display
- Connect Ethernet if you play online
- Place the console into the dock carefully and fully
If you play competitive FPS titles, a wired LAN connection is usually the better choice than relying on room-to-room Wi-Fi. The same goes for MMO play, where brief connection instability can be more annoying than raw latency. Streaming from the console also benefits from keeping the network side consistent.
Build quality and what to watch
The dock feels like a proper home-base accessory, not a throwaway stand. That matters. You’ll be sliding the console in and out constantly, so durability around the connector area matters more than fancy materials.
A few practical habits help:
- Guide the console straight down. Don’t angle it in.
- Leave enough cable slack at the back. Tension on HDMI or power cables can shift the dock.
- Keep the side USB ports for low-demand accessories. Don’t turn the dock into a clutter hub.
If you’re pairing the dock with a monitor instead of a TV, this guide on DisplayPort vs HDMI for gaming helps explain why HDMI is the right path here and where monitor users need to pay attention.
A stable docked setup usually fails because of cable quality, power negotiation, or poor placement, not because the dock itself is fragile.
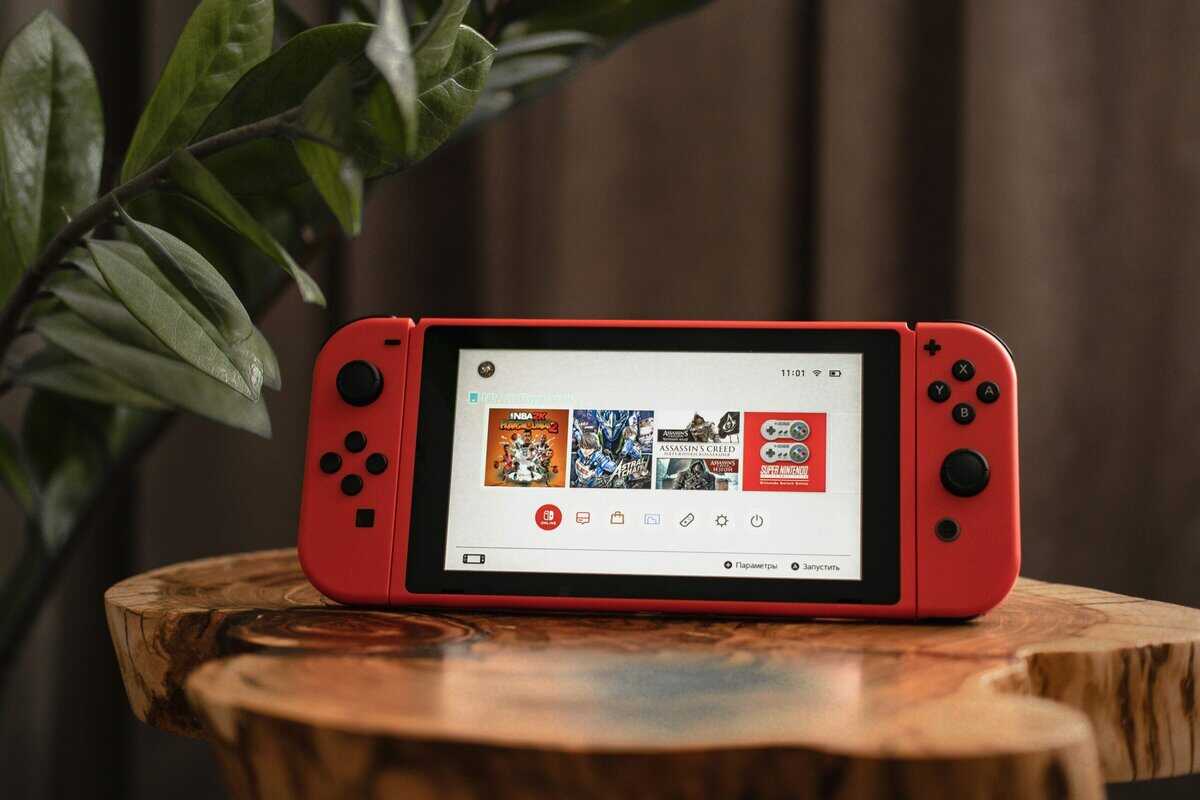
Configuring TV Output and System Settings
Once the switch 2 dock is physically connected, the next job is making sure the console and display agree on the same signal. A lot of “bad dock” complaints are really bad settings matches. The console may be capable of one thing, the display another, and the TV input may be set up for neither.
Get the display basics right
Start by checking that your TV or monitor is on the correct HDMI input. Then open the console’s display settings and verify what output it is using. Don’t assume it picked the best mode on its own.
Look for these core items:
- Resolution that matches your display’s real capability
- Refresh rate support where available
- HDR only if your display handles it well
- VRR if your screen supports it and you want smoother motion swings
For practical use, this matters in different ways. Fast shooters benefit most from higher refresh support and low-latency display modes. Slower adventure games usually benefit more from image quality and HDR. If you’re playing long MMO sessions from the couch, comfort and text clarity often matter more than chasing every display feature.
Use game mode if your TV has it
TV settings can ruin a good dock setup fast. Motion smoothing, heavy post-processing, and aggressive picture modes often add delay and make controls feel mushy. Turn on the display’s game mode if it has one.
That single change often does more for responsiveness than swapping accessories.
If you’re deciding whether your setup works better on a monitor or living-room display, this comparison of gaming monitor vs TV is useful because the right answer depends on how and where you play.
If controls feel slow but the image looks fine, check the TV settings before blaming the console.
Don’t force features your display can’t use well
One common mistake is enabling every advanced option just because it exists. That’s not always better. If your TV handles HDR poorly, turning it off can give you a cleaner result. If your display gets flaky at higher modes, step down and prioritize stability.
A good value setup is not the one with the longest feature list. It’s the one that stays consistent during real use:
- long docked sessions
- online play without random signal drops
- easy switching between handheld and TV mode
- clean audio and video for capture or streaming
If you get those right, you’re getting what matters from the dock.
Troubleshooting Common Docking Issues
Most switch 2 dock problems fall into a short list. No signal on the TV. Image cuts out. Console charges but won’t display. Dock works with one charger but not another. These issues feel random when you’re in the middle of them, but they usually aren’t.
The biggest thing to understand is power negotiation. The dock uses multiple voltage stages: 5V, 9V, 15V, and 20V, and while the setup draws about 17W under load, stable docked mode depends on a charger that can negotiate 20V/3A. That’s why some lower-wattage or non-compliant USB-C chargers lead to signal drops or fail entirely, as covered in this Switch 2 dock size and HDMI guide.
If the TV says no signal
Start with the obvious checks first. They solve more problems than people expect.
- Check the input selection. TVs often stay on the wrong HDMI input after setup.
- Reseat the HDMI cable on both ends. A half-seated cable can still look connected.
- Undock and redock the console carefully. The connector needs a clean seat.
- Power cycle the display and dock. Handshake issues sometimes clear only after both restart.
If that doesn’t fix it, remove any extras. Skip HDMI switchers, adapters, soundbars in the middle of the chain, and capture hardware until the dock works directly with the display.
If the image flickers or cuts out
Intermittent problems usually point to one of three things: cable quality, TV handshake behavior, or unstable power. If the setup works for a while and then drops, pay close attention to the charger in use.
A charger may charge the console just fine in handheld or sleep states and still fail in proper docked mode. That’s the trap. Charging is not the same as maintaining docked video output.
Try this order:
- Swap to a known-good HDMI cable
- Test another HDMI port on the display
- Switch back to the original power adapter
- Disable extra display features temporarily
- Test a shorter, simpler cable path
If you’re sensitive to controller delay while troubleshooting the display chain, this guide on how to fix input lag helps separate lag from actual signal instability.
The wrong charger can create a problem that looks like bad HDMI, even when the HDMI cable is fine.
If the dock charges but won’t output video
This is the most common third-party power mistake. The charger has enough power on paper, but it doesn’t negotiate the right profile cleanly. The dock powers up, the console appears to respond, and the TV stays dark.
That doesn’t automatically mean the charger is dangerous. It often means it’s the wrong tool for this specific docked use case.
A practical test sequence works better than guessing:
- Use the official adapter
- Confirm direct HDMI to the display
- Dock with no USB accessories attached
- Once stable, add one accessory at a time
If online play feels unstable
Not every dock issue is a video issue. If FPS matches stutter online or MMO sessions feel inconsistent, use the dock’s Ethernet port instead of Wi-Fi where possible. That won’t fix a display handshake issue, but it does remove one more source of instability from the full docked setup.
The best troubleshooting mindset is boring and methodical. Change one variable. Retest. Keep what works.
Value-Focused Dock Accessory Upgrades
The Switch 2 Dock doesn’t need a pile of add-ons to work well. A typical setup requires only three things beyond the box contents: a dependable second power adapter, a good HDMI cable, and an Ethernet cable long enough to route cleanly. Everything else is optional until your setup proves it needs more.
Budget buyers often waste money here. They either overpay for “official everything,” or they go so cheap that they create their own problems. Value sits in the middle.
The smart charger decision
The official adapter is the safe baseline, and if you only use one dock in one room, you may not need anything else. But a second charger can make sense for a travel setup, a bedroom TV, or a shared family room where unplugging cables gets old fast. Our budget pick: the Anker 715 — compact, reliable, and PD-compliant enough to keep your dock outputting video without drama.
User benchmarks indicate that quality 65W third-party USB-C PD adapters, including the Anker 715, can provide stable 4K/60fps output, while the official 54W adapter may run slightly cooler. The key point is that a good third-party option can be a reliable second charger rather than an automatic risk, based on the testing summarized in this Switch 2 dock problems and fixes article.
That doesn’t mean every third-party charger is a good bet. The safe profile is simple:
- USB-C PD support
- 65W class output
- Solid build quality
- A real need for a second adapter, not just gadget collecting
Recommended Budget AC Adapters for Switch 2 Dock
| Model | Max Wattage | Approx. Price | Key Feature |
|---|---|---|---|
| Official Nintendo Switch 2 AC Adapter | 54W | Official pricing varies | Baseline compatibility for docked mode |
| Anker 715 | 65W | around $22 | Proven value as a second dock charger |
Buy a second charger because it solves a setup problem, not because “official” or “third-party” sounds better. The right choice is the one that stays stable in your room, on your display, for the way you actually play.
Accessories worth buying and skipping
Some upgrades improve daily use immediately. Others just add clutter. For everyday setups, an Anker HDMI 2.1 cable covers 4K output cleanly, and a Cable Matters Cat 6 ethernet cable takes care of the wired connection without overspending on Cat 8 you won’t use.
Worth considering:
- A certified HDMI cable if your included cable is too short or your setup changes often
- A wired Ethernet cable for online-heavy games and faster, steadier downloads
- A second power adapter for a permanent second-room setup
- A simple storage case for the dock and cables if you travel with it
Usually not worth it:
- Cheap no-name charging bricks with vague specs
- Random USB-C hubs sold as dock replacements
- Accessory stacks hanging off both USB ports
- Overbuilt charging gear that adds cost without solving a real problem
If you’re building out the rest of your setup too, this roundup of best Nintendo Switch accessories is a better place to shop by use case than by marketing claims.
Build quality matters more than branding
For dock accessories, durability is practical, not cosmetic. A charger with a solid housing and reliable cable fit is worth more than one with louder packaging. The same goes for HDMI and Ethernet. You want gear that handles repeated plugging, cable routing, and normal household use without becoming flaky.
For families, students, and shared living spaces, that matters a lot. The accessory that saves money is the one you don’t have to replace after one semester, one move, or one badly bent cable.
Safe Handling and Final Checks
The switch 2 dock is sturdy enough for everyday use, but most damage comes from bad habits, not bad hardware. Sliding the console in at an angle, packing the dock with cables still jammed into the back, or blocking airflow during a long session does more harm than normal wear.
A short final checklist
Before you call the setup done, check these points:
- The dock sits flat and stable
- The console drops in straight without force
- Cables have slack instead of tension
- The display is using the right input and game mode
- Your charger choice is stable in real docked use
- Ventilation around the dock is clear
Keep it reliable long term
Dust the dock occasionally, especially around openings and cable areas. If you move it between rooms, unplug the cables first instead of dragging the dock by the cords. If you travel with it, protect the connector area and avoid tossing the dock loose into a bag with heavier gear.
For anyone adding capture gear later, make that the last step after the dock is already stable on its own. A clean base setup makes stream troubleshooting much easier. If that’s on your list, this guide to choosing a capture card for Nintendo Switch is the next logical read.
The main takeaway is simple. Use the dock as a dock, not as an experiment platform. Spend on the few accessories that improve stability and convenience. Skip the rest.
Frequently Asked Questions
The most common Switch 2 Dock questions tend to come down to chargers, cables, and signal issues. Here are the quick answers worth knowing before you start swapping hardware.
Can I use any USB-C charger with the Switch 2 Dock?
Not always. The Switch 2 Dock needs USB-C Power Delivery at the right wattage to output stable video. Many phone chargers and low-wattage adapters will charge the console but refuse to push video through the dock. A 65W USB-C PD charger from a trusted brand is the safe baseline that consistently works.
Will my old HDMI cable work for Switch 2 docked play?
For 1080p output most existing HDMI cables are fine. For 4K and higher refresh rates you want a properly certified HDMI 2.0 or HDMI 2.1 cable to avoid flickering, signal drops, or HDR handshake issues. Don’t blame the dock before swapping in a known-good cable.
Why does the dock charge but not output video?
It’s almost always one of three things: an underpowered USB-C charger, a cheap HDMI cable, or the TV is on the wrong input. Check the charger first — if it doesn’t deliver enough wattage, the dock skips video output entirely while still charging the console.
Do I need an ethernet cable, or is Wi-Fi enough?
Wi-Fi works for most single-player games. For competitive online play, ranked matches, or large game downloads, wired ethernet through the dock is dramatically more stable. A basic Cat 6 cable is enough — there’s no need to spend on Cat 7 or Cat 8 for home network use.
Is the official Nintendo dock the only one that works?
Officially, yes — only the Nintendo dock is licensed for full docked play. Third-party docks exist, but compatibility and safety vary by model and firmware. Stick with the official dock and focus your accessory budget on the charger, HDMI cable, and ethernet cable around it.
If you want more no-nonsense gear advice for gaming and streaming setups, Budget Loadout focuses on the stuff that improves your experience without pushing you into overpriced extras.
Related Articles