Starting on Twitch requires three things: a computer you probably own, free software, and a stable internet connection. You do not need a thousand-dollar setup to build a community. The key is making smart, value-focused choices from the start.
- You can start streaming on Twitch with just your gaming PC and free software like OBS Studio — no expensive gear required on day one
- OBS Studio is free and more powerful, while Streamlabs adds beginner-friendly overlays and widgets at the cost of higher CPU usage
- A stable internet upload speed of at least 6 Mbps and a consistent streaming schedule matter more than expensive equipment for growing your channel
- Start simple with your existing setup, then upgrade one piece of gear at a time based on what your stream actually needs — usually audio first
- Start with free software like OBS Studio and a decent USB mic — you can upgrade gear as your audience grows
Table of Contents
Getting Started Without Overspending
The barrier to entry for Twitch is lower than it seems. Your goal isn’t perfection on day one; it’s creating a reliable stream for your first viewers. This guide focuses on how to start streaming on Twitch by using what you have and making strategic, budget-conscious upgrades.
This guide is for gamers who want good value, not just the cheapest option. We’ll be direct about tradeoffs. For example, while a high-end webcam is nice, clear audio is what keeps people from leaving your stream.
The Core Essentials for Your First Stream
Before getting into specific gear, let’s establish the absolute requirements. You can run a solid stream with just these components.
- A Capable Computer: This does not mean a top-tier gaming rig. A modern, mid-range PC or laptop is often sufficient to handle both gaming and streaming if you manage your settings correctly.
- A Stable Internet Connection: Your upload speed is critical. A minimum of 5-6 Mbps upload is a safe starting point for a clear 1080p stream. Run an online speed test to check your connection.
- A Twitch Account: It’s free and takes a few minutes to create. This is the central hub for your channel, community, and settings.
The single most important investment for a new streamer is audio. Viewers will tolerate a 720p webcam feed, but they will leave almost instantly due to crackling, muffled, or distorted sound.
Where to Spend (and Where to Save)
Your initial budget should prioritize your microphone. A dedicated USB mic offers a significant leap in quality over any gaming headset mic, and its build quality means it will last for years.
For other gear, you can save money. The webcam built into your laptop or an older smartphone can function as a starter camera. Free software, covered next, handles the technical aspects of streaming. Later, you can explore upgrades like an audio mixer for your PC to further improve your sound.
Pick Your Streaming Software: OBS vs. Streamlabs
Your streaming software is the control center for your broadcast. It combines your game, webcam, microphone, and alerts into a single feed sent to Twitch.
For beginners, the choice is between two free options: OBS Studio and Streamlabs Desktop.
There is no single “best” choice. It’s about picking the tool that fits your needs and your computer’s capabilities. Making the right decision early prevents the frustration of a laggy stream, especially on a budget-friendly PC.
The Trade-Off: Performance vs. Convenience
The core difference between OBS Studio and Streamlabs is a tradeoff: raw performance and customization versus an all-in-one package that is easier to set up.
OBS Studio is the open-source original. It is lightweight and uses minimal system resources, making it the better choice for older or less powerful computers. It performs its core function—broadcasting—reliably. The downside is its focused nature requires you to manually add features like alerts and overlays from third-party sources.
Streamlabs Desktop (usually just called Streamlabs) is built on OBS but includes a suite of built-in features. It offers a library of free themes, integrated alerts, a chatbot, and a user-friendly interface. The disadvantage is that these integrated tools make it more demanding on your PC’s CPU and RAM.
For budget-conscious aspiring streamers, starting doesn’t require top-tier gear. You can kick off with affordable essentials, such as a $50 USB microphone and a $30 webcam that deliver clear audio and video without breaking the bank. A mid-range setup under $800 paired with free OBS Studio software handles 1080p streams smoothly. Discover more insights about building a cost-effective setup on Icon-Era.com.
OBS Studio vs Streamlabs Desktop: A Quick Comparison
This table highlights the key differences to help you choose the right software for your hardware and streaming goals.
| Feature | OBS Studio | Streamlabs Desktop |
|---|---|---|
| Performance | Extremely lightweight. Uses very few system resources, making it ideal for budget PCs or when playing demanding games. | More resource-intensive. The all-in-one features can lead to higher CPU and RAM usage, which might impact in-game performance on some systems. |
| Ease of Use | Steeper learning curve. The interface is powerful but less intuitive for beginners. Requires more manual setup for things like alerts and overlays. | Very beginner-friendly. A streamlined setup process with an intuitive interface. Alerts, themes, and chat are all integrated, making it easy to get a professional look quickly. |
| Features & Overlays | Minimalist by design. You have complete control but must add everything yourself using third-party browser sources and plugins. This offers maximum flexibility. | Feature-rich. Comes with a huge built-in library of free and premium themes, widgets, and alert packages. The integrated app store adds even more functionality. |
| Customization | Highly customizable. With a vast library of community-made plugins, you can tailor OBS to do almost anything. It’s the ultimate “do-it-yourself” tool. | Customizable within its ecosystem. You have plenty of options, but they are largely confined to what Streamlabs offers through its own platform and app store. |
| Best For | Competitive gamers, streamers on a tight hardware budget, or anyone who wants total control and the lowest possible performance impact. | New streamers, creators who value convenience, or those with a powerful enough PC who want an all-in-one solution without much technical setup. |
If your PC struggles to run the games you want to play, OBS Studio is the better option. If you have a solid PC and want to get a polished stream running quickly, Streamlabs is a good starting point.
Which One Is Right for You?
The type of games you play also influences the decision. For fast-paced, demanding titles, every bit of CPU power is important.
- FPS Gaming: For competitive games like Valorant or Apex Legends, OBS Studio is the recommended choice. Its low resource usage helps maintain higher, more stable in-game frame rates, which is critical for performance. The extra setup is a worthwhile trade for smoother gameplay.
- MMO/Creative Streaming: For streamers focusing on MMOs, RPGs, or creative content, Streamlabs is a practical starting point. These genres are often less CPU-intensive, leaving more resources for the software. The built-in tools for alerts and overlays make it fast to create a professional-looking stream with minimal technical setup.
Connecting Your Software to Twitch
Once you install your software, you must link it to your Twitch account using a unique code called a Stream Key.
The manual method is:
- Go to your Twitch Creator Dashboard.
- Navigate to Settings > Stream.
- Copy your Primary Stream Key.
- In OBS or Streamlabs, go to Settings > Stream.
- Select Twitch and paste your key.
This key authorizes your software to broadcast to your channel. Keep it private.
A simpler method is now available. Both OBS and Streamlabs offer a direct account connection. When prompted, choose to connect your Twitch account and log in. This handles authentication securely without you needing to manage a stream key. This is the recommended method.
Building Your Budget Streaming Setup
With your software chosen, it’s time to consider hardware. The core principle is to focus your money where it has the most impact. Viewers are forgiving of a grainy webcam but will not tolerate bad audio.
This section is about making value-driven choices for a reliable, quality foundation. Spending slightly more on durable, well-built equipment now will save you frustration and replacement costs later.
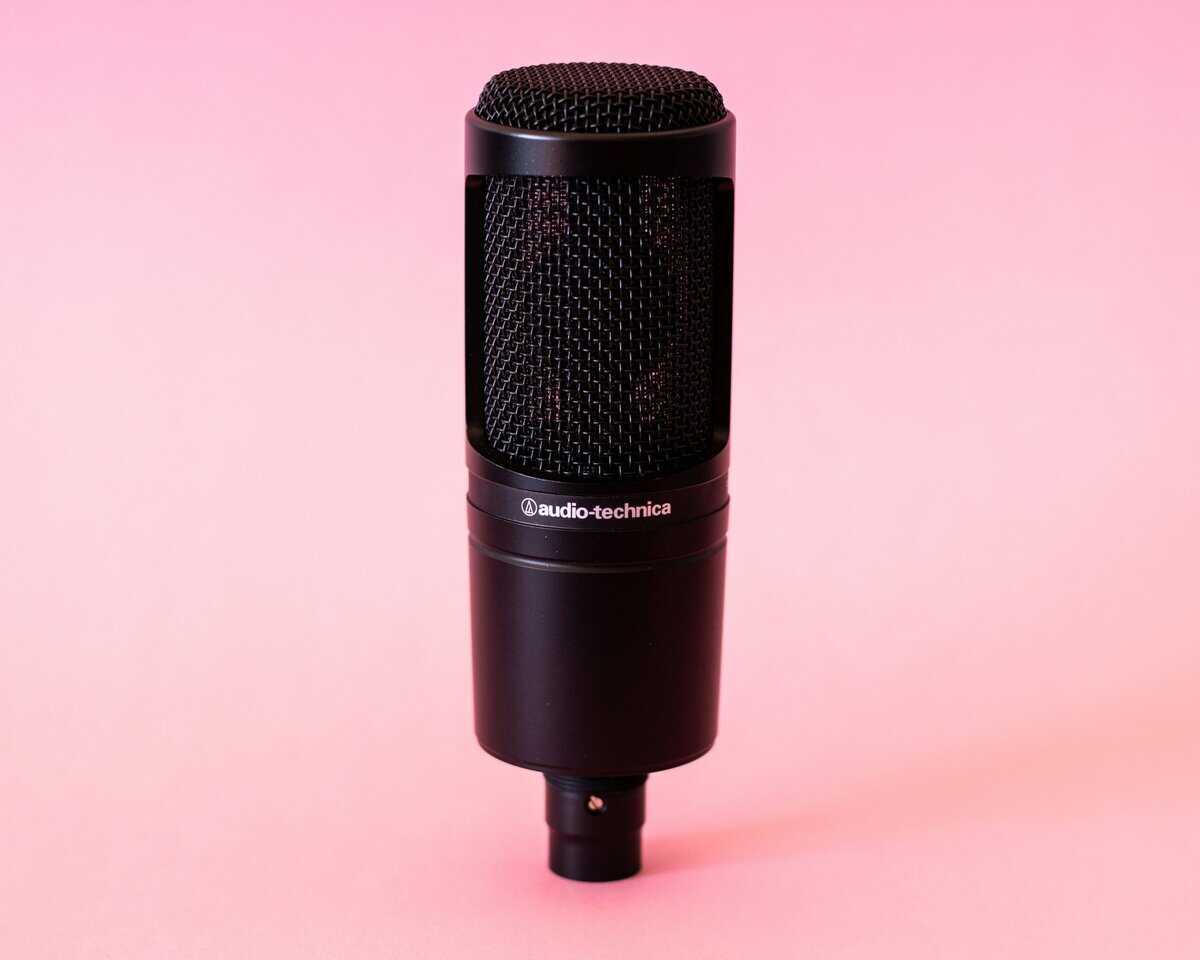
Prioritizing Your Audio
Your microphone is the most important piece of hardware you will buy. A gaming headset mic often sounds compressed and distant on a stream. A standalone USB condenser microphone is a significant upgrade that makes your voice clearer and more professional.
You don’t need to spend a lot. Entry-level USB mics deliver solid vocal clarity and capture a richer range of sound. This is impactful whether you’re making callouts in an FPS or narrating a story in an RPG.
For new streamers on a budget, the Fifine K669B (~$30) delivers solid audio quality in a metal housing that’s surprisingly durable for the price.
The trade-off for better audio is often in the accessories. A microphone bundled with a flimsy plastic tripod might seem like a good deal, but it will pick up every single vibration from your desk. Investing in a sturdy, metal boom arm or desktop stand is worth the extra $15-$20 for the improved stability and sound isolation. Look for mics with metal casings, as they offer better durability than all-plastic models.
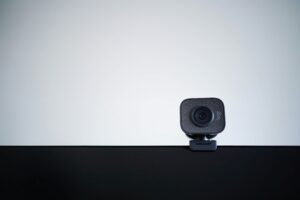
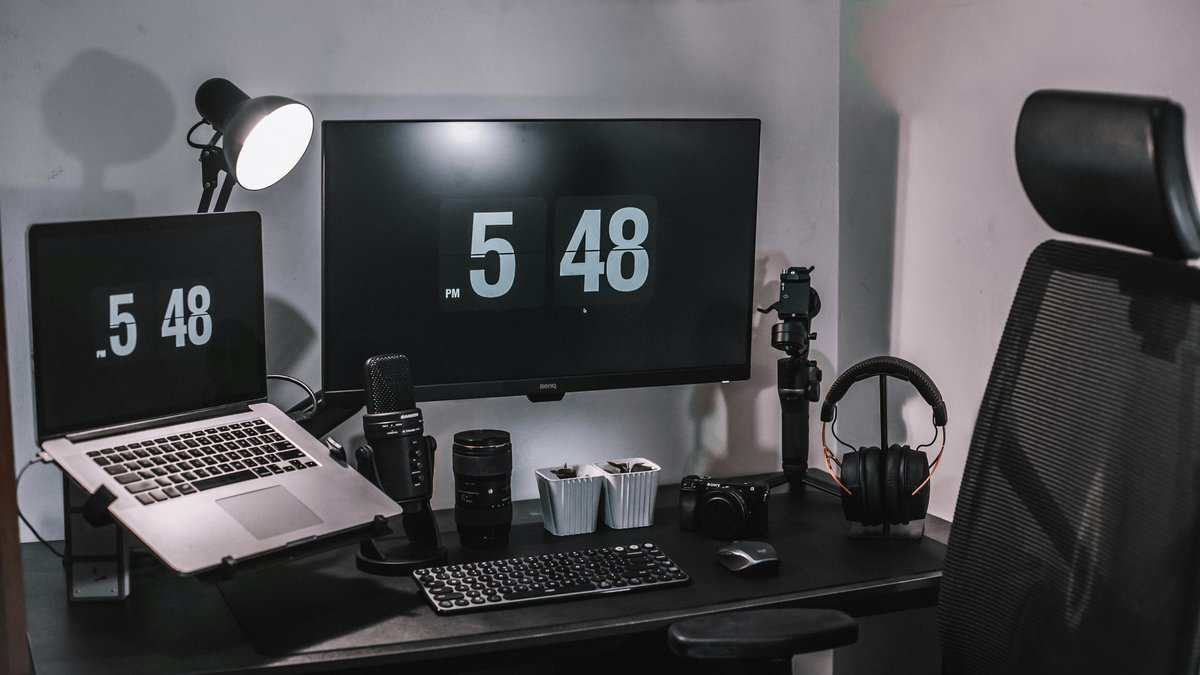
Selecting a Value-Focused Webcam
Next, select a webcam. The goal is a clear 1080p image without paying for features you don’t need. Many budget webcams offer quality that is sufficient for the small window your face will occupy on stream.
For beginners, a $40 headset with a noise-canceling mic can be a good starting point. For a professional look without the pro price, there are excellent entry-level webcams available for under $60.
When choosing, look for models with decent low-light performance and autofocus. Good build quality here means a solid mount that clips securely to your monitor without wobbling.
The Logitech C920 (~$60) is a great pick. For the absolute budget floor, the NexiGo N60 (~$35) punches above its weight with 1080p video and a 110° field of view.
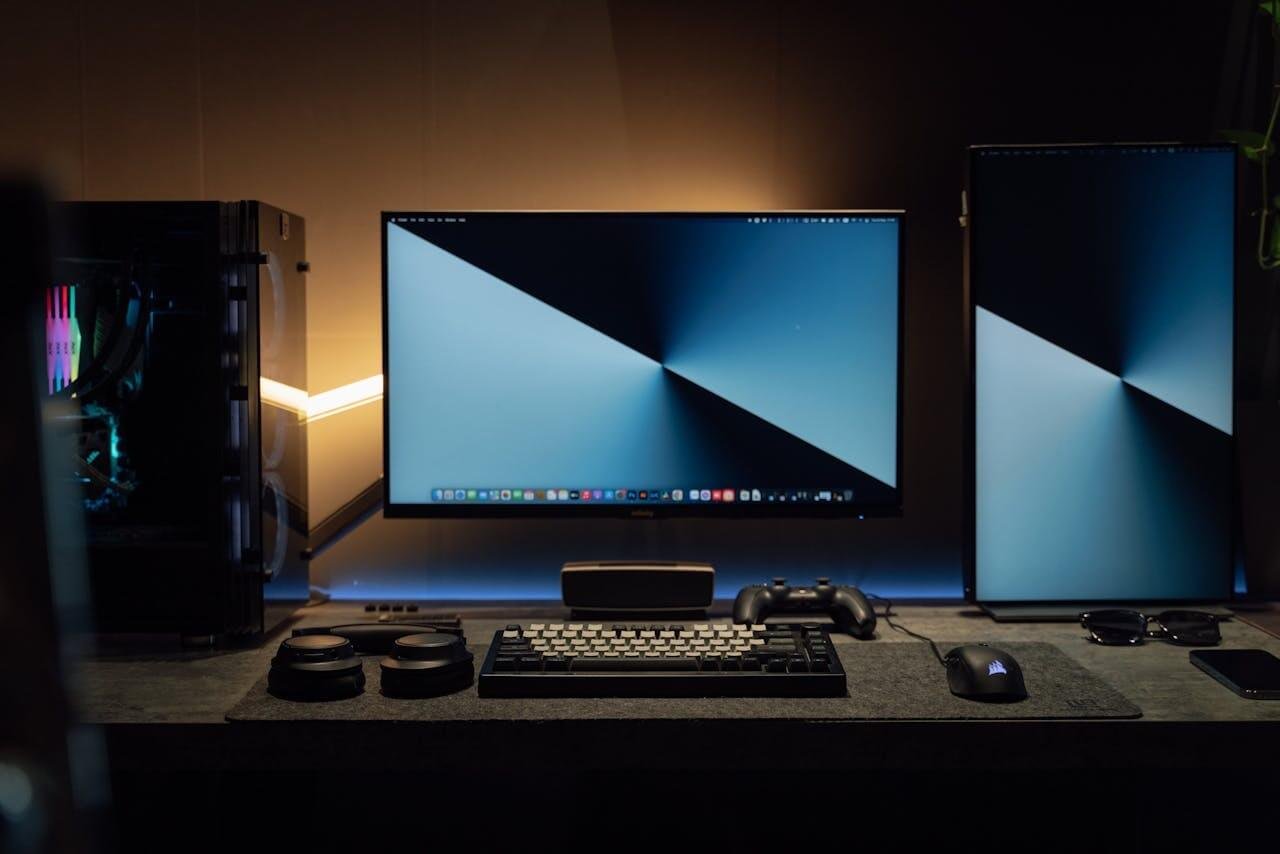
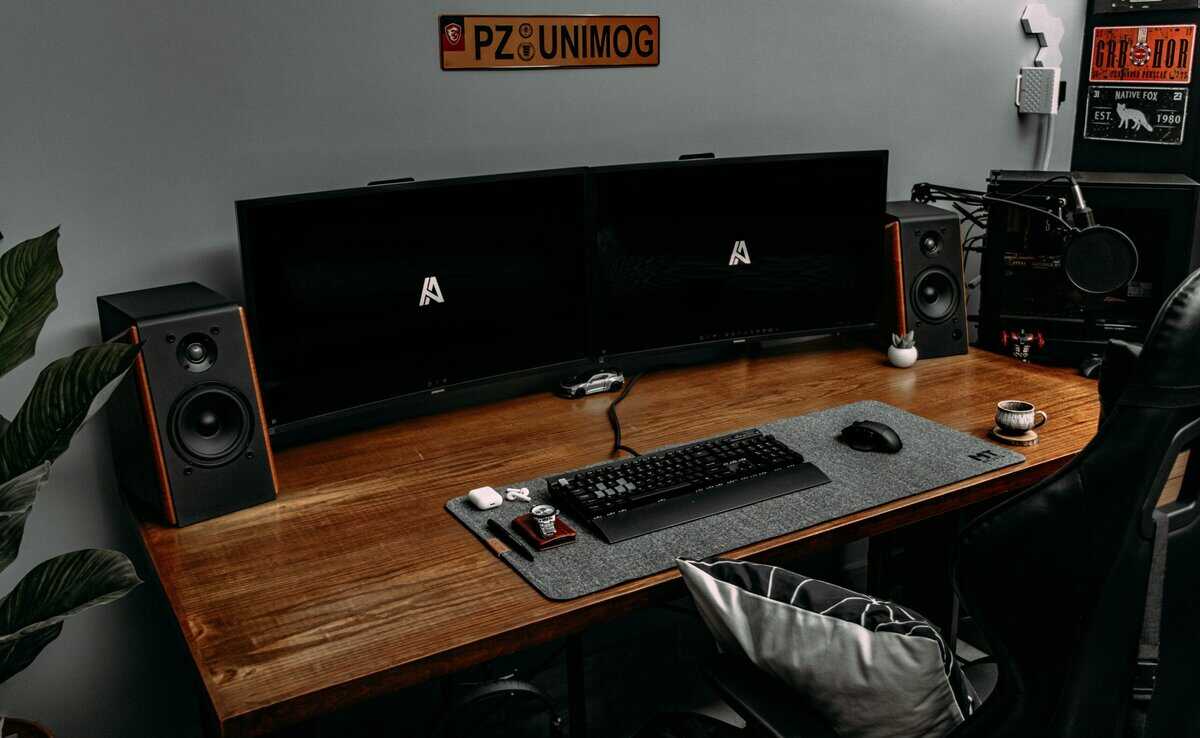
Considering Your Full Workspace
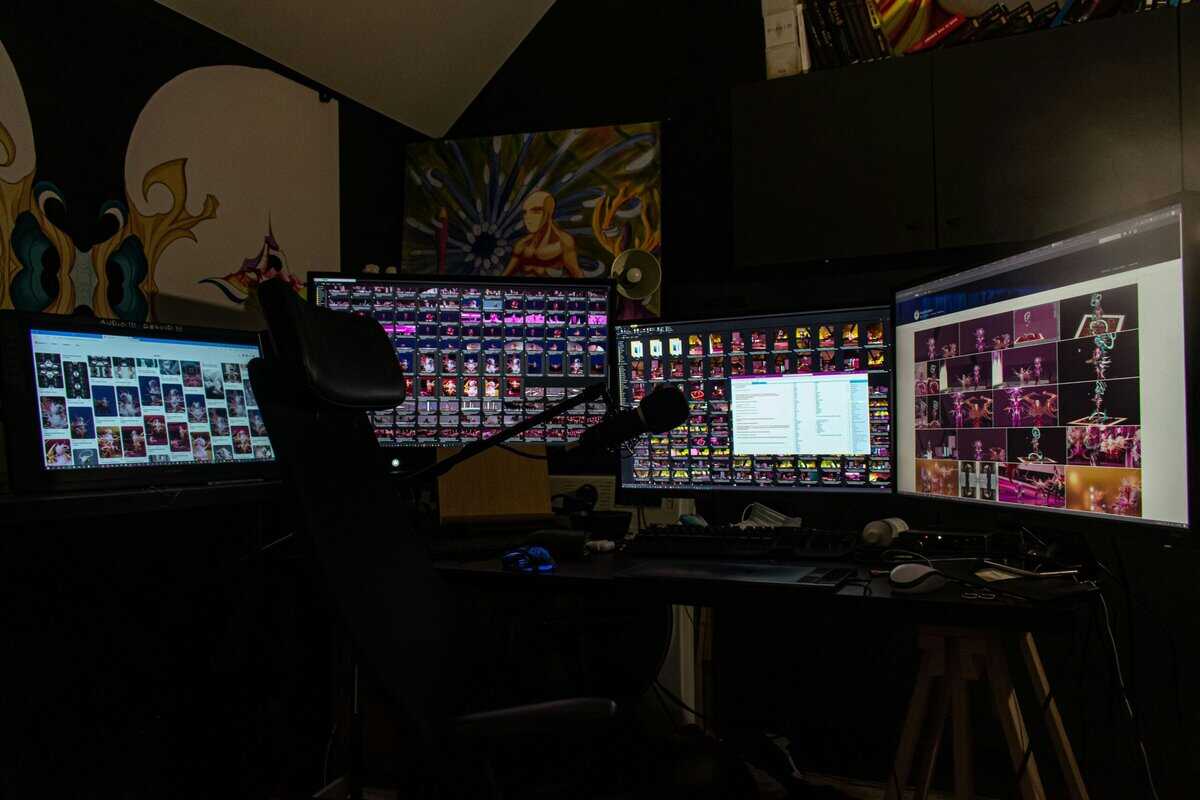
Finally, think about your overall setup. A second monitor can be a significant improvement. It allows you to keep your game on one screen while managing your streaming software, chat, and alerts on the other.
This prevents you from constantly alt-tabbing, which can interrupt gameplay and viewer interaction. Many streamers find a dual monitor setup essential for managing everything smoothly; a comprehensive dual monitor setup guide can help you optimize your workspace for efficiency. An old monitor or a used model works well for this purpose.
Dialing In Your Stream Settings for a Smooth Broadcast
Good hardware is a start, but incorrect software settings can ruin a stream. This is where your PC’s power and internet connection are translated into a watchable broadcast. Getting this right is critical when learning how to start streaming on Twitch.
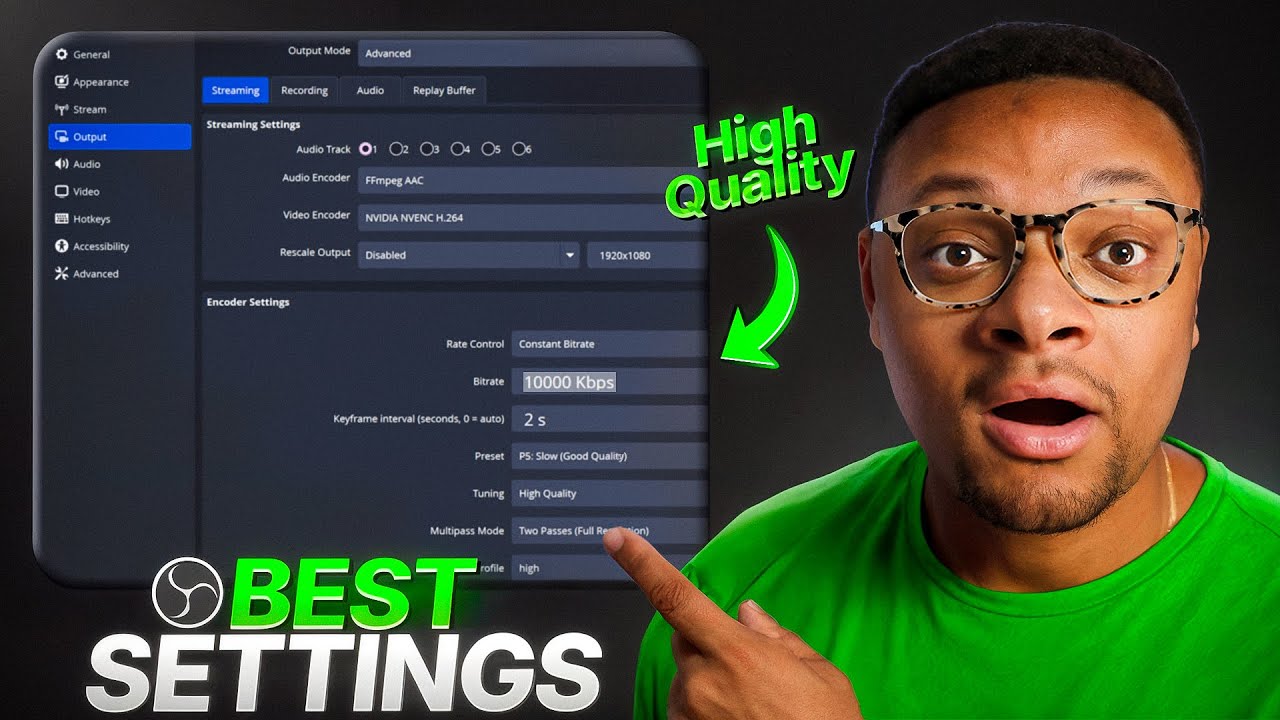
The settings menu in OBS Studio or Streamlabs can seem complex, but you only need to adjust a few key numbers for a stable stream. The goal is to find a balance between visual quality and smooth performance that your setup can handle. A common mistake is setting everything to maximum, which leads to dropped frames and a laggy stream.
Understanding Bitrate: Your Most Important Setting
Your bitrate is the amount of data you send to Twitch’s servers per second. It is the most important setting. A higher bitrate allows for higher quality video. This setting is directly tied to your internet upload speed.
A general rule is to set your video bitrate to about 75-80% of your stable upload speed. For a good 1080p stream, a bitrate between 4,500 and 6,000 Kbps is the target. If your upload speed is 6 Mbps, set your bitrate around 4,500 Kbps. This leaves a buffer for connection fluctuations.
Do not max out your bitrate based on a single speed test. Internet speeds fluctuate. Setting your bitrate too close to your maximum upload speed risks a choppy stream the moment your connection dips.
Resolution and Framerate: The Performance Trade-Off
For streamers on a budget PC, the main conflict is between resolution and framerate: 1080p 30fps or 720p 60fps. The choice depends on the games you play.
- 1080p at 30fps: This is a good choice for slower-paced games like RPGs, strategy titles, or MMOs. The higher resolution makes detailed environments and UI elements look crisp.
- 720p at 60fps: For fast-paced shooters like Valorant or Call of Duty, smoothness is more important. The higher framerate makes motion look fluid. Viewers prefer a smooth 720p stream over a stuttering 1080p one.
When running everything on a single PC, your computer must both run the game and encode the video. Encoding at 60fps is more demanding on your CPU than 30fps. Prioritize a stable framerate over higher resolution.
If you stream from a console, the best capture cards for streaming can offload this encoding work from your PC.
Making Your Budget Mic Sound Better
You don’t need expensive software to improve your audio. Both OBS and Streamlabs have free, built-in audio filters that can clean up your sound.
In your audio mixer, find your microphone source, right-click it, and select “Filters.” Adding a Noise Suppression filter can reduce background hum from PC fans or an air conditioner.
Next, add a Compressor filter. This evens out your volume levels, making quiet parts louder and preventing loud noises from distorting. Learning how to improve audio quality with these tools is a fast way to sound more professional.
Preparing Your Channel for Your First Live Stream
With your gear and settings configured, the last step before going live is preparing your Twitch channel. A little effort here makes your stream look more polished and gives new viewers a better first impression.
An empty, default channel page is unwelcoming. At a minimum, upload a clear profile picture and a simple banner. These small touches signal that you are taking streaming seriously.
Making Your Stream Look Professional for Free
You don’t need design skills or money to make your stream look clean. Services like Streamlabs and StreamElements offer large libraries of free, professionally designed overlays and alert boxes that integrate with your streaming software.
- Overlays: These are graphics that sit over your stream, like a webcam frame or a follower bar. Start with something simple.
- Alerts: These are on-screen pop-ups for new follows or subs. They provide instant recognition for supporters and make the stream feel more interactive.
Setup is straightforward. You customize them on the service’s website and get a browser source URL. You then paste that URL as a new source in OBS.
At any given moment, Twitch has over 66,000 live channels, with viewership often peaking around 1.75 million people watching at once. Standing out isn’t about expensive gear; it’s about consistency and presentation, which these free tools make totally possible. You can check out more live Twitch viewership stats on Streams Charts.
Creating a Pre-Flight Checklist
The best way to combat first-stream anxiety is with a repeatable checklist to run through before each broadcast. This ensures you haven’t forgotten a critical step and helps you go live with confidence.
Your checklist should be short and focused on essentials that could ruin a stream if missed. A test run is the most important part of this process.
Your First-Stream Launch Sequence
- Run a Private Test Stream: Use a tool like Twitch Inspector. This lets you stream privately to check for dropped frames, audio sync issues, or bitrate problems before anyone sees them.
- Check Your Audio Levels: Open OBS and talk into your microphone at a normal volume. Watch the audio meter. It should be in the yellow section, never in the red. Clear, undistorted audio is non-negotiable.
- Set Up Basic Moderation: In your Twitch Creator Dashboard, go to Moderation > AutoMod and pick a starting level. Level 1 is a good default. This helps filter spam and negative comments, keeping your chat healthy.
Following these steps builds a solid routine. It reduces the chance of technical issues and allows you to focus on your content and engaging with your first viewers.
Got Questions? We’ve Got Answers.
It’s normal to have questions before you go live. Let’s address some common ones for new creators.
Can I Just Stream Directly from My Console?
Yes, and it’s a good way to start. The PlayStation 5 and Xbox Series X/S have built-in streaming apps that are easy to use. You only need the console and a headset.
The trade-off is control. You lose the ability to add custom overlays, set up alerts, or fine-tune audio and video settings. It’s a zero-cost entry point. Most streamers who become serious eventually move to a PC with a capture card for more creative freedom, but console streaming is a good way to test the waters.
Do I Really Need to Show My Face on Camera?
No. There is no rule that requires a webcam for successful streaming. Many communities have been built by streamers who never show their face.
Many streamers use a PNG avatar (PNGtubers) or an animated 3D model (VTubers). What matters is your personality. Your voice, gameplay, and chat interaction are what build a community. A camera can help forge a connection, but it’s not a requirement if you aren’t comfortable with it.
Be mindful of privacy. Streaming can reveal your room, voice, and in-game usernames. Always be aware of the personal information you are sharing, both visually and verbally.
What Games Are Actually Good to Stream for Growth?
The dilemma is whether to play a popular game or a smaller one. For a new streamer, the answer is almost always the smaller game.
Streaming Fortnite or Valorant as a new channel places you at the bottom of a directory with thousands of others, making discovery difficult.
Look for games with 500 to 2,000 total viewers. This range often indicates a dedicated community without being so saturated that you are invisible.
Play something you genuinely enjoy. Viewers can detect fake enthusiasm. Your authentic passion for a game is more engaging than chasing trends.
The best game to stream is one you can play for hours. Consistency and genuine enjoyment will attract the right audience more effectively than competing in the most popular categories.
At Budget Loadout, we believe building a quality streaming setup shouldn’t be a frustrating or expensive process. Find honest reviews and value-focused guides to get the best gear for your money at https://budgetloadout.com.
Related Articles