A monitor light bar is a lamp that clips to the top of your monitor. Its purpose is to illuminate your desk without causing glare on the screen. For anyone in long gaming sessions or streaming late at night, it’s a tool for reducing eye strain by balancing the bright light from your monitor with the ambient light in your room. This guide breaks down what to look for, recommends specific products, and explains the real-world trade-offs you make at different price points.
- Monitor light bars reduce screen glare and eye strain by lighting your desk without reflections on the display
- Most quality options fall between $25 and $60, making them one of the cheapest ergonomic upgrades available
- Adjustable color temperature (warm to cool) lets you match your ambient lighting and reduces blue light exposure at night
- The BenQ ScreenBar sets the standard, but budget alternatives from Baseus and Quntis perform nearly as well for half the price
- Position your light bar at the back edge of your monitor, not the front — this prevents glare on the screen while evenly lighting your desk
Table of Contents
- Even, glare-free illumination across the desk
- Auto-dimming sensor adjusts to ambient light levels
- Budget-friendly price for the feature set
- Mount may feel loose on curved monitors
- Build is solid but not premium
- No wireless remote
- Wireless remote puck for quick brightness and color control
- Magnetic mount allows easy rotation and positioning
- Clean, minimal design blends well with modern setups
- Magnetic mount limits compatibility
- Narrower color temp range
- Remote puck takes desk space
- Secure weighted clamp fits nearly any monitor profile
- CRI above 90 for accurate, true-to-life color rendering
- Premium all-metal construction built to last
- Higher price than alternatives
- Base model lacks wireless remote
- Auto-dimming may need manual tweaks
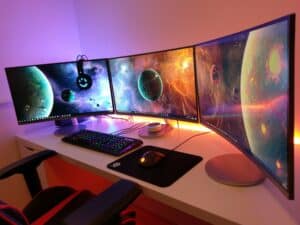
Why a Monitor Light Bar Is Worth Your Desk Space
If you’ve finished a multi-hour gaming session with gritty, tired eyes, you understand the problem a monitor light bar is designed to solve. Staring at a bright screen in a dark room forces your eyes to constantly readjust between two different light levels. This adjustment process contributes to headaches, fatigue, and general discomfort.
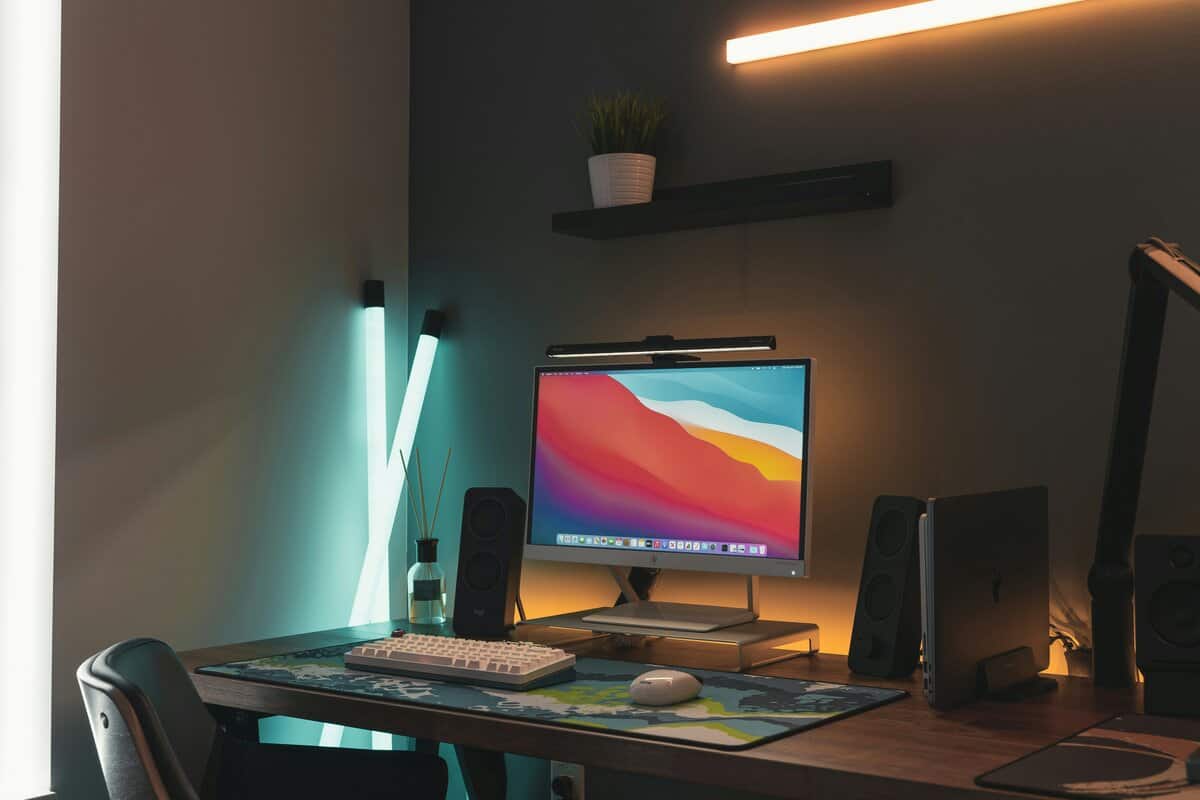
A monitor light bar addresses this by creating a controlled zone of asymmetrical light. It shines directly on your keyboard, mouse, and desk surface, but its design prevents that light from hitting the screen. This reduces the harsh contrast, making it easier for your eyes to stay focused, whether you’re in an MMO raid or live streaming. Most are constructed from materials like aluminum alloy, offering good durability.
Beyond providing light, the primary benefit is ergonomic efficiency. You get a dedicated task light that doesn’t use any desk space.
To get the most out of your setup, consider how a light bar integrates with other components. Learning about setting up dual monitors can expand your workspace. When you pair smart lighting with the right gear, you create a more comfortable and effective environment.
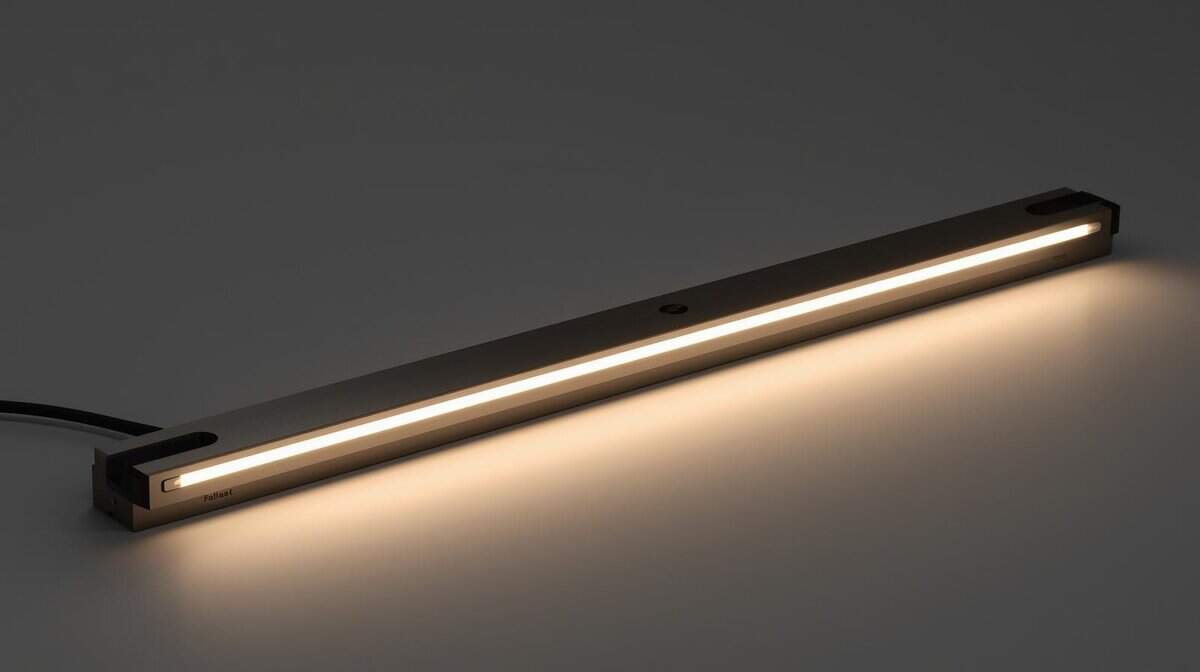
Key Features That Actually Impact Your Experience
Not all monitor light bars are built the same, and the specifications directly impact how well the light performs for gaming, streaming, or general work.
First, consider build quality. A cheap plastic body feels flimsy and is less durable, while a solid aluminum alloy frame feels substantial. Just as important is the mounting clamp—a poorly designed one can be unstable and frustrating.
From there, it’s about the light itself. Good value options provide a wide range of color temperatures. You want a bar that can adjust from a warm 2700K for late-night reading to a cool, crisp 6500K that mimics daylight—useful for staying focused during work or a competitive gaming session.
Another important specification, especially for creators, is the Color Rendering Index (CRI). A CRI above 90 is the standard to aim for. This means the light shows colors accurately, so your gear and skin tones look true-to-life on camera. A low CRI light can wash everything out or give colors an unnatural tint.
Controls and Mounting Trade-Offs
How you control the light bar matters more than you might think. Many budget models use touch-sensitive buttons on the bar itself. They look clean, but can be inconvenient, often causing the bar to wobble every time you make an adjustment.
A significant quality-of-life upgrade is a light bar that includes a dedicated wireless remote or “puck.” It lets you adjust brightness and color without touching the light. This feature typically comes at a higher price, but if you adjust your lighting often, the convenience can be worth the cost.
The mounting system is a common point of failure. A simple weighted clamp might work perfectly on a standard flat monitor but can be unstable on a modern curved display. Look for mounts with adjustable counterweights or padded clips to ensure a secure fit without damaging your monitor’s bezel.
Comparing Value-Focused Monitor Light Bars

When shopping for a value-focused monitor light bar, you are managing compromises. The goal isn’t to find the cheapest option, but the one that delivers the most performance and durability for the price. Let’s see how a couple of popular models stack up.
To get a clear picture of what you gain—and what you give up—we’ll compare two strong budget contenders, the Quntis Monitor Lamp and the Xiaomi Mi Computer Monitor Light Bar, against the premium benchmark: the BenQ ScreenBar.
Mount Stability and Build Quality
The first thing you interact with is the mounting system, and it’s a common failure point for cheaper models. The BenQ ScreenBar uses a well-engineered weighted clamp that feels secure on almost any monitor, from thin bezels to thick curved displays. Its build is all-metal and solid, which is reflected in its higher price.
In contrast, the Quntis Monitor Lamp uses a simpler weighted design. It’s adequate for most flat monitors but can feel unstable on curved ones. While its build quality is good for the price, it doesn’t have the same robust feel as the BenQ.
The Xiaomi Mi Light Bar uses a magnetic mount, which allows for easy rotation of the bar. This design works well for monitors with unconventional shapes on the back, but its stability relies on the magnet. Its overall build quality is a solid middle ground between the Quntis and the BenQ.
Light Control and Glare Prevention
How you control the light directly impacts the daily experience. The Quntis uses touch controls on the bar. They are functional, but tapping them often makes the bar wobble.
This is where the Xiaomi stands out in its price range. It comes with a wireless remote puck, a feature usually found on premium models. Being able to adjust brightness and color temperature without touching the light bar is a significant convenience.
The most critical performance difference is in asymmetrical lighting. The BenQ ScreenBar excels here, creating a sharp cutoff that keeps light off the screen. Both the Quntis and Xiaomi attempt this, but some light can spill onto the top of the monitor, creating minor glare.
That light spill is a core trade-off for the lower price. If your top priority is eliminating all screen glare, the BenQ is the most effective option. For many gamers and streamers, however, the minimal glare from the Xiaomi is an acceptable compromise, especially considering the convenience of its wireless remote.
Comparing specifications side-by-side helps clarify the trade-offs. Budget light bars often sacrifice brightness, color accuracy, or both.
Value Monitor Light Bar Performance Trade-Offs
| Model | Max Brightness (Lux) | Color Temperature Range | CRI Rating | Best For | Key Trade-Off |
|---|---|---|---|---|---|
| Quntis Monitor Lamp | ~900 | 3000K-6500K | >95 | Budget-conscious gamers wanting solid basics | Touch controls wobble the bar, less stable on curved screens |
| Xiaomi Mi Light Bar | ~950 | 2700K-6500K | 95 | Gamers & streamers wanting convenience | Minor light spill onto the screen |
| BenQ ScreenBar | ~1000 | 2700K-6500K | >95 | Professionals and gamers needing zero glare | Higher price point, no remote puck |
For most gamers and streamers, the Xiaomi Mi Light Bar is the one to get. The wireless remote puck alone makes it worth the small price bump over the Quntis, and you’ll stop wobbling your light bar every time you want to change the brightness. The magnetic mount is clean and the build quality sits right in the sweet spot between budget and premium.
If you’re watching every dollar, the Quntis Monitor Lamp does the job. It blocks glare, lights your desk, and costs less than a large pizza. The trade-off is touch controls and a slightly less stable mount on curved displays, but for a flat monitor setup it’s solid.
The BenQ ScreenBar exists for the person who wants the best asymmetrical lighting available and plans to use it for years. It’s the gold standard for a reason. But at roughly three to four times the price of the Xiaomi, most budget-focused gamers will get 90% of the performance for a fraction of the cost.
Choosing the Right Light for Your Use Case
The right monitor light bar depends on how you use your desk. A feature that is critical for a competitive gamer might be irrelevant for someone who just needs better light for a home office.
Let’s break down what matters for different users.
For Competitive FPS and MMO Gaming
In a fast-paced FPS match, focus is critical. A monitor light bar helps by casting a controlled beam of light on your keyboard and mousepad without causing screen glare. This asymmetrical lighting minimizes visual distractions and reduces eye fatigue during long gaming sessions.
For MMO or RPG players who spend hours reading quest text and navigating complex menus, comfort is the priority. The ability to shift the light to a warmer color temperature (around 3000K) makes text easier on the eyes, preventing strain from staring at bright white backgrounds.
For Streaming and Content Creation
For streamers, a monitor light bar can serve as a space-saving fill light. It provides soft, even illumination on your face, improving your on-camera appearance. This is a budget-friendly way to look more professional without a full multi-point lighting setup. For more tips, check out our guide on building a streaming setup for beginners.
A high CRI rating of 95 or higher is non-negotiable for streamers. It ensures your skin tones and gear appear natural and color-accurate on camera, preventing the washed-out look that low-CRI lights can produce.
Build quality is also important. A sturdy aluminum body with a stable clamp ensures the light stays in place, even if your desk shakes. This small detail leads to a more reliable setup, letting you focus on your content instead of your equipment.
Proper Installation and Common Mistakes to Avoid
Setting up your light bar is quick, but a few small errors can undermine its effectiveness. Proper installation ensures you get stable, glare-free light.
Most bars use a weighted clamp that relies on gravity. The key is ensuring the counterweight on the back sits flush against your monitor to create a solid anchor. Avoid overtightening any adjustable parts; aim for a snug fit that doesn’t put pressure on your monitor’s bezel.
Preventing Glare and Power Headaches
The most common complaint is screen glare. If you see light reflecting on your screen, the bar’s angle is incorrect. Gently tilt the light tube away from the screen until your desk is lit but the monitor itself is dark. That is the function of its asymmetric design.
If your light bar is flickering or seems dim, it’s almost always a power problem. Don’t plug it into a crowded, underpowered USB hub. For consistent, stable light, always plug it directly into a dedicated USB port on your computer or a good wall adapter.
Follow these quick steps for a correct installation:
Seat the Clamp: Place the clamp on the top-center of your monitor. Let the counterweight hang down the back so it sits flat.
Mount the Bar: Attach the light bar to the mount. If it’s magnetic, it should connect with a solid snap.
Connect to Power: Plug the USB cable into a reliable power source, not a shared hub.
Angle for Perfection: Turn it on and slowly rotate the light until your workspace is illuminated with zero glare on your screen.
A good setup doesn’t just improve your lighting—it protects your gear. For more ideas on dialing in your workspace, check out our advice on choosing the perfect gaming desk.
Got Questions About Monitor Light Bars? We’ve Got Answers
It’s normal to have questions when considering a new piece of gear. Let’s tackle some of the most common ones about monitor light bars.
Will a Monitor Light Bar Work with a Curved Monitor?
Yes, but it depends entirely on the mount. A basic clip-style mount may feel insecure on the thicker, curved back of an ultrawide monitor.
For curved displays, prioritize light bars with a gravity-based counterweight system. Models like the BenQ ScreenBar use this design effectively, allowing the clamp to rest securely on top. Simpler designs, like the Quntis Monitor Lamp, can work, but may require more adjustment to feel stable.
Can a Monitor Light Bar Replace a Ring Light for Streaming?
It can be a solid and space-saving substitute for beginners. A monitor light bar provides a direct source of soft, frontal fill light that reduces harsh shadows on your face.
However, it has limits. A dedicated ring light will be more powerful and offer better diffusion, giving you more control over your lighting.
A monitor light bar is an excellent starting point that also functions as a task light. If professional-grade stream lighting is your end goal, you’ll eventually want a dedicated multi-point setup. But a light bar is a significant upgrade from relying on your monitor’s glow.
Does a Monitor Light Bar Cause Screen Glare?
A well-designed monitor light bar should cause zero screen glare. This is the purpose of its “asymmetrical lighting” feature. The internal reflectors are engineered to direct the light beam down onto your desk and away from your screen.
If you are seeing glare, it is almost always one of two issues:
Improper Angle: The bar is tilted too far back. Rotate it forward until the reflection on the screen disappears.
Poor Design: Cheaper, off-brand models often have flawed asymmetrical designs. No matter how you angle it, you will get light spill.
Do I Need a Wireless Remote?
You don’t need one, but it is a major quality-of-life improvement. Models with touch controls on the bar force you to reach over your monitor to make changes. Tapping the controls also causes the light bar to wobble, which can be annoying.
A wireless remote, like the one included with the Xiaomi Mi Light Bar, lets you adjust brightness and color temperature without touching the unit. This convenience is valuable when you frequently switch between cool light for work and warm light for gaming. It’s a feature that feels premium and is worth the small price increase for most users.
At Budget Loadout, we believe in making smart investments that deliver real performance gains. For more guides on building a high-quality gaming setup without breaking the bank, visit us at https://budgetloadout.com.
Related Articles