Learning how to build a gaming PC is a direct path to better performance for your money. The process involves selecting core components—CPU, GPU, motherboard, RAM, storage, and power supply—and assembling them inside a case. The advantage isn’t just the assembly; it’s allocating your budget to the parts that directly impact your gaming experience, yielding more performance per dollar than a pre-built system.
- Building a gaming PC yourself saves 20-30% compared to buying prebuilt, even at budget price points under $600
- The GPU takes the largest share of your budget — allocate 35-40% of total spend to the graphics card for the best gaming performance
- A Ryzen 5 or Intel i5 processor paired with 16 GB of DDR4 RAM handles every modern game at 1080p without bottlenecks
- Watch for sales on components during Amazon Prime Day, Black Friday, and Newegg promotions — patience can save you $100 or more
- Buy components during sales events like Prime Day or Black Friday to stretch your budget even further
Table of Contents
Your Blueprint for a Value-Oriented Gaming Rig
Learning how to build your own gaming PC gives you control. Instead of paying a premium for a company’s marketing and assembly costs, your investment goes directly into the hardware. The primary benefit is making informed choices. You decide what matters most—a powerful graphics card for high-resolution gaming or a multi-core processor to handle streaming while you play.
This hands-on approach results in a durable, high-performance machine tailored to your specific use case. It also helps you avoid the common shortcomings of pre-built systems, such as inadequate power supplies, restrictive cooling, or proprietary components that complicate future upgrades.
Setting Realistic Performance Goals
Before selecting parts, define what you want the PC to do. Are you targeting high frame rates in a competitive shooter like Valorant, or do you want a stable, visually rich experience in a sprawling MMO like Final Fantasy XIV? The answer determines your component priorities.
For FPS Gaming: Prioritize a high-refresh-rate monitor (144Hz or higher) and a CPU/GPU combination that consistently exceeds 60 FPS at 1080p. High frame rates provide a competitive advantage in fast-paced games.
For MMOs and AAA Titles: A balanced build delivering a consistent 60 FPS at 1440p is a practical target. This requires allocating a significant portion of your budget to the GPU and ensuring you have at least 16GB of RAM.
For Streaming: You will need a CPU with more cores (at least 6) to manage the encoding workload for your video stream without compromising in-game performance.
This planning phase is critical. A well-planned budget build will outperform a poorly planned, more expensive one. For example, our guide on the best gaming PC under $1000 focuses on balancing components to achieve reliable 1440p performance.
Here is a reference to align your budget with realistic goals.
Gaming PC Budget Tiers and Performance Goals
This table matches common budgets with practical gaming expectations, helping you focus your spending effectively.
| Budget Tier | Primary Use Case | Target Resolution/FPS | Key Component Focus |
|---|---|---|---|
| $500-$700 | Entry-Level 1080p Gaming | 1080p / 60 FPS (Medium) | APU or budget GPU/CPU combo |
| $700-$1000 | High-FPS 1080p / Entry 1440p Gaming | 1080p / 120+ FPS | Mid-range GPU (e.g., RTX 4060) |
| $1000-$1500 | Solid 1440p Gaming & Beginner Streaming | 1440p / 60-100+ FPS | Strong GPU & 6-core CPU |
| $1500+ | High-End 1440p / Entry 4K Gaming | 1440p / 144+ FPS | High-end GPU & 8-core CPU |
This approach helps you avoid overspending on components that won’t improve your target experience.
The core principle is straightforward: invest in the components that perform the most work. Approximately 30% of your budget should go to the GPU/CPU pairing, as benchmarks show this combination is responsible for around 70% of your total gaming performance.
The global gaming PC market is projected to reach $130 billion by 2030, with growth driven by consumers who understand that pre-built systems often carry a 20-30% markup. DIY builders can bypass this. A combination like an AMD Ryzen 5 7600 and an Intel Arc B580 can create a sub-$700 rig capable of over 100 FPS in demanding titles like Cyberpunk 2077 at 1440p with upscaling enabled.
Choosing Your Core Components for Performance
This is the most critical stage. Your CPU, GPU, motherboard, and RAM form the core of your system, defining its capabilities. Making balanced choices here is essential for building a PC that performs well without wasting money.
Focus on value and function, not brand loyalty.
A common mistake is overspending on one component while neglecting another, creating a performance bottleneck. Pairing a high-end CPU with a weak graphics card will result in disappointing frame rates. The objective is a balanced system where all parts work in concert, delivering the full performance you paid for.
Realistically, your GPU and CPU will consume 50-60% of your total budget. This is appropriate, as these two components are responsible for approximately 80% of your in-game framerates.
The CPU and Motherboard Pairing
The CPU is the brain and the motherboard is the central nervous system; they must be compatible. For budget-conscious builders, the choice is often between an AMD Ryzen 5 or an Intel Core i5. Both are effective for gaming, but their tradeoffs are important.
AMD Ryzen 5 7600: Often provides better multi-core performance for the cost, making it a suitable choice for streaming or multitasking. The AM5 platform offers DDR5 support and a clear upgrade path to future Ryzen processors.
Intel Core i5-14400F: Tends to have a marginal advantage in single-core performance, which can result in higher peak frame rates in some games. Intel’s “F” series CPUs lack integrated graphics, which reduces cost since a dedicated GPU is being used.
For the motherboard, avoid overspending. A solid B-series motherboard (like a B650 for AMD Ryzen 7000 or a B760 for Intel 12th/13th/14th Gen) has all necessary features for gaming without the higher cost of X-series or Z-series boards. Our full breakdown of the best CPUs for gaming can help you refine your choice.
Selecting Your Graphics Card
The Graphics Processing Unit (GPU) is the most important component for gaming performance. This is where the largest portion of your budget should be allocated. The NVIDIA vs. AMD decision comes down to price-to-performance and features at your specific budget.
Consider a real-world comparison: the NVIDIA RTX 4060, the AMD RX 7600, and the Intel Arc B580. The RTX 4060 generally performs better with ray tracing and provides access to DLSS, an AI-based feature that increases frame rates. The RX 7600 often delivers solid raw performance in traditional rasterized games. The Intel Arc B580, however, has emerged as the value champion at around $250, offering 12GB of VRAM and performance that matches or exceeds the RTX 4060 in many titles while costing less.
The Trade-Off: For competitive shooters like Apex Legends or MMOs like World of Warcraft, the Intel Arc B580 or AMD RX 7600 may be the more practical choice due to their price-to-performance ratio. If you want to experience ray-traced visuals in newer single-player titles, the DLSS features of the RTX 4060 present a compelling argument. The Arc B580’s 12GB of VRAM also provides more headroom for texture-heavy games at higher resolutions.
The graphics card is the priority for a gaming build, and this guide on how to choose a graphics card offers practical advice. Always check the physical dimensions of the GPU to ensure it will fit in your selected case.
RAM and Storage Decisions
Memory and storage choices are often mismanaged, leading to unnecessary spending.
For RAM, 16GB is the standard for a value-focused build. Intel B760 builds can use cheaper DDR4, while AMD AM5 builds require DDR5.
For storage, a 1TB NVMe M.2 SSD is the minimum you should consider. These drives offer much faster read/write speeds than older SATA SSDs and hard drives, resulting in a more responsive operating system and faster game load times. A larger, less expensive hard drive can be added later for mass storage if needed.
The Hands-On PC Assembly Process
This is the assembly stage. The selected components will be integrated into a functional gaming PC. The process is straightforward, and for 95% of the build, a single Phillips head screwdriver is the only tool required.
First, prepare your workspace on a large, clean table. You can use the empty motherboard box as a non-conductive work surface. Before handling any components, ground yourself by touching a large metal object, such as the PC case, to discharge static electricity.
Prepping The Motherboard Outside The Case
It is much easier to install the CPU, RAM, and M.2 SSD onto the motherboard before securing it in the case. This provides ample room to work without navigating tight spaces.
Begin with the CPU. Lift the retention arm on the motherboard’s CPU socket. Align the triangle on one corner of the CPU with the matching triangle on the socket. Gently place the processor into the socket; it should fit without force. Lower the retention arm to lock it in place.
Next, apply thermal paste. If you are using the stock cooler included with your CPU, it likely has thermal paste pre-applied. If not, or if using an aftermarket cooler, apply a pea-sized dot of thermal paste to the center of the CPU. The pressure from the cooler will spread it evenly.
Now, install the cooler. Align its mounting brackets with the holes around the CPU socket on the motherboard. Tighten the screws in a diagonal pattern to ensure even pressure distribution.
Next is the RAM. Open the clips on the RAM slots. Most motherboards require using the second and fourth slots from the CPU for dual-channel operation, but always consult your motherboard manual for confirmation. Align the notch on the RAM stick with the key in the slot and press down firmly on both ends until the clips lock into place.
Finally, install the M.2 SSD. Locate the M.2 slot, remove the small screw, and insert the drive at a slight angle. Press it down and secure it with the screw.
A Note on Build Quality: When tightening screws for the CPU cooler or motherboard, aim for a “snug” fit. Overtightening can damage the motherboard’s circuit board. Consistent, gentle pressure is sufficient for a durable build.
Moving Into The PC Case
With the motherboard prepared, get the case ready. First, install the I/O shield—the thin metal plate that frames the motherboard’s rear ports. This is a commonly forgotten step. Press it firmly into the rectangular opening at the back of the case from the inside.
Next, check the motherboard standoffs. These small brass screws prevent the motherboard from making contact with the metal case and causing a short circuit. Your case may have them pre-installed for a standard ATX motherboard, but you might need to reposition them to match the holes on your specific board. Screw them in until they are finger-tight.
Carefully lower the prepared motherboard into the case. Align its mounting holes with the standoffs and ensure its ports align with the I/O shield. Secure it with the provided screws, starting with the center one to hold it in place.
Connecting The Major Components
Once the motherboard is secured, install the larger components.
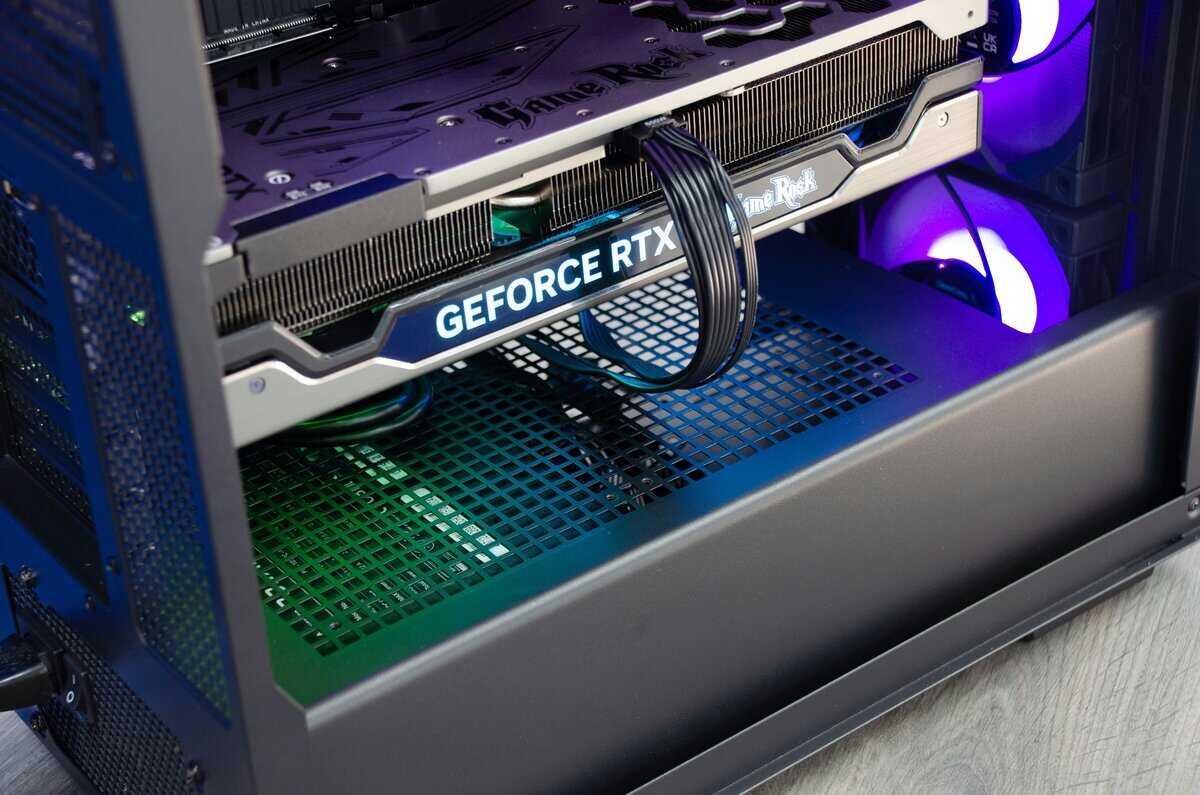
Install the Graphics Card: Locate the top PCIe x16 slot, which is the long slot closest to the CPU. Open the plastic clip at its end. You will need to remove one or two metal brackets from the back of the case that align with the slot. Align the GPU with the slot and press it in firmly until the clip clicks shut. Secure it to the case with screws.
Mount the Power Supply Unit (PSU): The PSU is typically installed at the bottom rear of the case. Slide it into position and secure it with four screws from the outside. The build quality of the PSU is critical for system durability and stability; a unit from a reputable brand provides clean, reliable power to all components.
Connect Storage Drives: If you are using 2.5-inch SATA SSDs or 3.5-inch hard drives, mount them in the drive bays or sleds provided in your case.
With all components mounted, it is time to connect the cables. Each cable is keyed to fit only one way, which minimizes the risk of error.
24-Pin ATX Power: This is the largest connector from your PSU. It plugs into the long port on the right side of your motherboard.
8-Pin CPU Power: This cable, often split into two 4-pin connectors, plugs in at the top-left of your motherboard near the CPU.
PCIe Power for the GPU: Your graphics card will require one or two 6+2 pin PCIe power connectors from the PSU.
SATA Power: These are used for your SATA SSDs or hard drives.
The final connections are the small front panel connectors for the case’s power button, reset button, and USB ports. These connect to a block of pins on the bottom right of the motherboard. You must consult your motherboard manual for the correct pin layout.
Your First Boot and Initial System Setup
With the components installed and cables connected, it is time for the first boot. The initial power-on can be nerve-wracking, but it is the moment your components become a functional PC.
When you press the power button, the system will boot into the BIOS or UEFI, not Windows. This is the motherboard’s built-in software. Seeing this interface appear on your screen confirms that your core components are working.
If the monitor remains black, the most common issue is that the display cable is plugged into the motherboard’s video port instead of the graphics card. Ensure your HDMI or DisplayPort cable is connected directly to the GPU.
Navigating The BIOS for Essential Tweaks
The BIOS is the command center before the operating system takes over. Modern interfaces are graphical and mouse-driven. The two primary tasks here are to confirm hardware detection and set the RAM to its correct speed.
On the main screen, you should see a summary of your system.
CPU Model: Verify that the correct processor is detected.
RAM Amount and Speed: The total amount of RAM should be reported. The speed may appear lower than advertised (e.g., 2133MHz instead of 3200MHz); this will be corrected next.
Storage Devices: Your M.2 SSD and any other installed drives should be listed.
Now, enable the RAM’s full advertised speed. This can provide a noticeable FPS increase in many games.
Locate the setting labeled XMP (for Intel systems) or EXPO (for newer AMD systems). It is often a prominent button on the main screen. Enable it, then save your settings and exit. The PC will restart with the memory operating at its correct frequency.
Creating a Bootable USB for OS Installation
With the hardware verified, it’s time to install an operating system. For gaming, Windows is the most common choice. You will need another computer and a USB drive of at least 8GB.
The process is simple:
On a working PC, go to Microsoft’s official “Download Windows” page.
Download the Media Creation Tool.
Run the tool and follow the on-screen instructions, selecting the option to create a bootable USB drive for another PC.
Once complete, plug the USB drive into your new PC and power it on. Most motherboards will automatically boot from the USB drive to begin the Windows installation. If not, restart, enter the BIOS, find the “Boot Order” or “Boot Priority” setting, and move the USB drive to the top of the list. Save and exit.
Installing Drivers and Running Stability Tests
Windows installation is a major step, but the system is not yet optimized for gaming. A fresh Windows installation uses generic drivers that limit performance and can cause instability.
The GPU driver is the first priority.
For NVIDIA GPUs: Go to the NVIDIA website and download the latest GeForce Game Ready Driver for your card.
For AMD GPUs: Go to the AMD website and download the latest Adrenalin Edition software for your Radeon card.
For Intel Arc GPUs: Go to the Intel website and download the latest Arc Graphics driver.
Next, install the motherboard chipset drivers. Visit the support page for your specific motherboard model on the manufacturer’s website (e.g., ASUS, MSI, Gigabyte). Download and install the latest chipset driver package to ensure proper communication between all motherboard components.
With key drivers installed, run a stress test to confirm stability. A free tool like Heaven Benchmark is suitable for this. Run it for 15-20 minutes. If the PC does not crash, restart, or display visual artifacts, the build is stable and ready for gaming. This also serves as a practical test for your cooling system, allowing you to monitor CPU and GPU temperatures under load.
Optimizing Airflow and Cable Management
With the system built and software installed, the final step is optimizing airflow and cable management. This is not purely for aesthetics; it directly impacts temperatures, noise levels, and the long-term durability of your components.
A case with tangled wires traps hot air and obstructs the flow of cool air to your GPU and CPU. This causes their fans to work harder, generating more noise. Sustained high temperatures can reduce the lifespan of your hardware.
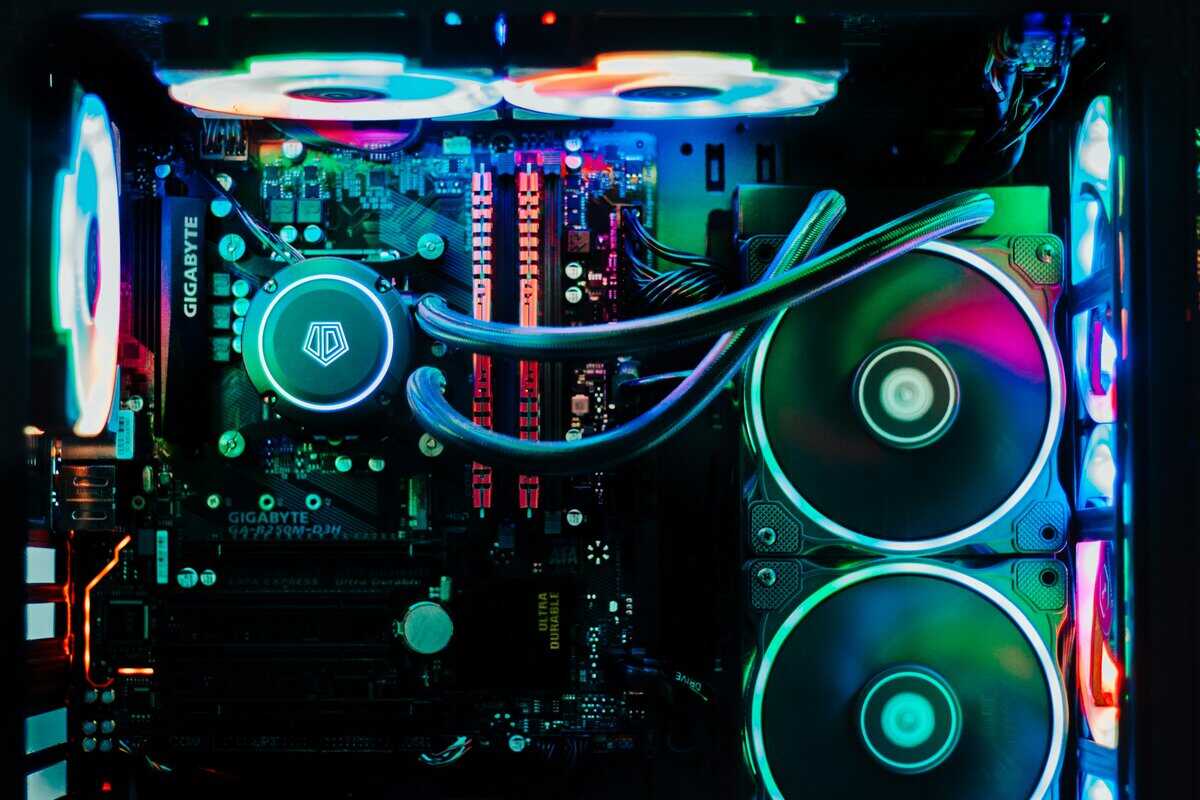
Understanding The Basics Of PC Airflow
The principle is simple: draw cool air in from the front and bottom of the case and exhaust hot air out the back and top. This configuration works with the natural convection of heat. The goal is to create a consistent airflow path through the case.
Configure your fans for either neutral or slightly positive pressure.
Positive Pressure: More intake fans pulling air in than exhaust fans pushing air out. This helps minimize dust accumulation, as air is forced out through unfiltered gaps.
Negative Pressure: More exhaust fans than intake fans. While effective at removing heat, this can draw dust in through unfiltered openings.
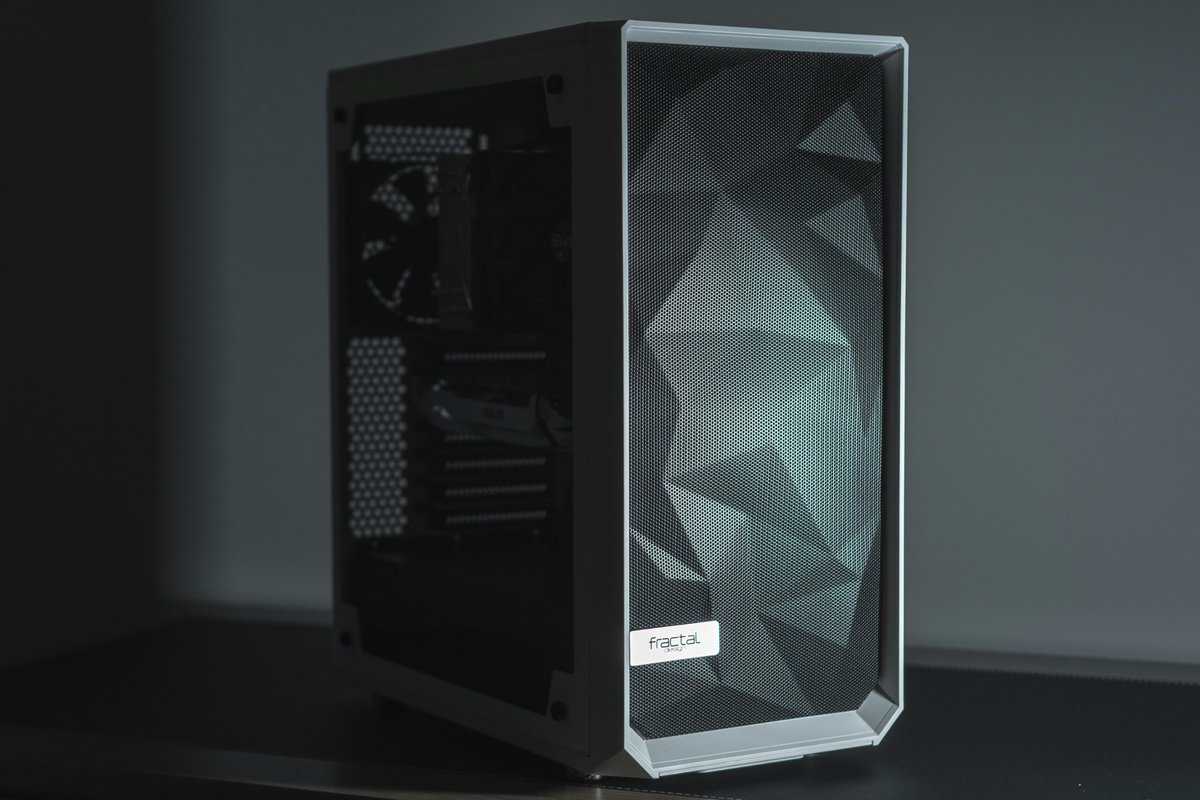
For most builds, a slightly positive pressure configuration offers a good balance of cooling performance and dust management. For more details on case selection, see our guide on choosing a gaming PC case for your build.
Practical Cable Management Techniques
Tidy wiring is essential for good airflow. Most modern cases provide routing channels and tie-down points behind the motherboard tray to facilitate this.
The strategy is to hide as many cables as possible behind the motherboard tray, leaving the main chamber unobstructed.
Connect in Order: Start with the largest cables—the 24-pin motherboard power and the 8-pin CPU power. Route them through the cutouts closest to their connection points.
Use Zip Ties and Velcro: Group cables into neat bundles behind the motherboard tray and secure them. This keeps them organized and contained.
Hide Excess Length: If your power supply is not modular, you will have unused cables. Bundle them neatly and store them in the PSU shroud or an empty drive bay, away from the main airflow path.
A clean build is a functional requirement for a durable, high-performance gaming PC. An additional 30 minutes spent on cable management can lower component temperatures by several degrees, resulting in a quieter, more stable system.
Even with good management, dust will accumulate over time. Learning how to clean your computer from dust is an important maintenance skill that will keep your PC performing optimally.
Got Questions About Your First PC Build? We’ve Got Answers.
Building a PC for the first time can seem daunting. Below are answers to common questions to help you avoid frequent mistakes and build with confidence.
What’s a Realistic Budget for a Good Entry-Level Gaming PC?
A practical budget for a solid 1080p gaming PC with longevity is between $700 and $900. In this range, you avoid significant performance compromises.
This budget allows for a capable CPU and GPU, 16GB of RAM, a 1TB NVMe SSD, and a quality power supply unit (PSU). The PSU is a component where you should not compromise on quality. Budgets below $700 often require trade-offs that create performance bottlenecks and limit future upgrade options.
What’s the Biggest Mistake First-Time Builders Make?
The most common and frustrating error is purchasing incompatible parts. This often involves a CPU that does not fit the motherboard’s socket or RAM that is not supported by the motherboard. Such an oversight can halt the entire build process.
Another significant mistake is choosing a cheap, unbranded PSU. An unreliable power supply can cause random crashes, system instability, and may damage other components when it fails.
The Fix: Before purchasing components, plan your entire build using a tool like PCPartPicker.com. This site automatically checks for most major compatibility issues, which can save you significant time and money.
Can I Reuse Parts from an Old PC to Save Money?
Yes, reusing components can be an effective way to manage your budget, but only certain parts are suitable.
Good Candidates for Reuse:Storage Drives: Old SATA SSDs and hard drives (HDDs) can be used for additional storage in a new build.
Case: A PC case with good airflow and in good condition can be reused for multiple builds.
Power Supply: A PSU from a reputable brand (e.g., Seasonic, Corsair, EVGA) can be reused if it has sufficient wattage for the new components and is not excessively old.
Do not attempt to reuse an old CPU, motherboard, or RAM. Technology standards for these components evolve quickly, making them incompatible with modern hardware. Building a new system around an outdated motherboard results in poor performance and no viable upgrade path.
Do I Need to Buy a Windows License Right Away?
No. You can download the Windows installer from Microsoft’s official website and create a bootable USB drive for free.
You can install and run Windows without activation. The only limitations are a persistent watermark on the desktop and restricted access to cosmetic personalization settings. The system will be 100% functional for gaming. This allows you to allocate your entire budget to hardware first and purchase a license key later.
At Budget Loadout, we believe building a powerful gaming setup shouldn’t be complicated or break the bank. We provide clear, value-focused guides and reviews to help you make smart choices on everything from core components to peripherals. Check out our resources to build a better rig for less at https://budgetloadout.com.
Related Articles