Picking a gaming PC case based on looks alone is a common mistake. It’s easy to build a powerful PC and then put it in a sealed-off box that chokes the components. Your case is both the skeleton and the lungs of your system—it dictates what fits, how well it cools under load, and how long your parts last.
- A mid-tower ATX case is the safest choice for most budget builders, offering plenty of room for components and good airflow
- Airflow-focused cases with mesh front panels keep your components significantly cooler than solid-front designs
- Budget cases between $50-80 deliver all the essential features — cable management, dust filters, and adequate fan mounts
- Smaller cases like Micro-ATX save space but limit GPU length and cooling options, so always check component clearance before buying
Table of Contents
Why Your PC Case Is More Than Just a Box
A good case is the foundation of a stable, high-performing rig. This is critical when you’re pushing for high frame rates in an FPS game, running a demanding open-world title for hours, or trying to maintain a smooth broadcast while streaming. The right enclosure ensures your components get the airflow they need to prevent the CPU and GPU from overheating and reducing performance.
This guide focuses on the practical knowledge needed to pick a durable, effective case. We’ll cover what matters for a budget-conscious builder who wants value, not just the cheapest option:
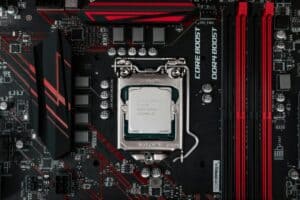
- Component Compatibility: Ensuring your graphics card, motherboard, and cooler will fit without issues.
- Cooling Performance: Prioritizing airflow to keep temperatures low and performance consistent.
- Build Quality & Durability: Identifying durable materials that will protect your investment.
- Value for Money: Finding the necessary features without paying for gimmicks.
A well-chosen case doesn’t just hold your parts—it protects them, cools them, and simplifies the building process. It’s a long-term investment in your system’s health and performance.
For anyone building a setup from the ground up, a functional case is the cornerstone of a reliable system. Understanding its role is just as important as picking the right parts for a streaming setup for beginners, where thermal stability is essential for a smooth broadcast. We’ll show you how to invest wisely.
Choosing the Right Case Size and Form Factor
Think of your gaming PC case like a car’s chassis. Its size doesn’t just affect how much desk space it occupies; it dictates which motherboard you can use, the maximum size of your graphics card, and how easy the system will be to assemble.
A PC case generally comes in one of three main sizes, each with its own set of tradeoffs.
Why Most Builders Start with a Mid-Tower
An ATX Mid-Tower is the most common and versatile choice. It offers ample room to work, which makes installing components and managing cables straightforward, especially for a first build. The generous interior also provides excellent potential for airflow, keeping high-performance parts cool whether you’re gaming in an MMO or streaming competitive matches.
For most gamers and streamers who want a frustration-free building experience, an ATX Mid-Tower is the practical choice.
A Micro-ATX (mATX) case is a more compact option. It saves desk space without requiring major sacrifices. You can still fit powerful hardware inside, but you’ll need to be more deliberate about component selection and cable routing. It’s a solid middle-ground for builders who want something smaller.
The Trade-Offs with Smaller Cases
Then you have the Mini-ITX (ITX), which is the most compact option. These small cases are suitable for sleek, portable builds. However, they are a challenge for first-time builders. The cramped interior makes cable routing difficult, severely limits cooling options, and often requires more expensive, specialized small form factor (SFF) components.
This table breaks down the key differences to help you decide.
PC Case Form Factor Comparison
| Form Factor | Typical Size | Best For | Key Trade-Off |
|---|---|---|---|
| ATX | Mid to Full Tower | First-time builders, high-performance builds, streamers. | Takes up the most desk space. |
| mATX | Mini to Mid Tower | Space-conscious builders who still want good performance. | Less room for expansion and cable management. |
| ITX | Small Form Factor | Portable builds, experienced builders, HTPCs. | Difficult to build in, limited cooling, more expensive parts. |
For a budget-friendly build focused on value and ease of use, sticking with a Mid-Tower ATX or mATX case is almost always the smartest choice. They offer the best compatibility and airflow for your money.
No matter the size, every case serves the same core functions. It’s the skeleton holding everything together, the wind tunnel for your cooling system, and the armor protecting your expensive parts.
Getting Airflow Right for Peak Gaming Performance
Airflow directly impacts your gaming experience. Your gaming PC case needs to pull in cool air over your hot components (intake) and push the heated air out (exhaust). This cycle prevents your PC from thermal throttling—slowing itself down to avoid overheating—when performance matters most.
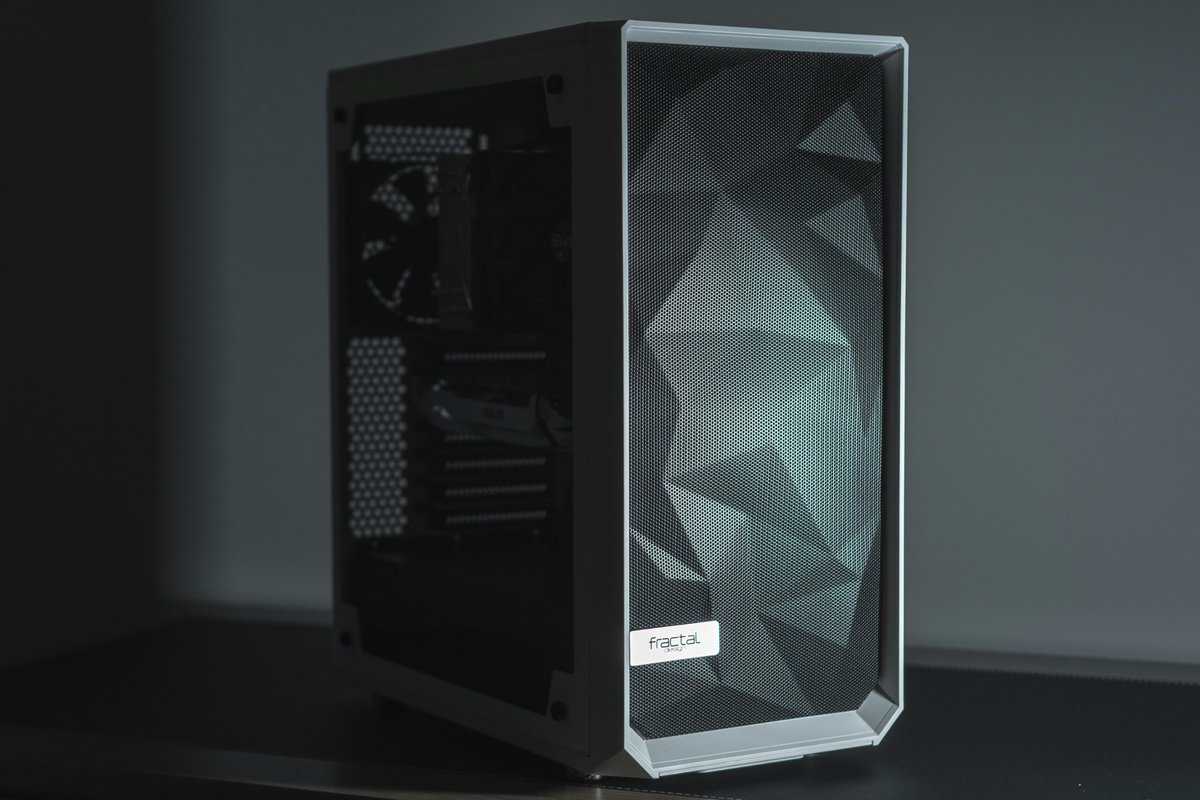
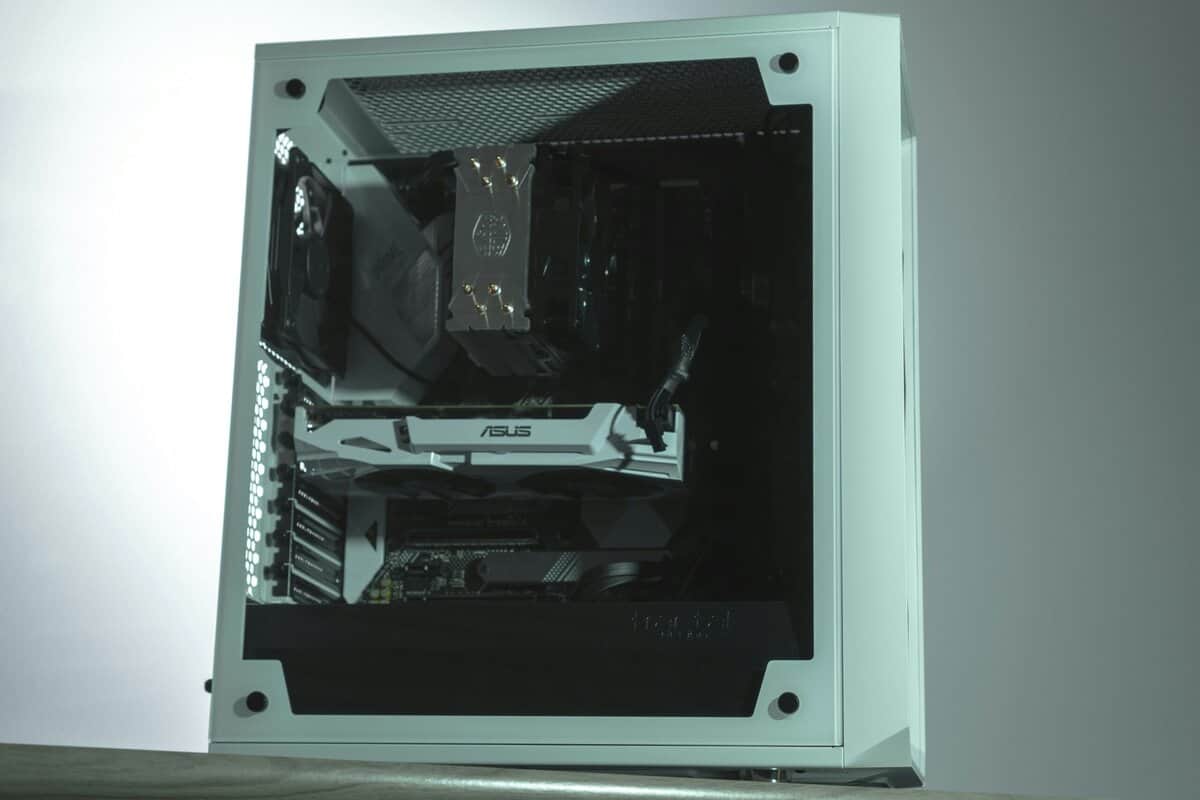
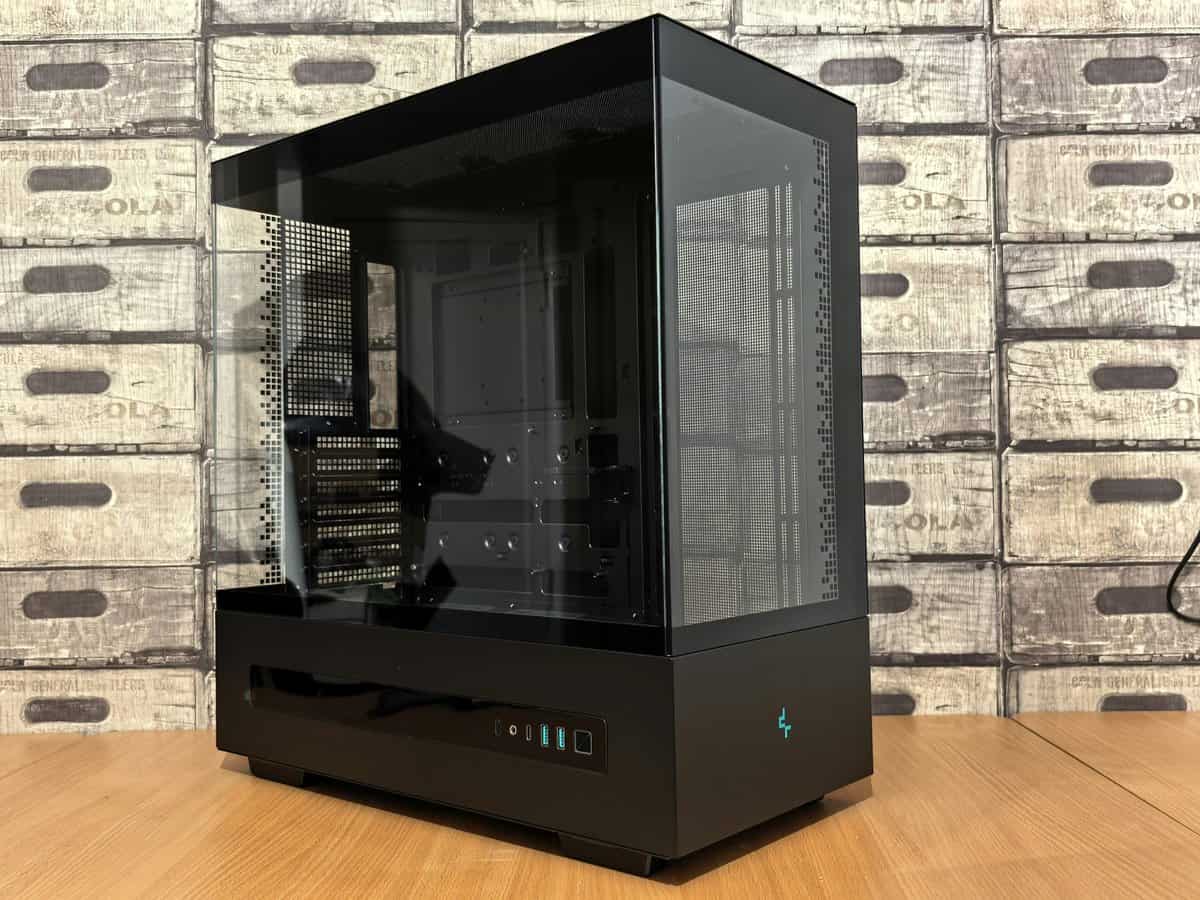
The biggest factor here is the front panel. A solid, sealed-off front panel may look clean, but it often restricts airflow. This leads to higher temperatures, louder fans trying to compensate, and lower, less consistent framerates.
A mesh front panel is the best option for raw cooling performance. It allows a large volume of cool air to be pulled directly over your GPU and CPU. For any gamer on a budget, a good mesh case is a smarter investment than a restrictive one with extra RGB lights. A mesh front is particularly important for demanding use cases like streaming AAA games or playing competitive FPS titles at high refresh rates.
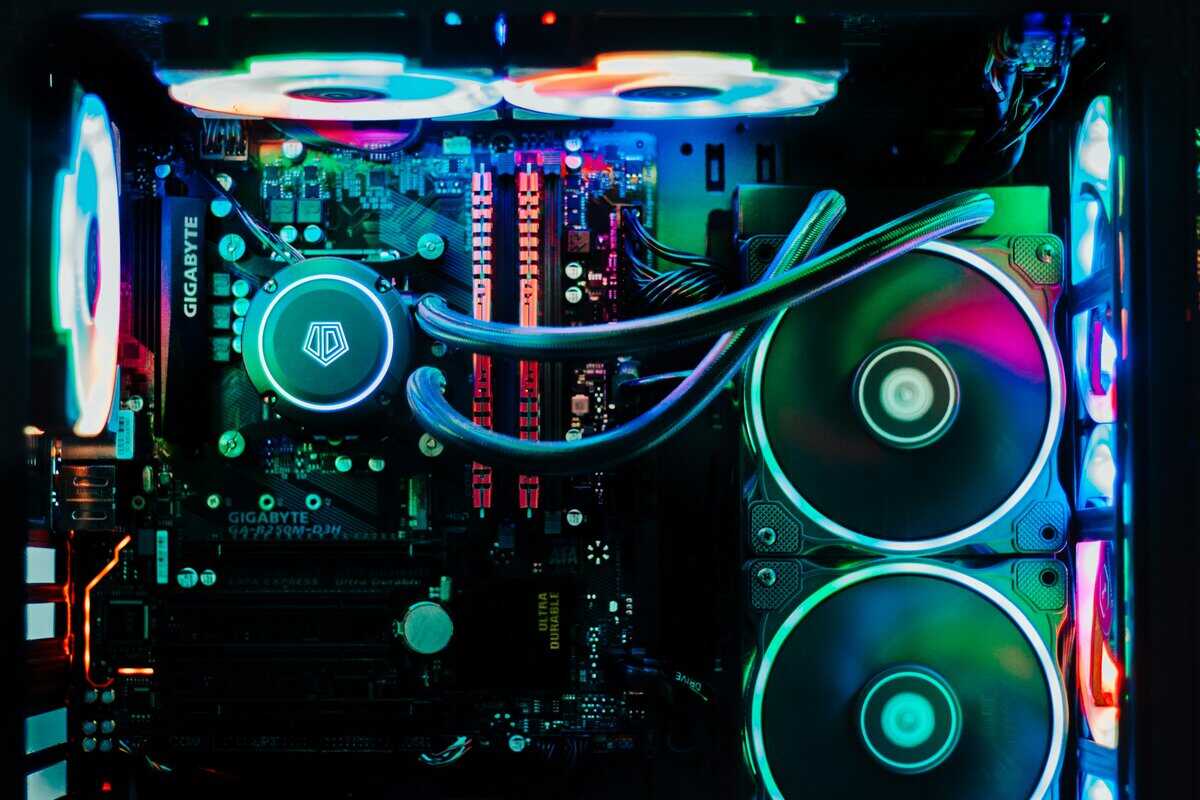
Radiator Support for Liquid Cooling
Many builders eventually consider upgrading to an All-In-One (AIO) liquid cooler for their CPU, especially for demanding tasks like streaming or playing CPU-heavy games like MMOs. This is where radiator support becomes important. Cases list their radiator compatibility in millimeters, corresponding to the size of the fans they use.
- 120mm/240mm Support: This is the most common size and is sufficient for cooling most mid-range CPUs. A 240mm radiator uses two 120mm fans side-by-side.
- 280mm/360mm Support: These larger radiators offer better cooling performance. A 360mm radiator, using three 120mm fans, can handle high-end processors even under a heavy load.
The trade-off is simple: better airflow from a mesh front often means more dust can get inside. However, most modern mesh cases include removable dust filters that make cleaning a quick task.
For most builds, starting with a case that has strong air cooling potential is the most effective approach. A solid mesh front panel paired with two or three included fans provides an excellent thermal baseline right out of the box. This setup delivers reliable cooling for intense FPS gaming sessions without the extra cost and complexity of a liquid cooler. You can always add an AIO later if your needs change.
Checking Compatibility and Build Quality
There’s nothing worse than discovering a new component won’t fit in your case. Before you add a gaming PC case to your cart, you must check three critical measurements.
Every manufacturer lists these on their product page, and taking a minute to verify them will save you from a frustrating return.
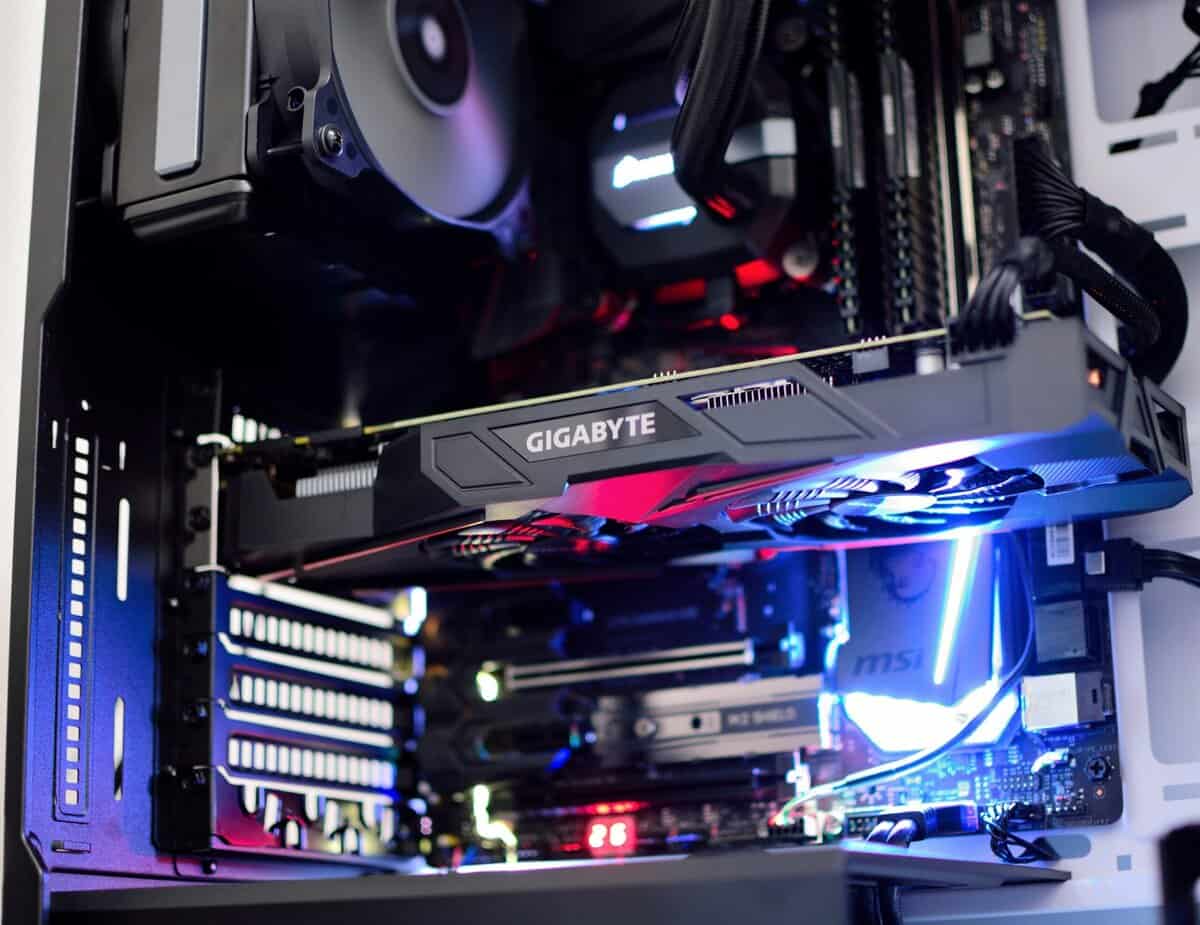
First is GPU length. Modern graphics cards are long, especially those needed for smooth FPS gaming. Find the length of your chosen GPU and ensure your case has at least an inch or two of clearance. This guarantees it won’t interfere with front-mounted fans or the case frame.
Next is CPU cooler height. If you’re planning on a large air cooler, its tower can be too tall for the case, preventing the side panel from closing. Finally, double-check the PSU length. You want to ensure your power supply can slide in comfortably without forcing you to crimp cables, which is a common problem in tighter mATX builds.
Tools like PCPartPicker can help verify clearances before you buy.
Beyond the Measurements: Build Quality Matters
Once you know everything will fit, the next consideration is build quality and durability. This separates a case that is easy to work in from one that feels cheap and flimsy. It’s the difference between a durable chassis and a rattling metal box.
You can identify quality even from a product page if you know what to look for:
- Steel Construction: The frame should be made of steel for rigidity. If reviews mention thin or flexible metal, that’s a red flag.
- Sturdy Side Panels: Panels should slide on and off without a fight and feel solid, not like they will bend easily.
- Thoughtful Cable Management: Look for ample room behind the motherboard tray, plenty of tie-down points, and a PSU shroud to hide excess cables.
A well-built case with smart cable management does more than just look clean—it improves airflow by getting obstructions out of the way. That translates directly to better cooling and more stable performance during a long gaming or streaming session.
How to Find the Best Case for Your Budget
Instead of listing specific models that will be out of stock next week, it’s more useful to understand what your money gets you. Knowing the different price tiers helps you identify genuine value and avoid overspending.
For anyone building on a budget, knowing where to invest is key. Price often translates into build quality, cooling potential, and how easy the building process will be.
The Sub-$75 Tier
In this price range, you’ll find cases that get the job done, but compromises are obvious. To hit this price, manufacturers use thinner steel, which can feel flimsy. You’ll also likely get fewer included fans—maybe just one—meaning you’ll probably need to buy more to get adequate airflow for a gaming PC.
These cases will hold your parts, but build quality is the main sacrifice. Durability may be a concern over the long term.
The $75-$120 Sweet Spot
This range offers the best balance of features for the price. Here you find strong airflow from mesh front panels, solid build quality from thicker steel, and modern features like front-panel USB-C ports. Cases in this tier often come with two or three good-quality fans, providing a strong cooling foundation out of the box.
For most gamers, this is where you get the most performance for your dollar. It’s the right home for a build like those in our guide to the best gaming PC under $1000. You get a durable, easy-to-build-in case that will have no problem keeping components cool for intense FPS gaming, MMO raids, or streaming.
The real value in this price range isn’t just better materials; it’s the thoughtful design. Expect better cable management options, tool-less drive sleds, and removable dust filters—small features that make building and maintenance significantly less frustrating.
The $120+ Premium Tier
Once you push past $120, you’re paying for specialization. You’re looking at cases made from premium materials like aluminum, unique dual-chamber designs for showpiece builds, or specialized features for custom water-cooling loops.
While these are good products, they offer diminishing returns for the average gamer building a value-focused rig. For FPS gaming, MMOs, or streaming, a well-chosen case from the $75-$120 sweet spot provides all the performance you need without the premium price tag.
Frequently Asked Questions About Gaming PC Cases
Diving into PC parts always brings up questions. This section provides direct answers to common concerns from budget-conscious builders.
How Many Fans Do I Really Need?
You do not need to fill every available fan slot. For most gaming builds, a simple, effective setup is sufficient.
Start with two 120mm or 140mm intake fans at the front and one 120mm exhaust fan at the rear. This creates a clean, efficient airflow path from front to back. It’s a standard configuration because it works well. This setup also creates positive air pressure, which helps push hot air out and can reduce dust buildup over time. Adding more fans usually provides diminishing returns.
Is a Tempered Glass Side Panel Worth It?
A tempered glass side panel is purely for aesthetics. It shows off your components but offers zero performance benefit.
The trade-off is clear: if your budget forces a choice between a case with a glass panel but restricted airflow, and a case with a solid panel but a mesh front, always choose better airflow. Cooler components perform better. A hot GPU behind a glass window is still a hot GPU, which will reduce your framerate in demanding situations like competitive FPS matches.
What is a PSU Shroud?
A PSU shroud is the metal cover at the bottom of the case that hides your power supply and its cables. It’s not essential for performance, but it makes a significant difference in build ease and final appearance.
For a new builder, it’s highly recommended. It provides a place to tuck extra cables, making cable management much simpler. Most good modern cases include one, and it’s a feature worth looking for due to its positive impact on build quality and airflow.
At Budget Loadout, we provide the clear, practical advice you need to build a high-performance setup without overspending. For more hype-free guides and reviews, visit us at https://budgetloadout.com.
Related Articles